G0554 Gear-Head Floor Lathe
-21-
To remove the existing chuck:
1. UNPLUG THE LATHE!
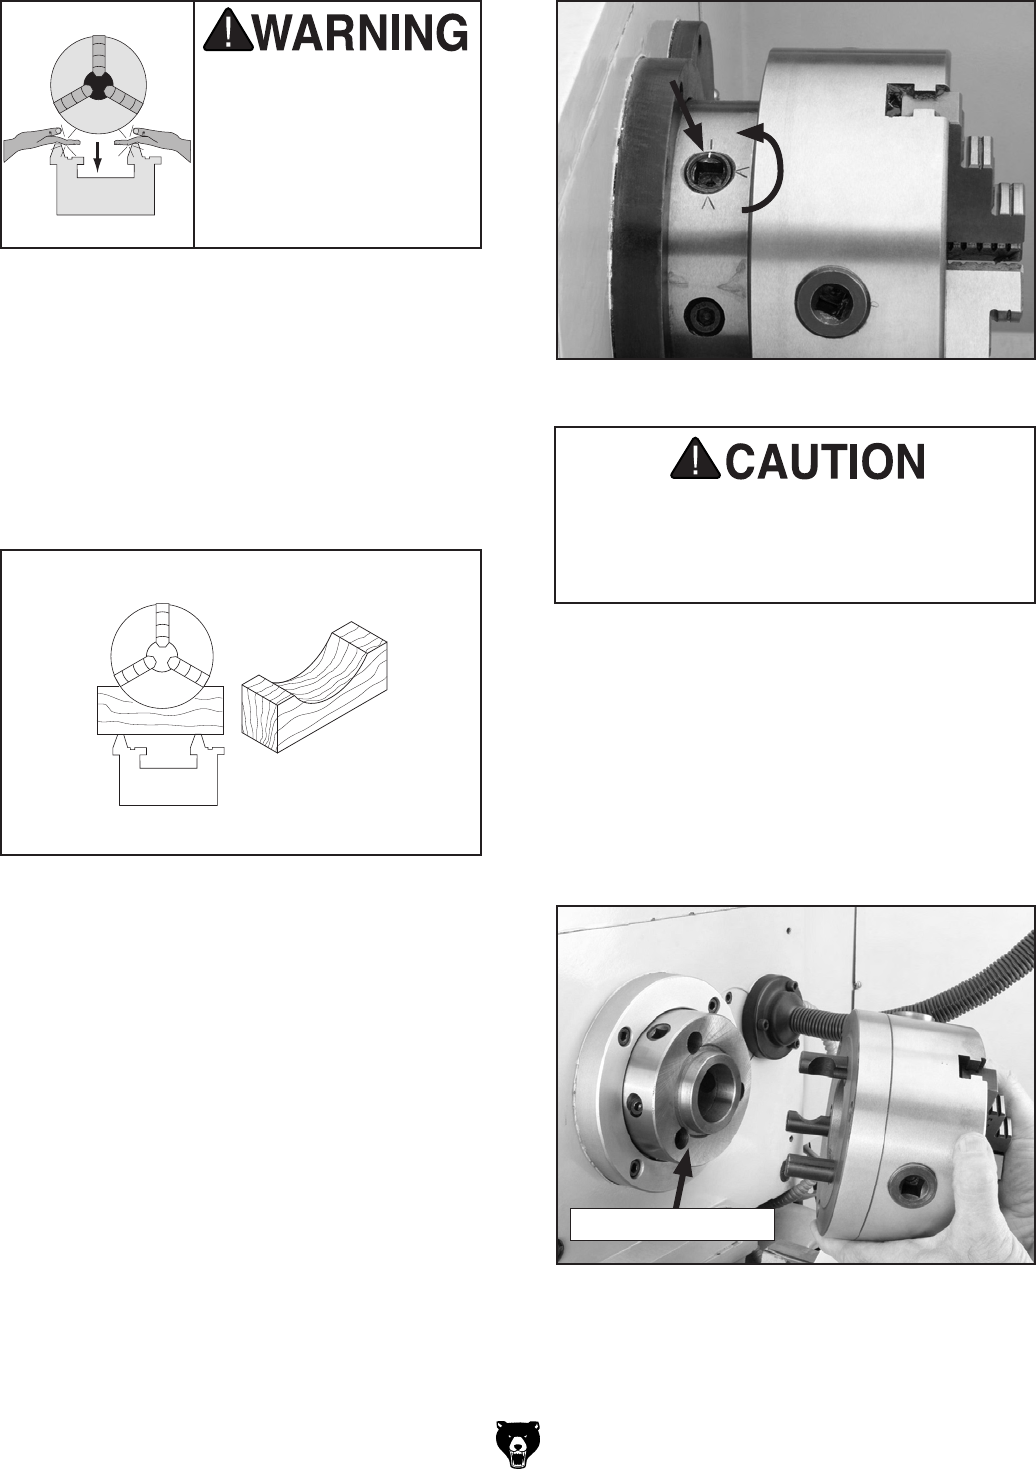
2. Lay
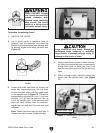
a chuck cradle or protective layer of
plywood over the bedways to protect the
precision ground surfaces from damage and
to prevent fingers from being pinched (see
Figure 15).
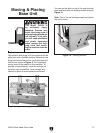
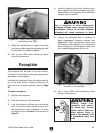
Figure 15. Simple chuck cradle made of scrap
lumber.
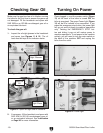
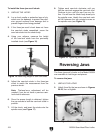
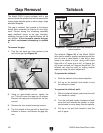
Figure 16. Loosening the cam-locks.
PINCH HAZARD! Protect
your hands and precision
ground bedways with
plywood when removing
lathe chuck! The heavy
weight of a falling chuck
can cause serious injury.
3. Loosen the three cam-locks by turning the
chuck key counterclockwise until the mark
on the cam-lock aligns with the single mark
on the spindle nose in Figure 16. This will be
approximately
one-third of a turn. If you look
carefully, you will see the cam-lock rise up
out of the spindle nose. If the cam-lock stud
does
not freely release from the cam-lock,
wiggle the cam-lock until the cam-lock stud
releases.
Note: These
cam-locks may be very tight. A
breaker bar may be used to add leverage.
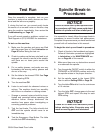
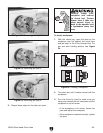
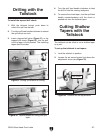
Figure 17. Installing and removing a small
chuck.
4. Using a dead blow hammer or other soft mal-
let,
lightly tap around the outer circumference
of the chuck body to break the chuck free
from the cam-locks and from the spindle nose
taper.
5. With a rocking motion, carefully remove the
chuck
from the spindle nose (see Figure
17).
L
arge chucks are very heavy. Always get
assistance when removing or installing
large chucks to prevent personal injury or
damage to the chuck or lathe.
Spindle Nose Taper


