


-16-
Model G0775 (Mfd. Since 11/14)
Dust Collection
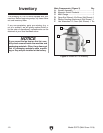
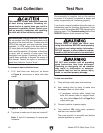
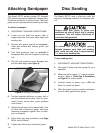
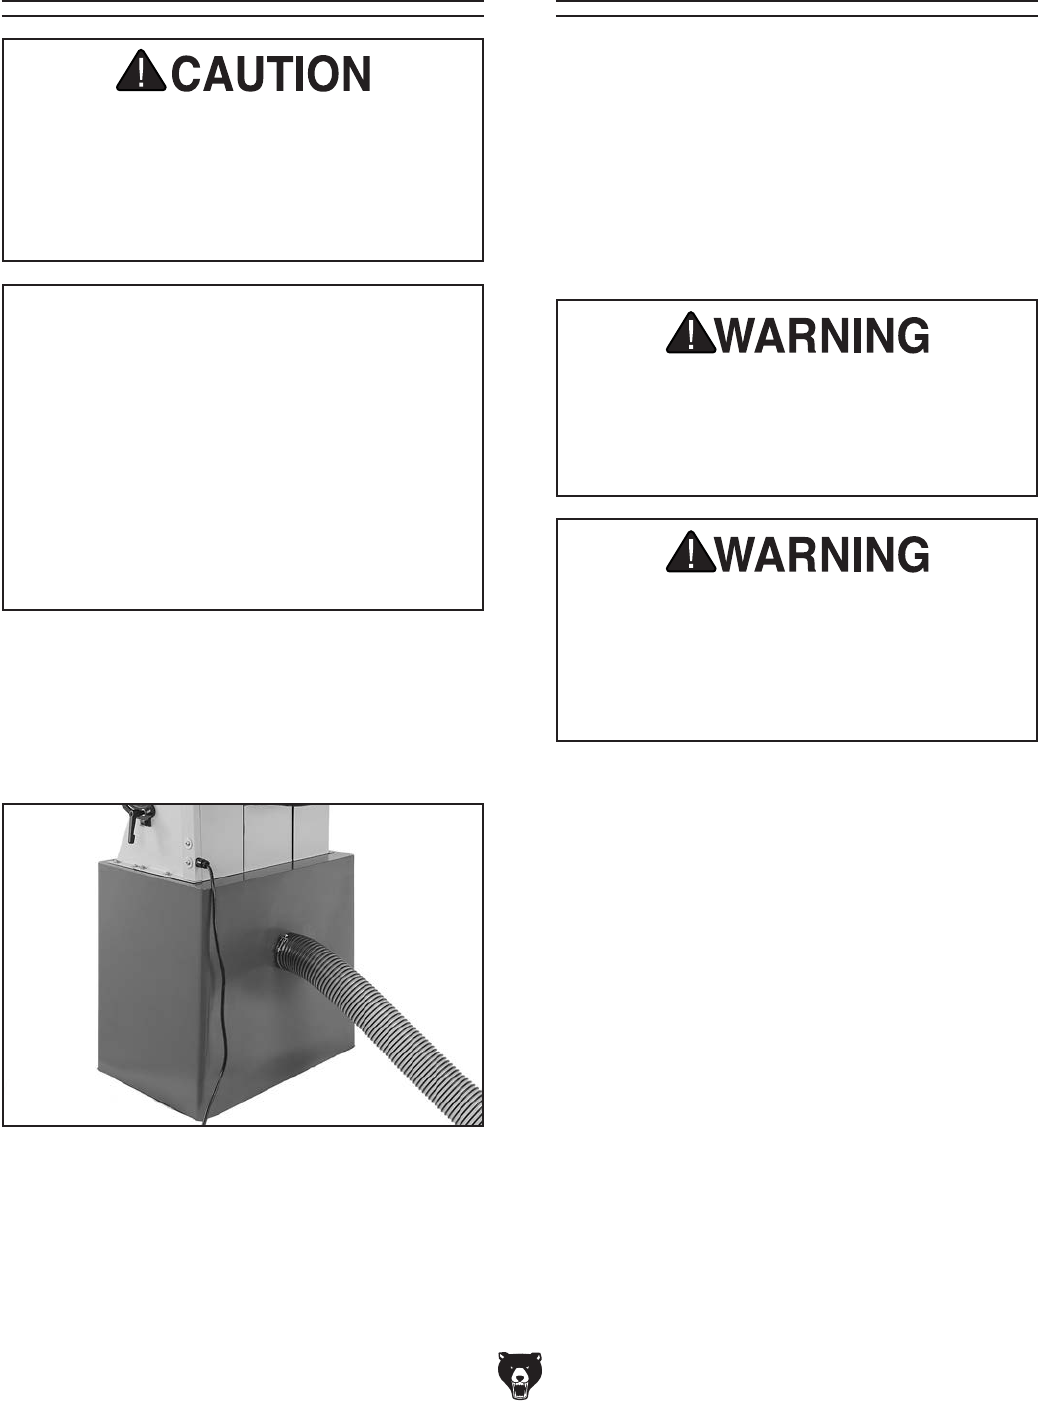
To connect a dust collection hose:
1. Fit 4" dust hose over dust port, as shown
in Figure 8, and secure in place with hose
clamp.
Recommended CFM at Dust Port: 400 CFM
Do not confuse this CFM recommendation with
the rating of the dust collector. To determine the
CFM at the dust port, you must consider these
variables: (1) CFM rating of the dust collector,
(2) hose type and length between the dust col-
lector and the machine, (3) number of branches
or wyes, and (4) amount of other open lines
throughout the system. Explaining how to cal-
culate these variables is beyond the scope of
this manual. Consult an expert or purchase a
good dust collection "how-to" book.
This machine creates substantial amounts
of dust during operation. Breathing air-
borne dust on a regular basis can result in
permanent respiratory illness. Reduce your
risk by wearing a respirator and capturing
the dust with a dust collection system.
Figure 8. Dust hose attached to dust port.
2. Tug hose to make sure it does not come off.
Note: A tight fit is necessary for proper per-
formance.
Te st Ru n
Once assembly is complete, test run the machine
to ensure it is properly connected to power and
safety components are functioning properly.
If you find an unusual problem during the test run,
immediately stop the machine, disconnect it from
power, and fix the problem BEFORE operating the
machine again. The
Troubleshooting
table in the
SERVICE section of this manual can help.
DO NOT start machine until all preceding
setup instructions have been performed.
Operating an improperly set up machine
may result in malfunction or unexpect-
ed results that can lead to serious injury,
death, or machine/property damage.
Serious injury or death can result from
using this machine BEFORE understanding
its controls and related safety information.
DO NOT operate, or allow others to operate,
machine until the information is understood.
To test run machine:
1. Clear all setup tools away from machine.
2. Spin sanding disc by hand to make sure
sandpaper does not touch table.
— If sandpaper touches table, loosen hex
bolts that secure table to support brack-
ets, then follow Steps 3–5 on Page 26 to
adjust table gap.
3. Connect machine to power supply.
4. Turn machine ON, verify motor operation,
and then turn machine OFF.
The motor should run smoothly and without
unusual problems or noises.