


G4227 Sliding Table -9-
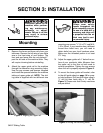
Mounting
1. Remove the fence and fence rails from your
table saw. Remove the left wing of your table
saw or the front wing of your shaper. The
front and rear fence rails can only extend 1''
past the left side of the machine table. They
will require trimming before reinstalling.
2. Attach the upper guide rail to the machine
through the extension wing mounting holes.
Use the cap screws and spacers supplied
and install the spacers between the machine
table and upper guide rail. NOTE: The slid-
ing table is supplied with two different size
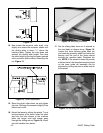
Figure 3. Drilling the mounting holes.
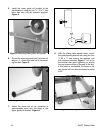
Figure 2. Aligning the upper rail.
mounting cap screws,
3
⁄8''-16 x 2
3
⁄8'' and M10-
1.50 x 55mm. If your machine has a different
thread than listed here, you will need to
obtain bolts from your local hardware store.
Make sure the threaded portion is at least
2
3
⁄8'' long.
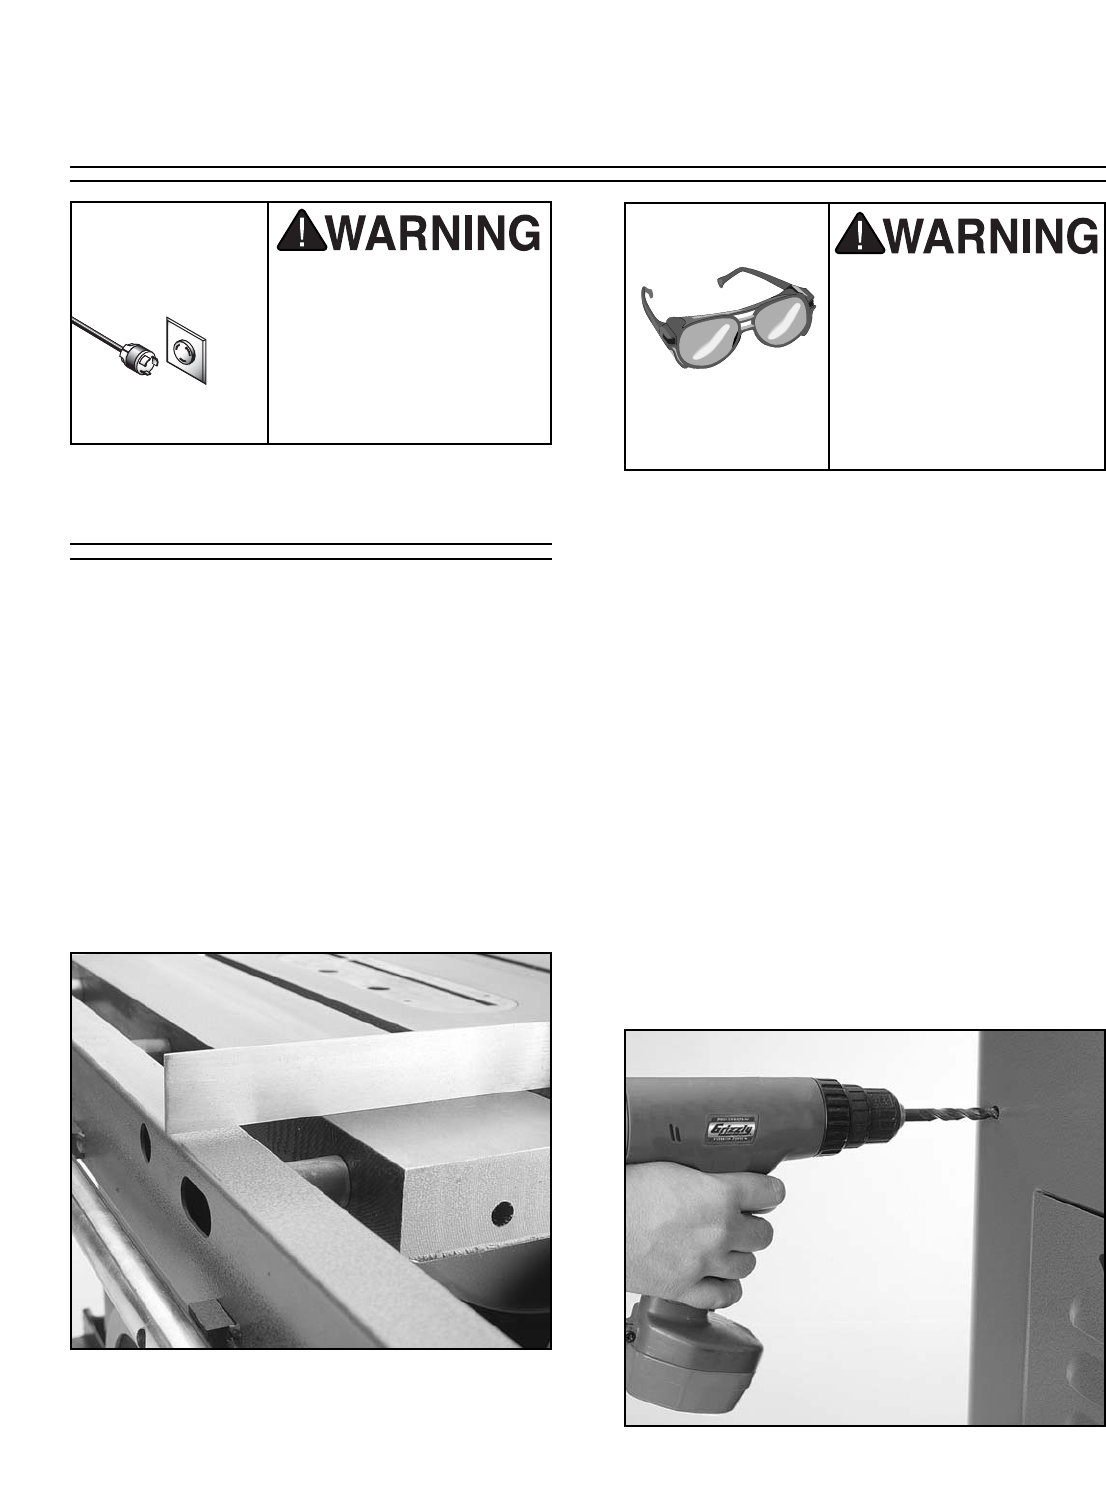
3. Adjust the upper guide rail
1
⁄8
'' below the sur-
face of your machine’s table. Measure from
the upper rail to the floor at both ends to
achieve parallelism. Tighten the cap screws
when the rail is properly adjusted. Figure 2.
4. To mount the lower guide rail bracket, refer
to the drill guide sheet on page 14 for prop-
er hole locations. Drill two pilot holes using a
1
⁄8'' drill bit then finish with a
3
⁄8'' drill bit.
Figure 3. Please note that Grizzly machines
are pre-drilled.
SECTION 3: INSTALLATION
Always wear safety
glasses throughout the
entire assembly process.
The use of a hand drill is
necessary and chips will
be propelled into the air
which may lead to seri-
ous personal injury.
Disconnect power to the
machine when perform-
ing any maintenance,
assembly or adjust-
ments. Failure to do this
may result in serious
personal injury.
!