


G4227 Sliding Table -13-
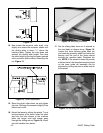
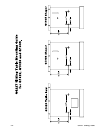
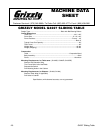
Figure 17. Installing fence stop.
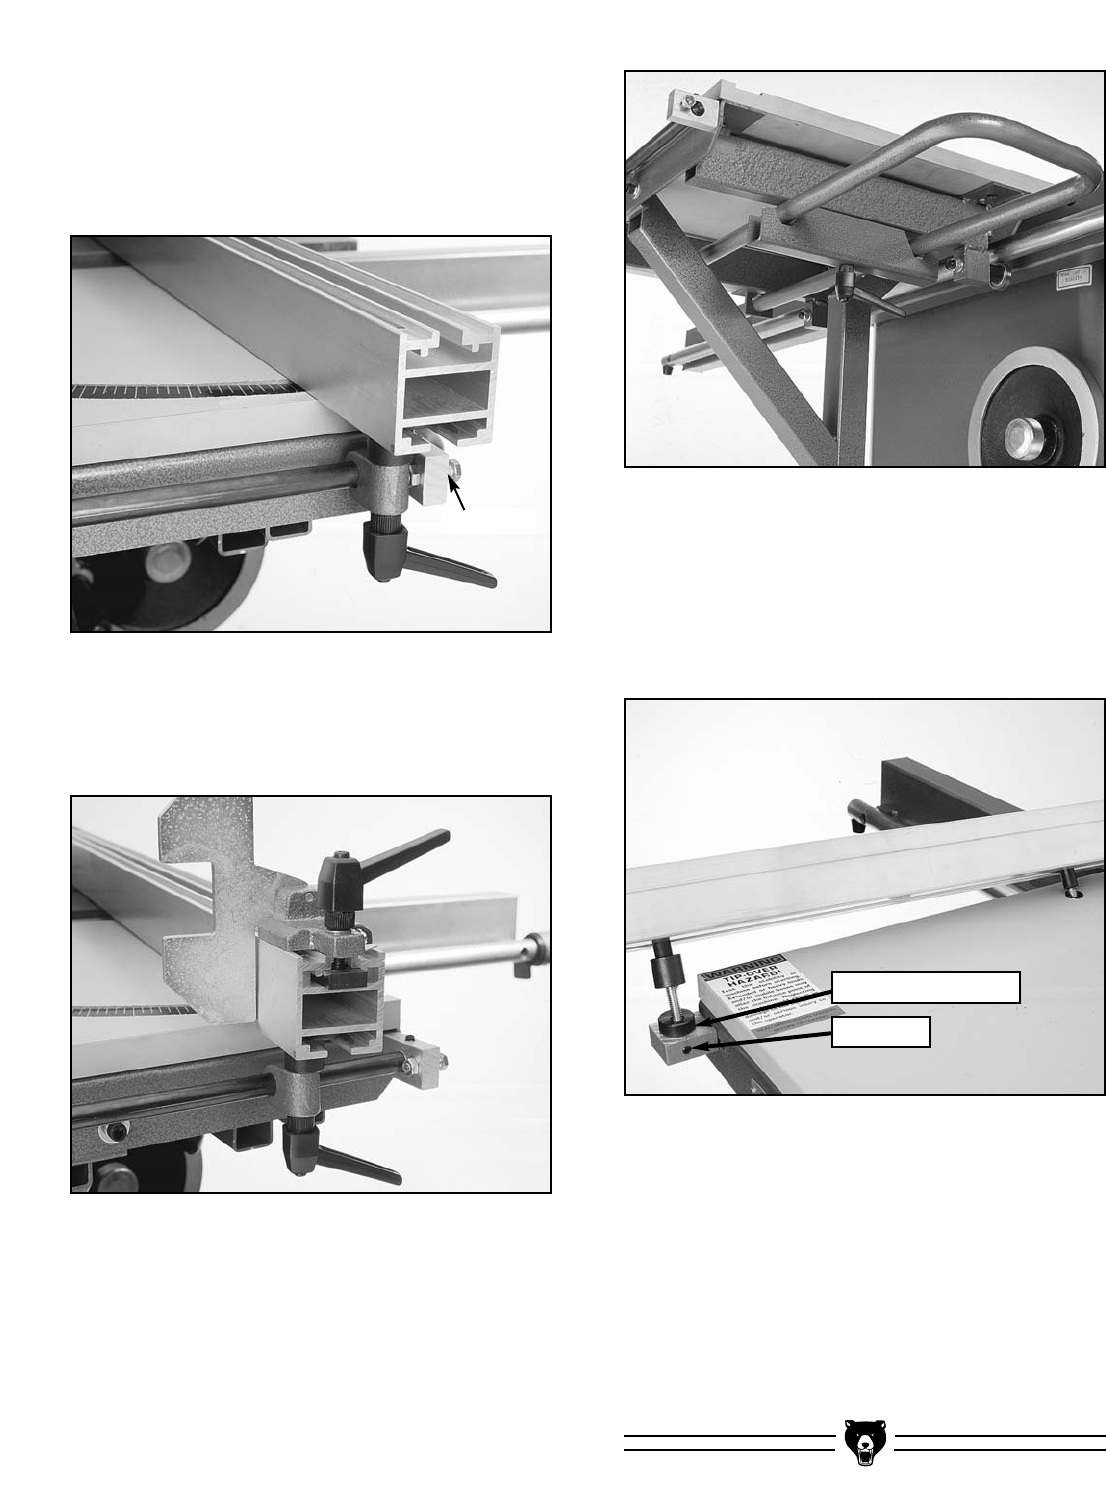
Figure 19. Optional fence position.
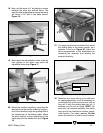
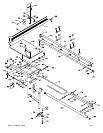
Figure 18. Installing auxiliary handle.
20. Mount the auxiliary handle by removing the
stop bolt from the handle, slide the long por-
tion of the handle through the guiding hole at
the bottom/rear of the sliding table. Attach
the pinch bracket to the bottom/front of the
table using the lock handle with stud. Figure
18.
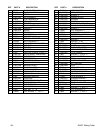
21. The fence can also be mounted at the rear of
the sliding table in the same manner as it
attaches in the front. Figure 20. Adjust the
fence perpendicular to the blade/fence by
loosening the setscrew and rotating the
eccentric bushing.
22. Remount your fence rails to your table saw
for ripping operations. It will be necessary to
cut the left ends of the front and rear rails so
they will fit with the sliding table top rail. A
hacksaw and file will do nicely. NOTE: On
saws with rail mounted switches, the switch
may need to be relocated to another conve-
nient location. For safety reasons, Do Not
mount the switch in a hard to reach location.
19. Next, apply the self adhesive scale in the top
front groove of the fence and install the
adjustable fence stop. Figure 17.
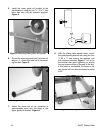
Setscrew
Eccentric bushing
Figure 16. Adjusting positive stop.
Stop bolt
18. Now, set the fence to 0˚ by placing a square
between the miter slot and the fence. The
stop bolt can be adjusted to ensure the fence
will return to 90˚ after it has been moved.
Figure 16.