-8- G4227 Sliding Table
Order Of Assembly
The sliding table only requires minimal assembly
and will go together quickly. Assemble in the fol-
lowing order:
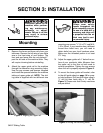
1. Mount the upper rail to the machine.
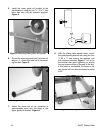
2. Mount the lower guide bracket to the
machine.
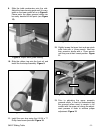
3. Assemble and mount the sliding table
assembly.
4. Attach the fence.
TOOLS REQUIRED
Only a few common tools are required to assem-
ble your sliding table. Specifically, these are:
Phillips
®
head screwdriver, 3mm, 5mm and
10mm Allen
®
wrenches, 14mm and 17mm open
end wrenches.
When placing the Model G4227 Sliding Table in
your shop, two major considerations should be
addressed: working clearances and lighting.
1. Working clearances can be defined as the
safe distance between other machines and
obstacles that may limit material being
processed or person(s) operating those
machines. Consider existing and anticipated
machine needs, anticipated size of material
to be processed through each machine, and
space for auxiliary stands and/or work
tables. You may also want to consider the
relative position of each machine to one
another for efficient material handling. Be
sure to allow yourself sufficient room to safe-
ly operate your machines in any foresee-
able operation.
2. Lighting should be bright enough to eliminate
shadow and prevent eye strain. Electrical cir-
cuits should be dedicated or large enough to
handle motor amp loads and proper lighting.
Outlets should be located near each
machine so power or extension cords are not
obstructing high-traffic areas. Be sure to
observe local electrical codes for proper
installation if you are adding new lighting,
outlets, or circuits.
Site Planning
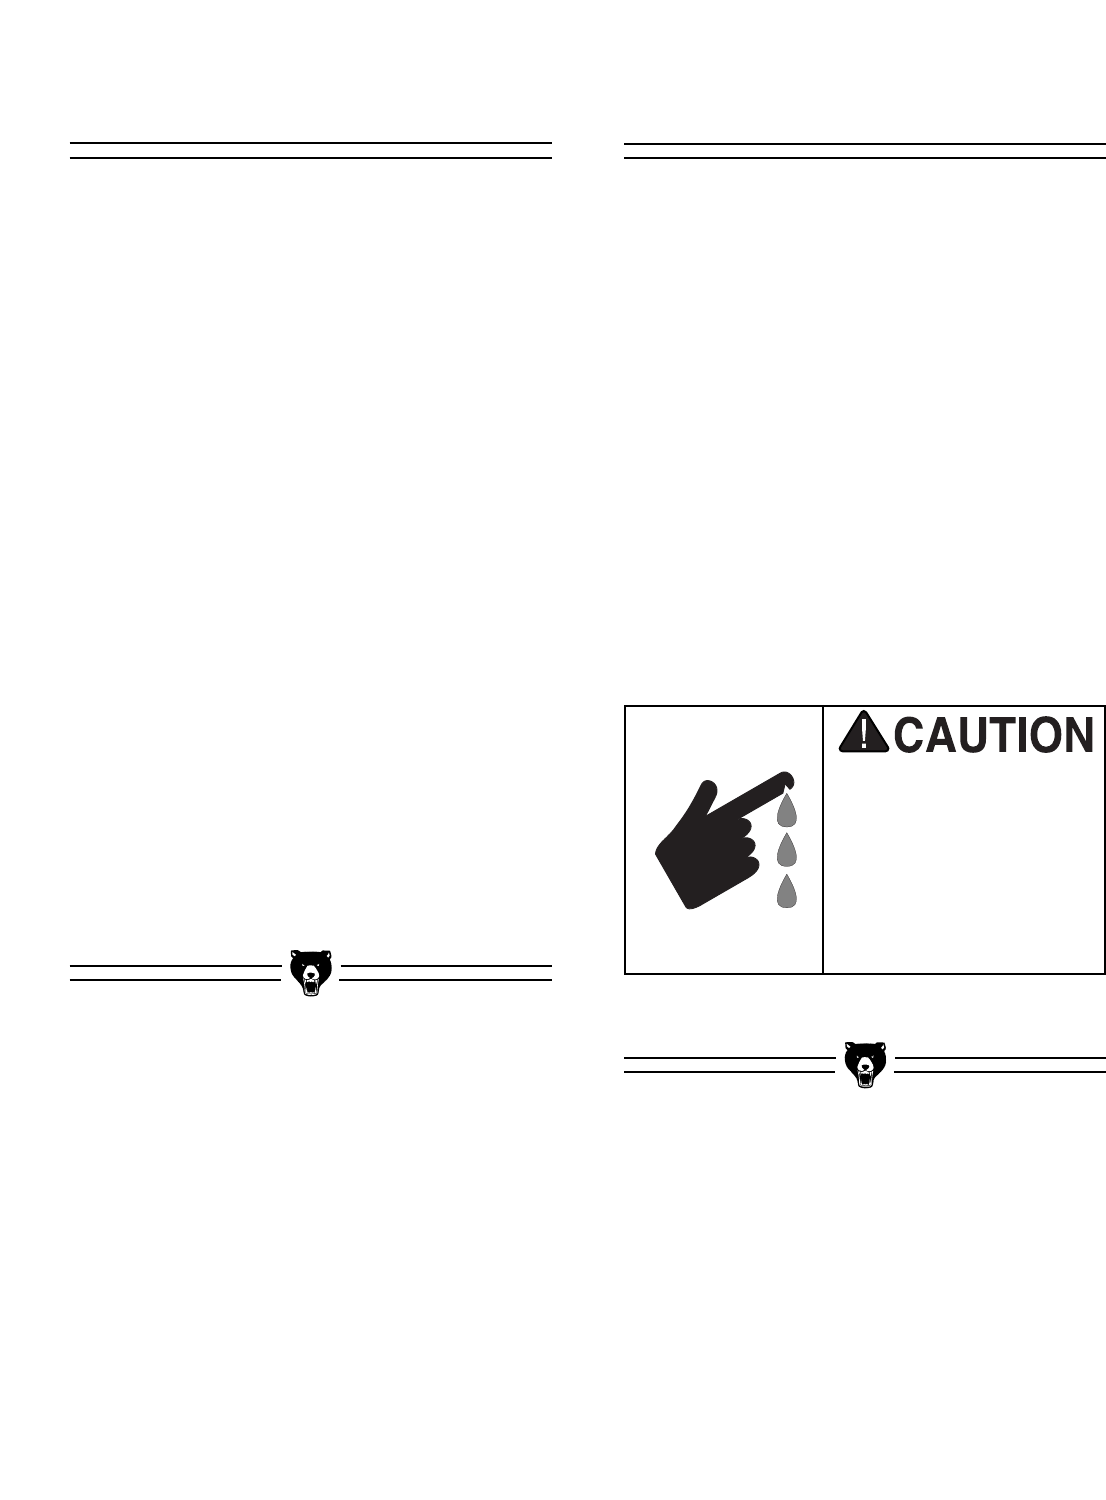
Some metal parts may
have sharp edges on
them after they are
formed. Please examine
the edges of all metal
parts before handling
them. Failure to do so
could result in injury.


