


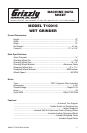


Model T10010 Wet Grinder-10-
Site Considerations
Bench Load
Refer to the Specifications on Page 6
for the weight and size specifications of
your machine. Some workbenches may
require additional reinforcement to sup-
port both the machine and the workpiece.
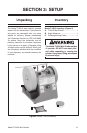
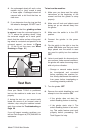
Placement Location
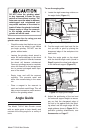
See Figure 3 for the minimum working
clearances. Remember that the Model
T10010 Wet Grinder has no specific front
or back side and must be repositioned
depending on the desired grinding/sharp-
ening/honing action.
Figure 3. Minimum working clearances.
17"
13"
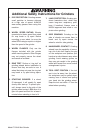
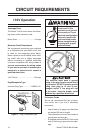
Children and visitors
may be seriously injured
if unsupervised. Lock all
entrances to the shop
when you are away. DO
NOT allow unsupervised
children or visitors in
your shop at any time!
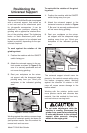
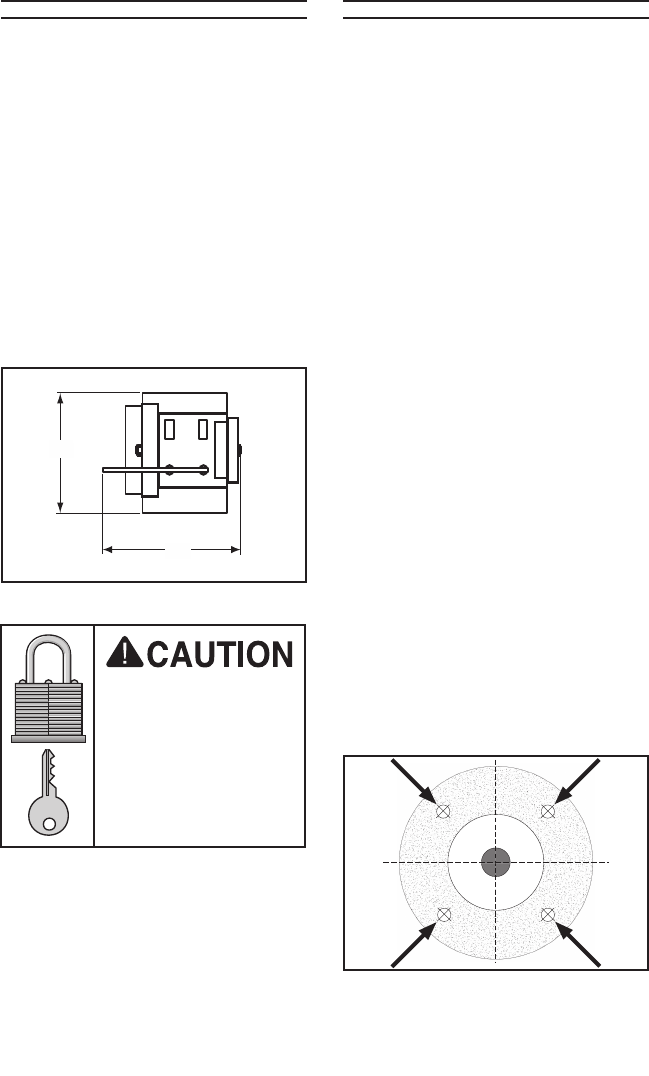
Figure 4. Tapping locations when
performing a ring test.
Do not assume that a wheel is in sound
condition just because it is new—often
damage can occur in shipping, with age,
or with prolonged exposure to moisture.
Inspect every wheel for damage.
First, do a Visual Inspection. Look for any
cracks, chips, nicks or dents in the surface
of the wheel. If you see any of these,
DO NOT use the wheel.
Second, do a Ring Test. This test will give
you an indication of any internal damage
that may not be obvious during a visual
inspection.
To perform a Ring Test:
1. Make sure the wheel that you test is
clean and dry; otherwise, you may get
false results.
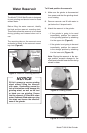
2. If size permits, balance the wheel with
your finger in the hole. If this is not pos-
sible, hang the wheel in the air with a
piece of cord or string looped through
the hole in the center.
3. At the spots shown in Figure 4, gently
tap the wheel with a light non-metallic
device such as the handle of a screw-
driver or a wooden mallet.
Wheel Inspection