


For technical questions, please call 1-800-444-3353;
Troubleshooting section at end of manual.
Page 15SKU 55167
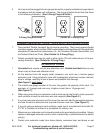
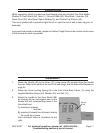
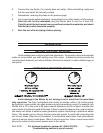
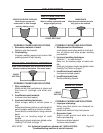
6. Connect the new Switch (1c); polarity does not matter. When reinstalling, make sure
that the new Switch fits securely in place.
7. Reassemble, reversing the steps on the previous page.
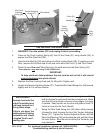
8. Put on appropriate safety equipment, as explained in the safety section of this manual.
After the unit is fully assembled, plug the Welder back in and turn it back ON.
Carefully point the torch away from yourself and conductive materials, and check
that the new switch functions properly.
9. Shut the unit off and unplug it before storing.
OPERATION
BEFORE YOU START WELDING
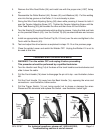
Good welding takes a degree of skill and experience. You should practice a few sample
welds on scrap before you start welding your first project. Additional practice periods are
recommended whenever you weld a different thickness of material or weld a different type of
connection.
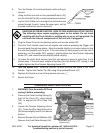
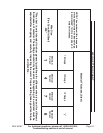
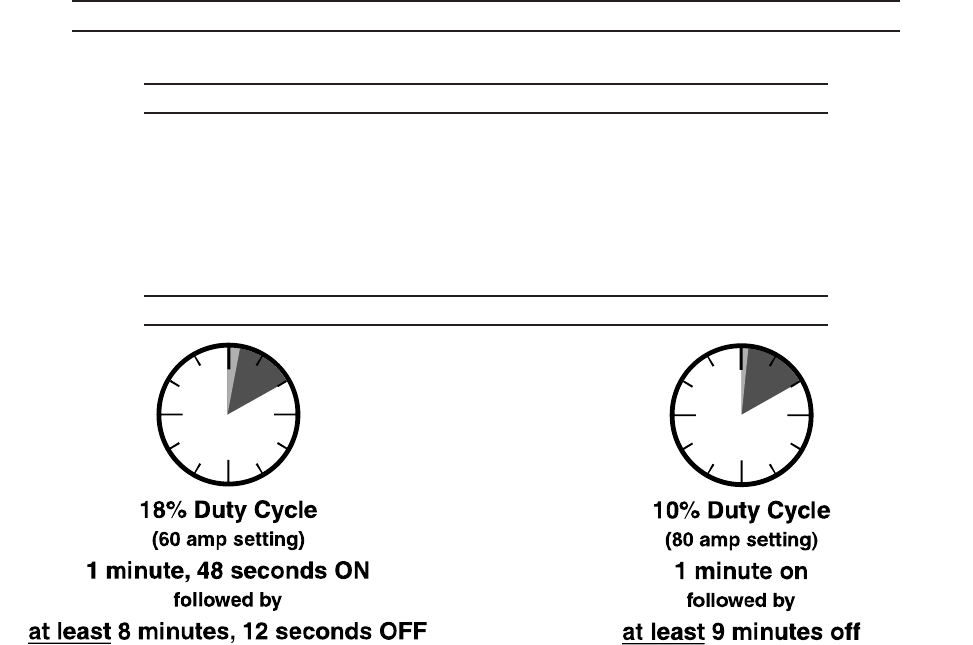
DUTY CYCLE (DURATION OF USE)
Avoid damage to the Welder by not leaving it on for more than the prescribed
duty cycle time. The Duty Cycle defines the number of minutes, within a 10 minute period,
during which a given welder can safely produce a particular welding current. For example, this
Welder with a 10% duty cycle at 80 amps must be allowed to rest for at least 9 minutes after
every minute of continuous weld at 80 amps. Failure to carefully observe duty cycle limitations
can easily over stress a welder’s power generation system contributing to premature welder
failure. This welder has an internal thermal protection system to assist with preventing this
sort of over stress. When the unit overheats, it automatically shuts down, then automatically
returns to service when it cools down. When it returns to service, follow a more conservative
duty cycle routine to help prevent excess wear to the welder.