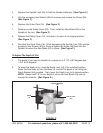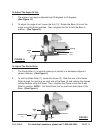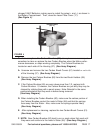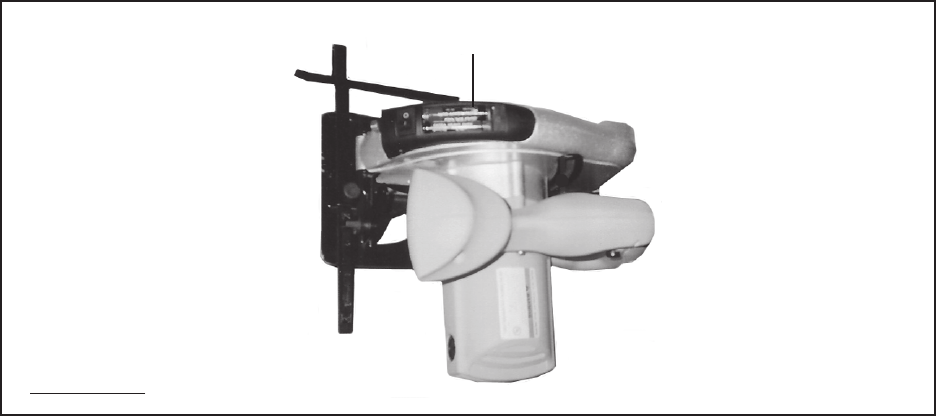
charged “AAA” Batteries, making sure to match the poles (+ and --) as shown in
the Battery Compartment. Then, close the Laser Plate Cover (17).
(See Figure J.)
“AAA” BATTERIES
(QTY. 2)
FIGURE J
5. To clean or replace the Carbon Brushes (60): It may become necessary at
sometime to clean or replace the two Carbon Brushes when the Motor perfor-
mance decreases, or stops working completely. The Carbon Brushes are
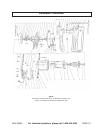
located on each side of the Housing (57). (See Assy. Diagram.)
A. Unscrew and remove the two Carbon Brush Covers (61) located on each side
of the Housing (57). (See Assy. Diagram.)
B. Remove the two Carbon Brushes (60) from the two Brush Holders (59).
(See Assy. Diagram.)
C. If the Carbon Brushes (60) are worn down more than 1/2, replace
both
Carbon Brushes. If, however, the Carbon Brushes are just dirty they may be
cleaned by rubbing them with a pencil eraser. Note: Reinstall in the same
position/orientation that they were in before being removed.
(See Assy. Diagram.)
D. When installing the Carbon Brushes (60), make sure the carbon portion of
the Carbon Brushes contact the motor’s Stator (56) and that the springs
face away from the Stator. Also, make sure the springs operate freely.
(See Assy. Diagram.)
E. After replacement or cleaning, replace the two Carbon Brush Covers (61).
(See Assy. Diagram.)
F. NOTE: New Carbon Brushes (60) tend to arc or spark when first used until
they wear and conform to the motor’s Stator (56). (See Assy. Diagram.)
SKU 95004 For technical questions, please call 1-800-444-3353 PAGE 17


