10ą307-586
Operation
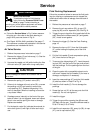
Clean the Spray Gun and System Daily
WARNING
INJECTION
HAZARD
T
o reduce the risk of an injection injury
or splashing fluid in the eyes or on the
skin:
D
Follow the
Pressure Relief Procedure
on page
7 before cleaning, removing, or installing a
spray tip and whenever you are instructed to
relieve pressure.
D
Do not wipe fluid buildup of
f the gun or spray tip
until pressure is relieved.
CAUTION
T
o avoid damaging the gun:
D
Never immerse the gun in solvent as this could
damage packings and allow solvent in the air
passages.
D
Do not use metal tools to clean holes in the air
cap or spray tip.
NOTE:
Clean the front of the tip frequently during the
day to help reduce buildup.
1.
Relieve the pressure as instructed
on page 7.
2.
Clean the outside of the gun and the tip guard with
a soft cloth dampened with compatible solvent.
3. T
o avoid damaging the spray tip and air cap, clean
them with a compatible solvent and soft brush. T
o
clean the air cap passages, use a soft brush or
other soft tool, with an air blow gun.
4.
If using an in-line filter
, remove and clean it
thoroughly in a compatible solvent.
5.
Clean the system’
s fluid filter and air line filter
.
Check the Diffuser-seat Operation Weekly
WARNING
INJECTION
HAZARD
The gun diffuser-seat breaks up spray
when the gun is sprayed without the
spray tip installed, such as during flush
-
ing. This reduces the risk of an injection injury
.
Check the dif
fuser-seat operation weekly
.
1.
Relieve the pressure as instructed
on page 7.
2.
Remove the tip guard and spray tip.
3.
Start the pump and operate it at its lowest pres
-
sure.
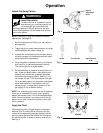
4.
Hold a metal part of the gun firmly against a
grounded metal waste container
, and trigger the
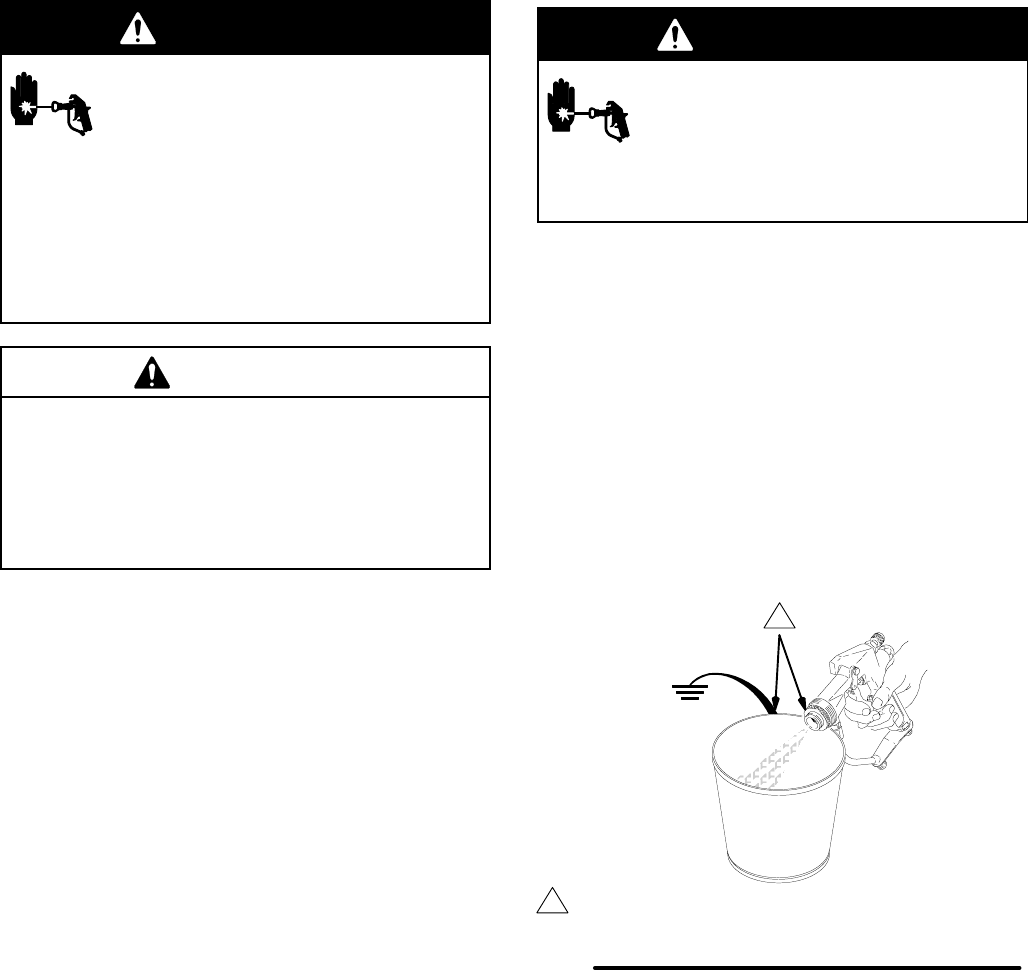
gun. See Fig. 7. If the fluid coming from the gun is
not dif
fused into an irregular stream, replace the
dif
fuser-seat immediately
.
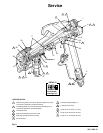
Fig. 7
Maintain
firm metal-to-metal contact between the gun and a
grounded metal container
.
0794A
1
1


