11OM-185 158
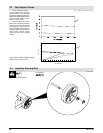
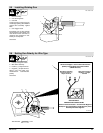
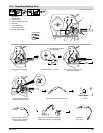
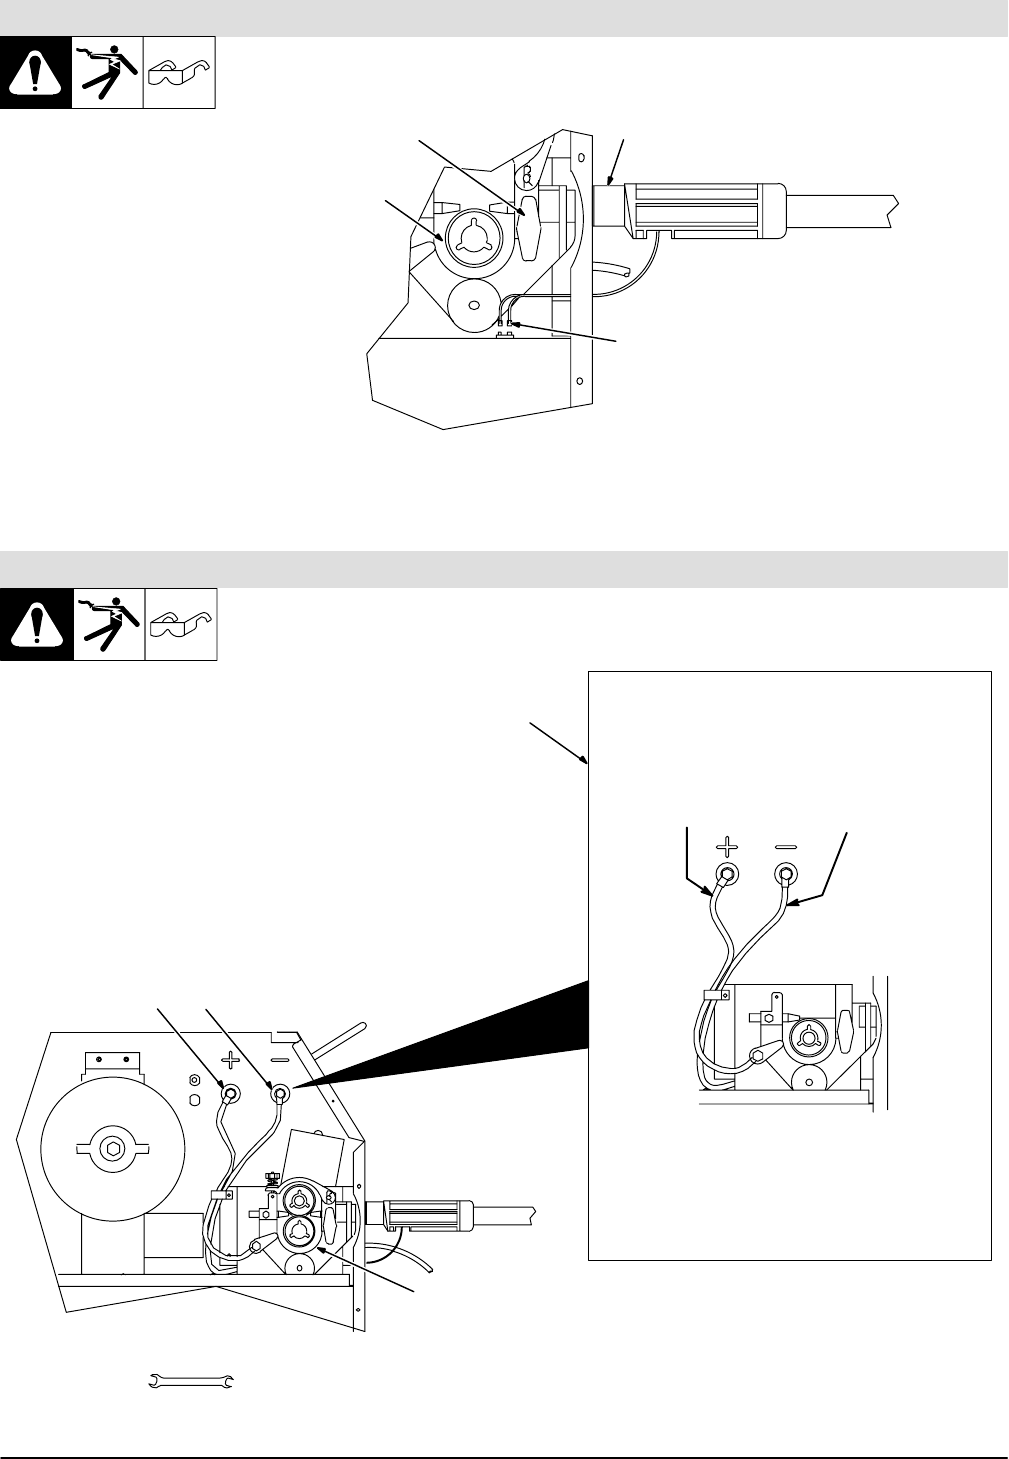
2.5 Installing Welding Gun
Ref. ST-801 789
1 Drive Assembly
2 Gun Securing Knob
3 Gun End
Loosen securing knob. Insert gun
end through opening until it bottoms
against drive assembly. Tighten
knob.
4 Gun Trigger Leads
Insert leads, one at a time, through
small grommet on front panel. Con-
nect female friction terminals to
matching male terminals in unit.
Polarity is not important.
Close door.
1
3
4
2
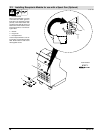
2.6 Setting Gun Polarity for Wire Type
Tools Needed:
3/4 in
Shown As Shipped – Set For Electrode Positive
(DCEP) For Solid Steel Or Aluminum Wires
(GMAW Process).
Reverse Lead Connections – For Electrode Negative
(DCEN) For Flux Cored Wires (FCAW Process). Drive
Assembly Becomes Negative
S-185 249
Wire Drive Assembly
Lead To Positive (+)
Output Terminal
Work Clamp Lead To
Negative (–) Output
Terminal
GUN POLARITY
CHANGEOVER CONNECTIONS
1
2
4
3
1 Polarity Changeover Label
2 Wire Drive Assembly
3 Positive (+) Output Terminal
4 Negative (-) Output Terminal
Always read and follow wire
manufacturer’s recommended
polarity.
Close door.
Ref. ST-801 789


