


Rev. 0505
11
Maintenance
ELECTRICAL PRECAUTIONS
BEFORE
SERVICING
Always Disconnect Electrical
Power at the Main Disconnect
when servicing or replacing
any electrical component.
This includes (but not limited to) Fans,
Heaters, Thermostats, and Lights.
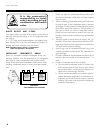
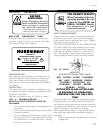
REPLACING FLUORESCENT LAMPS
Fluorescent lamps are furnished with a shatterproof
protective coating. The same type of lamp with protec-
tive coating must be used if replaced.
ENCAPSULITE
SHATTERPROOF COATING - SA 10645
Complies with FDA USDA
& OSHA Regulations
for replacement call:
1-800-395-9229
Turn switch off then on after replacing bulb
NSF
U
R
R
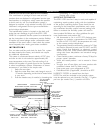
EVAPORATOR FANS
The evaporator fans are located at the center front of
these merchandisers directly beneath the display pans.
Should fans or blades need servicing, always replace fan
blades with the raised embossed side of the blade TOWARD
THE MOTOR.
COPPER COILS
The copper coils used in Hussmann merchandisers may
be repaired in the field. Materials are available from local
refrigeration wholesalers.
Hussmann recommends using #15 Sil-Fos for repairs.
TIPS & TROUBLESHOOTING
BEFORE CALLING FOR SERVICE, CHECK THE
FOLLOWING:
1. Check electrical power supply to the equipment for
connection.
2. Check fixture loading. Overstocking case will affect
its proper operation.
3. If frost is collecting on fixture and/or product, check
that Humidity Control is working properly, and that
no outside doors or windows are open—allowing
moisture to enter store.
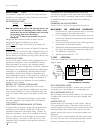
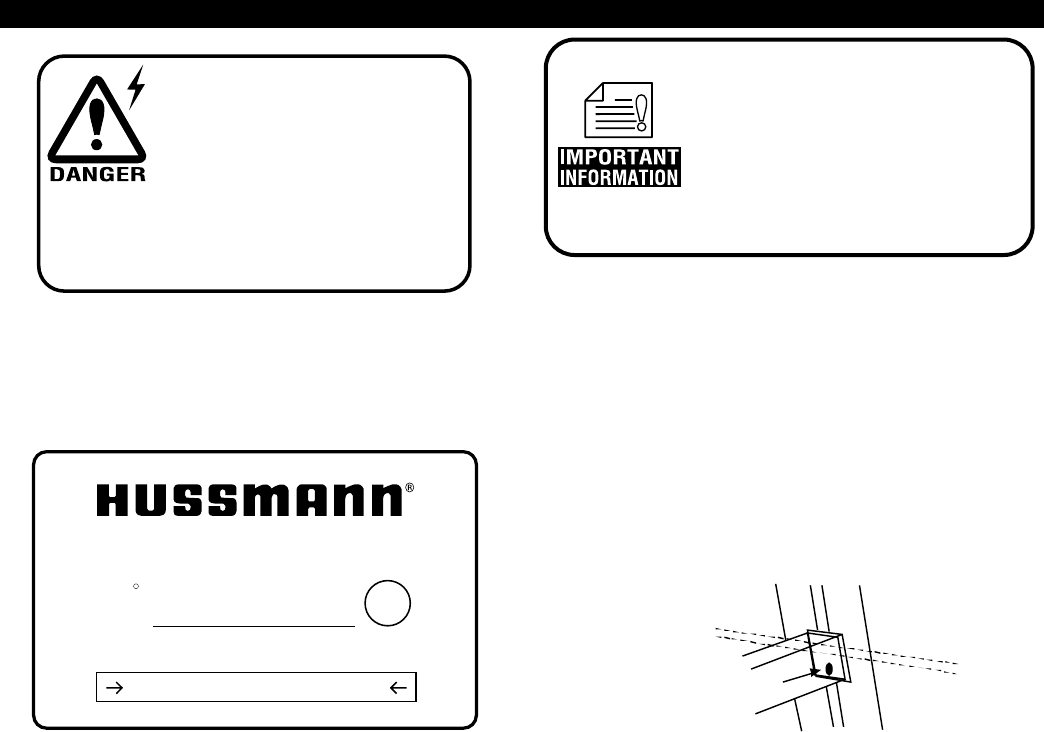
FOR PROMPT SERVICE
When Contacting the Factory
regarding problems, Be sure
to have the Case MODEL and
SERIAL NUMBER Handy.
This Information is on a plate
located on the case itself.
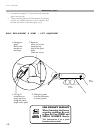
SHELF GLASS ADJUSTMENT
Unload product from shelves. Remove the glass insert
panels, and use the 5mm wrench provided to slightly
loosen the set screw at the lower rear of arm. Repeat
the procedure ton the other arm.
CAUTION: SUPPORT SHELF AT ALL TIMES! DO NOT
LET SHELF DROP! Use a tape measure to insure level
height from deck pans, and adjust the shelf as desired.
Note that the standard is marked in 1” increments, to
aid in shelf alignment. When desired shelf location is
reached, tighten shelf arm screws, and reload product.
SET SCREW
LIFT UP GLASS
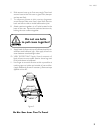
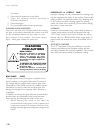
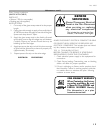
IMPORTANT!
READ BEFORE RAISING FRONT GLASS :
HEX SCREWS ALONG CLAMSHELL
MAY HAVE LOOSENED DURING
SHIPPING!! RETIGHTEN ALL
CLAMSHELL SCREWS BEFORE
OPENING GLASS!
RETIGHTEN GLASS AFTER CASE
IS BROUGHT TO OPERATING
TEMPERATURE FOR THE FIRST
TIME!
The top cylinders, which allow the raising and lowering
of the glass, have been carefully tested for proper ten-
sion. However, during shipment, the lubricant inside may
have settled. This settling may cause excessive or uneven
tension on the glass - to the point of breakage.
After installing new cylinders, it is advisable to perform
these three easy steps before completely raising the
front glass.
1. Slowly raise and lower each glass section 6 times, to
a height of 6".