


12
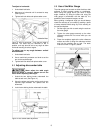
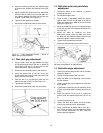
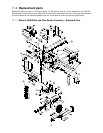
Figure 11: Rotating the machine casting to remove
the disc guard bolts
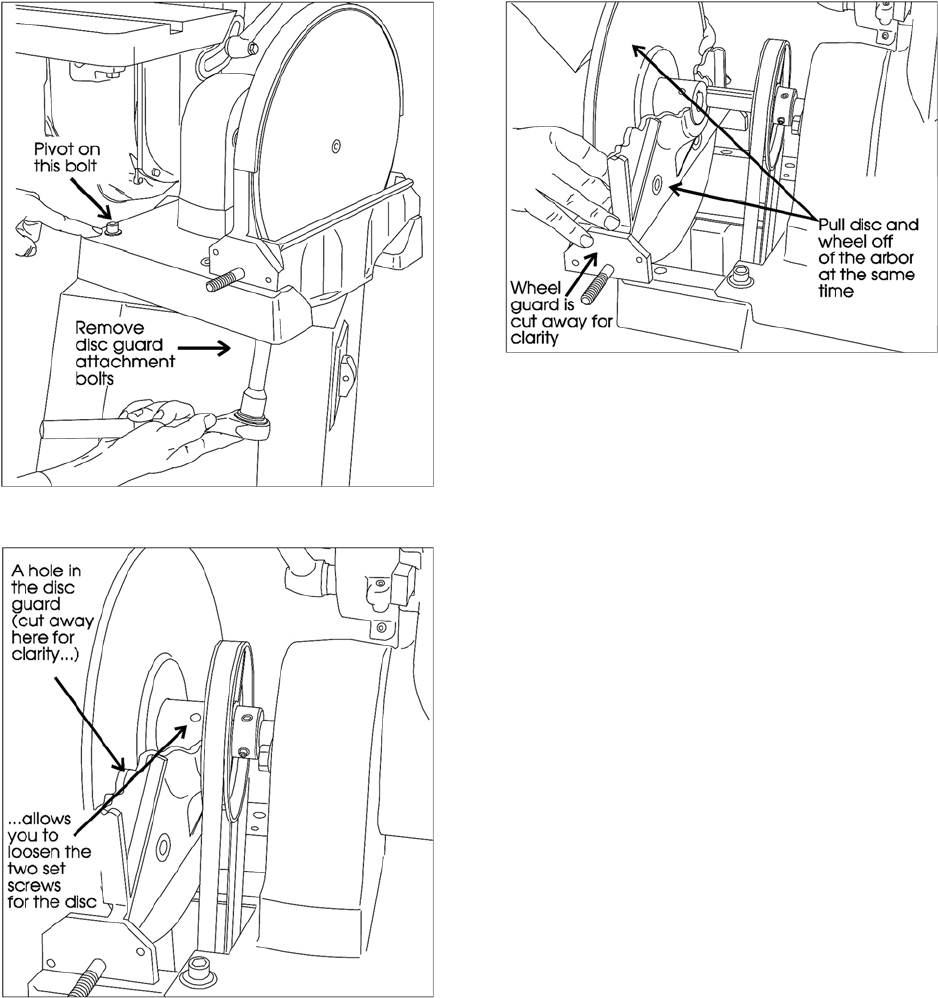
Figure 12: Locating the set screws that secure the
disc to the arbor
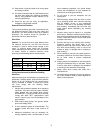
8. Through the hole in the disc guard casting, locate
and remove the TWO set screws that secure the
drive disc to the arbor (Figure 12). One set screw
clamps on the arbor key and the other clamps on
the arbor shaft, itself. Be sure you loosen both of
them.
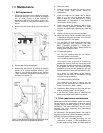
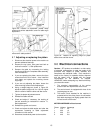
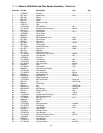
9. Slide the disc and its guard off of the machine,
together (See Figure 13).
10. The V-belt can now be removed from the drive
arbor.
11. Install the new belt on the top pulley.
Figure 13: Removing the guard and drive disc,
together.
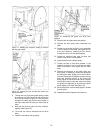
12. Slide the disc and guard back into position.
13. Reinstall the disc guard bolts underneath the
table.
14. Position the drive disc so that it is no more than
1/16 inch away from the table, then tighten BOTH
of the set screws by inserting the hex wrench
through the hole in the disc guard casting.
15. Rotate the machine back onto its base and
secure it with all four mounting bolts.
16. Install the belt over the bottom pulley.
17. Tension the belt so that when pressed, in the
middle of its travel, it has no more than one belt's
width of movement – then tighten the four motor
bolts.
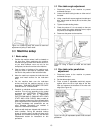
18. Observe the alignment of the motor pulley and
arbor pulley. If necessary, correct their alignment
by shifting the motor slightly on its mount (which
involves loosening and retightening the mounting
bolts and checking tension) or by shifting the
pulley slightly on the motor shaft (which involves
loosening the motor pulley set screw and sliding
the pulley into alignment) or by moving the arbor
pulley slightly on its shaft (See Figure 14).
19. When the pulleys are accurately aligned, reinstall
the belt guard.
20. Reestablish electrical power to the machine.