14
Wood warped lengthwise - Feed rollers will
flatten a lengthwise warped board as if it were flat,
but the board will spring back to its original shape
once out of the planer. A lengthwise warped board
must be jointed flat on one side on a jointer before
being thickness planed.
Twisted wood - Twisted lumber or lumber twisted
lengthwise is difficult to thickness plane. The wood
may be so twisted that it cannot be thickness
planed. One possible solution may be to saw the
board into smaller sections and see if the sections
can be thickness planed.
11.2 Wood Grain
For an improved surface finish with minimal
tearout, always plane the work piece with the grain.
The work piece should be fed into the
planer/molder so that blades are traveling with the
grain as they finish the cut. The grain should be
angled up toward the rear of the work piece as it is
fed into the planer/molder.
12.0 Molding setup and
adjustments
Set feed gear box to 10 FPM. (See illustration and
instruction in section 10.3).
12.1 Installing molding cutters
Cutterhead knives are sharp.
Use extreme caution when working in close
proximity. Never attempt to mold without a dust
chute and dust collection system. Failure to
comply may cause serious injury.
1. Disconnect machine from power source
(Unplug).
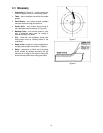
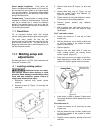
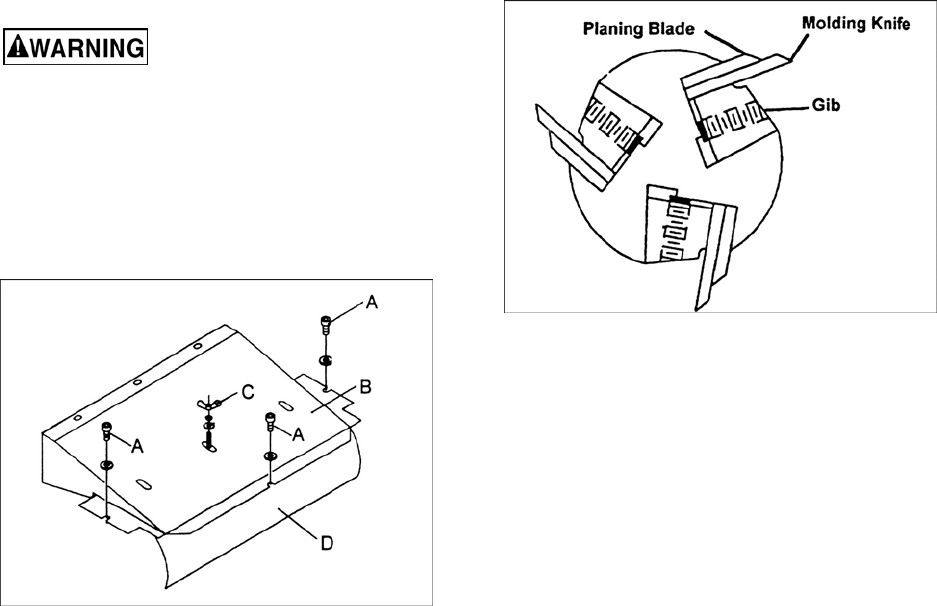
2. Remove screws (A, Figure 14) securing the
dust hood.
Figure 14
3. Remove dust hood (B, Figure 14) and dust
chute.
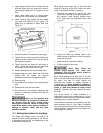
4. Loosen three wing nuts (C, Figure 14) and
slide the curved infeed chip deflector (D,
Figure 14) out of the way.
5. Tighten screws to hold chip deflector in place.
It is not used in the molding operation.
6. Remove plastic outfeed chip deflector
completely.
7. With a marking pen, label each knife slot on
the cutterhead one, two, and three for easy
identification.
For 2” and under cutters:
• Loosen set screws on 2” lock bar at cutter
number one.
• With the brass bar and a mallet carefully tap
on lock bar outside of set screws to loosen
taper fit of the lock bar.
• Remove spacers.
• Remove lock bar. Note: With 2” wide and
under molding cutters, the planing knives
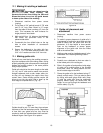
remain in place (Figure 15).
• Install lock bar but do not tighten at this time.
Note: Depending on cutter width, 1” and under
cutters will require a spacer next to the cutter.
Figure 15
• Install cutter in place of spacers. Cutters must
face proper direction and be seated fully in the
cutterhead.
For cutters over 2”:
• Loosen set screws on all lock bars at cutter
number one.
• With the brass bar and a mallet, carefully tap
on lock bar outside of set screws to loosen
lock bar taper fit.
• Carefully remove spacers, planing knives and
lock bars.


