


17
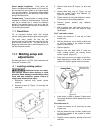
8. Position second guide rail on the table.
Placement of this rail depends on the width of
the board and if the board requires outer edge
clean-up. Review molding procedure section
for pre-sizing stock guidelines. When using
knives that require outer edge clean-up, the
workpiece will contact the guide rails only
while wood is feeding into the cutterhead. After
the workpiece passes the cutterhead, the
outfeed roller will hold the workpiece in
position.
9. Clamp or nail second guide rail.
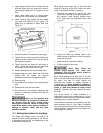
10. Replace dust hood, dust chute and fasten in
place.
11. Connect to the dust collection system.
12. Make sure all adjusting tools and wood stock
are removed from the machine.
TIP: Save money, time, and frustration by
experimenting first with scrap work pieces before
attempting to mold with expensive stock.
13.0 Molding procedure
Never mold without using a
dust collector. Molding without a dust collector
may cause clogging of and damage to machine.
Molding with professional results takes planning
prior to starting. Always take a light cut for the
smoother finish. Pre-sizing wood before molding is
a necessity. Always pre-size the workpiece to 1/16”
of the final thickness before running the workpiece
through the molder.
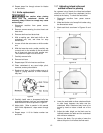
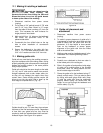
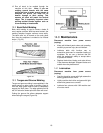
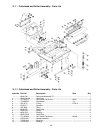
With profiles that require outer edge clean-up, the
workpiece should be 1/8” larger than the final width
allowing 1/16” on either side of the cutter. (Fig. 21)
Figure 21
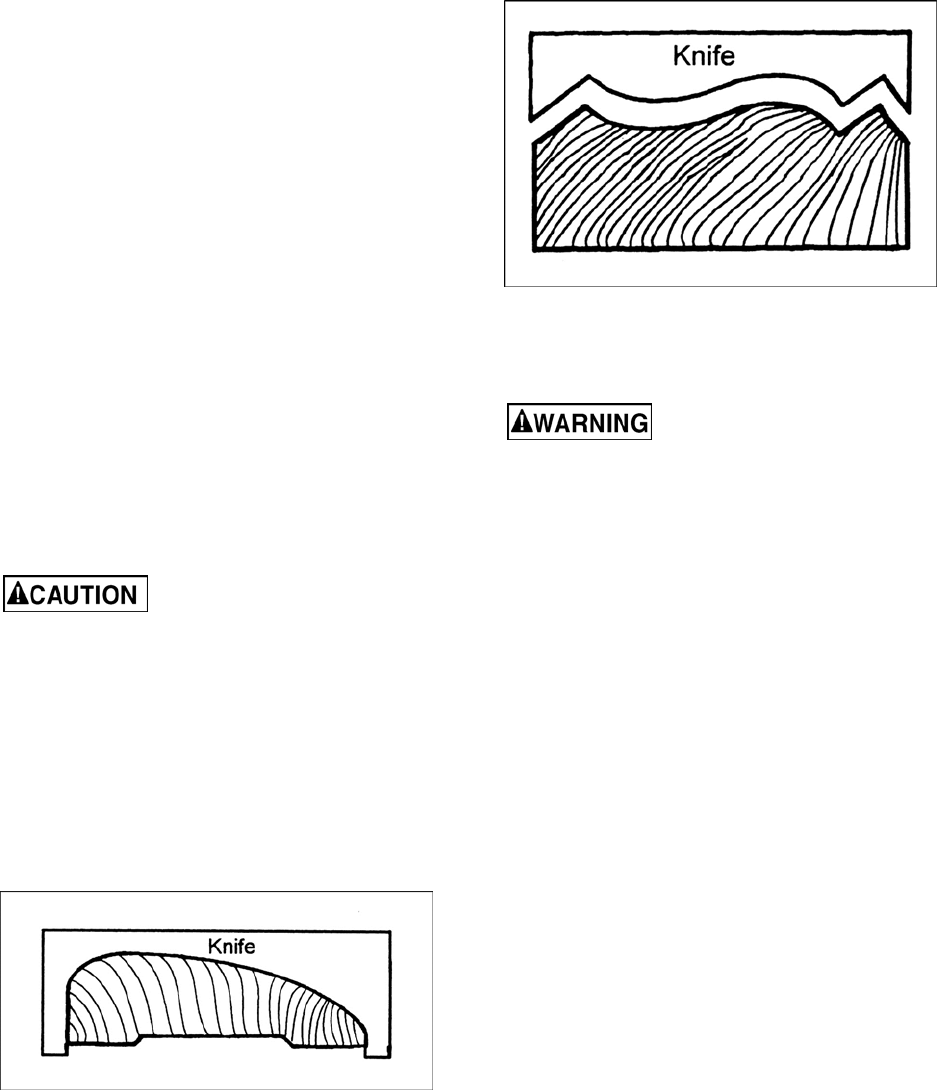
With profiles that only cut the edge of the
workpiece, the workpiece should be the same size
as the final width. (Fig. 22)
Figure 22
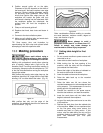
Other considerations before molding to consider
are wood hardness, moisture content, degree of
warp, and direction of grain.
Never attempt to mold a
workpiece shorter than 14” or thinner than 1/2".
Failure to comply may cause damage to
machine and/or serious injury to operator.
13.1 Setting table height for first
pass
1. Do not connect machine to power source until
instructed to do so.
2. Lower table to allow insertion of workpiece.
3. While looking into the front opening of the
machine, raise the table until the workpiece
just contacts the infeed roller.
4. Record the height of the table as indicated on
the scale to either side of the table.
5. Lower the table and remove the workpiece.
6. Raise the table back up to the recorded
measurement.
7. Raise the table one full turn above the
recorded measurement to allow adequate feed
roller pressure. This measurement is now the
starting point for this particular job.
8. Connect the machine to the power source,
start the dust collector, and start the machine.
9. Insert the work piece until the infeed roller
begins to advance the workpiece.
10. Let go of the work piece and move to one side
of the machine.
11. Retrieve the work piece from the outfeed side
of the machine. Note: It is our experience that
on the first pass using some cutters, the
material may feed in a jerky motion. If this
occurs, raise the table during the cut until the
workpiece begins to advance smoothly. This
point now becomes your first pass
measurement.