


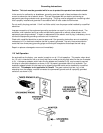

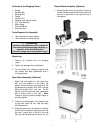


10
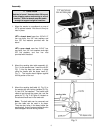
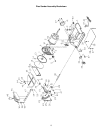
Horizontal Sanding Workstop
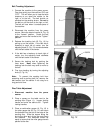
1. Loosen the socket head cap screw (A, Fig. 7)
so that the sanding belt can be rotated to
the horizontal position.
2. Rotate the sander until the stop (B, Fig. 7)
contacts the sander base. Tighten the
socket head cap screw.
3. When the sanding belt is used in the
horizontal position, the table may be used
as a workstop, as shown in Figure 7.
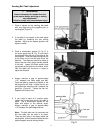
Sanding Belt Replacement
1. Disconnect the machine from the power
source.
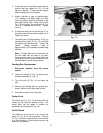
2. Remove the handle (A, Fig. 8).
3. Release two latches (B, Fig. 8) and open the
doors.
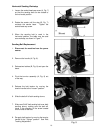
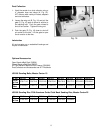
4. Pivot the trunnion assembly (A, Fig. 9) out
of the way.
5. Release the belt tension by moving the
tension handle to the “Loosen” position.
6. Slide the belt off of both sanding drums.
7. Slide new 6”x48” belt sanding belt over both
sanding drums, making sure the belt will
travel in the direction of the arrow located
on the inside of the belt.
8. Re-apply belt tension by moving the tension
handle to the “Tighten” position. See “Belt
Tracking Adjustment”.