


9
Sanding Belt Table Adjustment
WARNING
Always disconnect the sander from the
power source before servicing or making
any adjustments.
Failure to comply may cause serious injury!
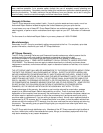
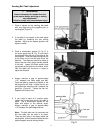
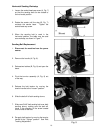
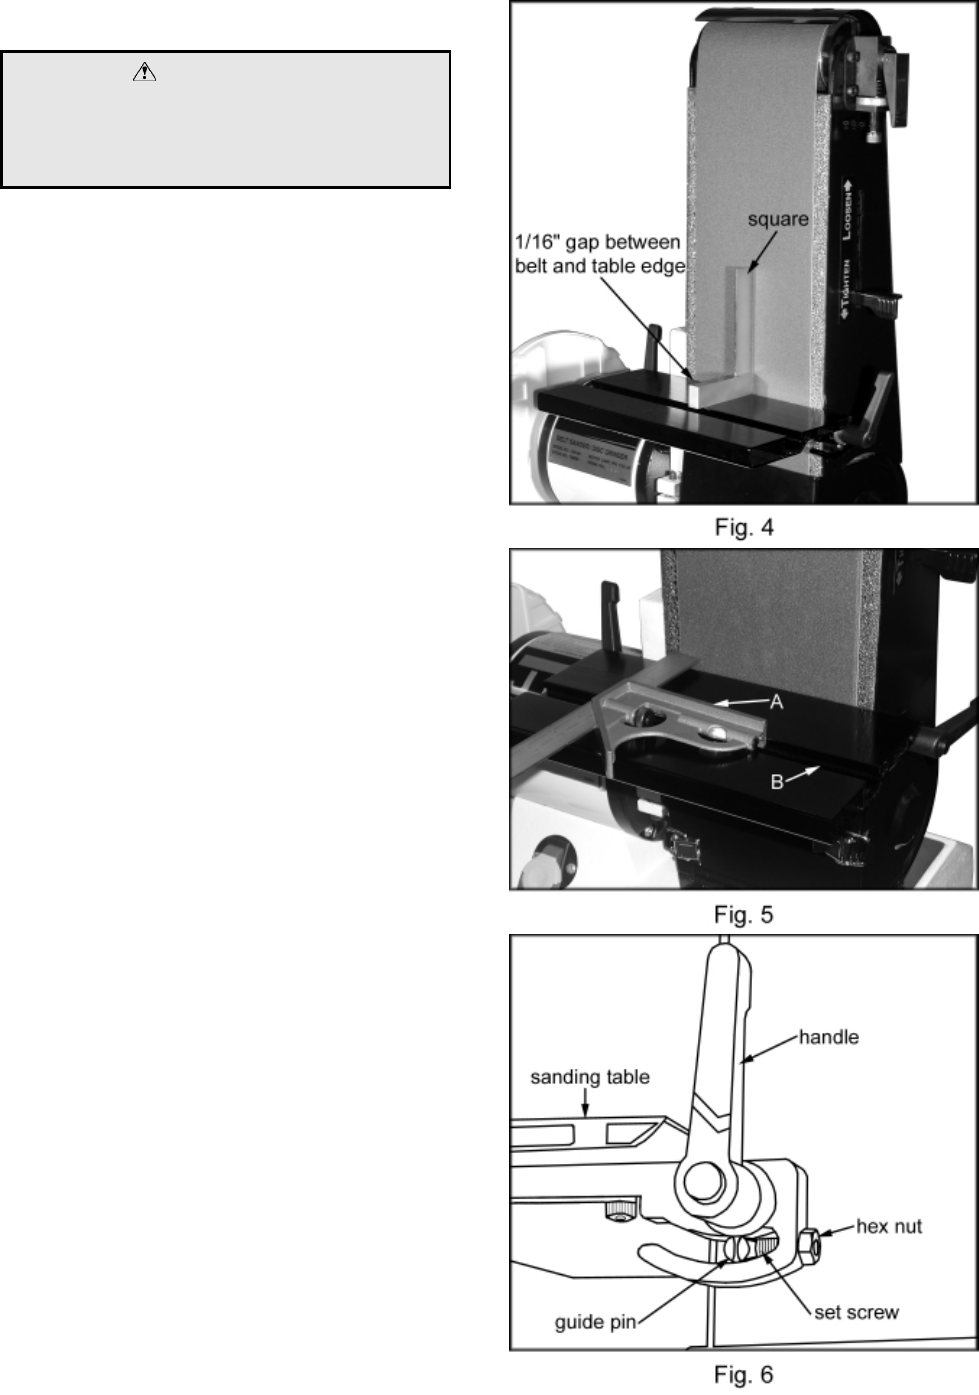
1. Place a square on the sanding belt table
with one edge along the graphite pad, or
sanding belt (Figure 4).
2. If the table is not square to the belt adjust
the table by loosening the two locking
handles. Adjust to the square position and
tighten handles.
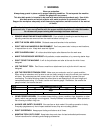
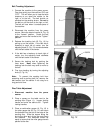
3. Place a combination square (A, Fig. 5) in
the miter gauge slot (B, Fig. 5) and check
the distance from the slot to the edge of the
sanding belt. Slide the square along the slot
to the other end of the belt and check the
distance. The distances should be equal to
ensure that the miter gauge travels parallel
to the belt. Loosen the three socket head
cap screws at the bottom of the table, which
hold the table and trunnions in place to
adjust the distance.
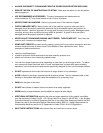
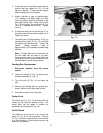
4. Always maintain a gap of approximately
1/16” between the table edge and belt.
Once the table is square and parallel to the
belt adjust the 90° stop. Loosen the hex nut
and tighten the set screw until it contacts the
guide pin, (Figure 6). Tighten the hex nut.
Repeat for the other side.
5. If you need to sand at a precise angle,
loosen the handles that secure the table in
place. Set a combination square on the
table and adjust to the desired angle.
Always maintain a gap of approximately
1/16” between the table edge and belt.
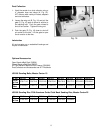
Note: The belt table can be removed and
the disc table can be used in its place.
There are two holes in the base, below the
sanding belt, that will accommodate the disc
table’s support rod and locking handle.