


7
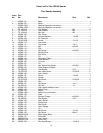
Contents of the Shipping Carton
1. Sander
1. Sanding Belt
1. Sanding Disc
2. Tables
1. Center Point
3. Handles (one w/brass insert)
2. 5/16” Flat Washers
1. Miter Gauge
1. Owner's Manual
1. Warranty Card
Tools Required for Assembly
1. 13mm Wrench or socket (stand)
1. 12mm Wrench or socket (stand)
WARNING
Read and understand the entire contents of
this manual before attempting assembly or
operation of the disc/belt sander!
Failure to comply may cause serious injury!
Unpacking
1. Remove all contents from the shipping
carton.
2. Report any damage to your distributor.
3. Do not discard any shipping material until
the sander has been assembled and is
running properly.
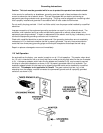
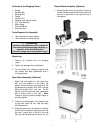
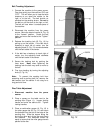
Open Stand Assembly (Optional)
1. Match the hole patterns in the stand legs
with the hole patterns in the stand top
pieces. Mount the legs to the outside of the
top pieces using sixteen 5/16”x3/8” carriage
bolts and sixteen 5/16” lock nuts. Do not
tighten until the stand has been assembled
and is sitting level on the floor. Note:
Flange of long top pieces overlap flange of
short top pieces.
2. Install the leveling pads in the bottom hole
of legs with eight 3/8” hex nuts and eight
3/8” flat washers.
3. Mount the belt rack to the stand by inserting
the 90° bend through the stand and securing
the rack in place with a 3/8”x3/4” hex cap
bolt, two 3/8” flat washers and a 3/8” hex nut.
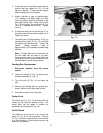
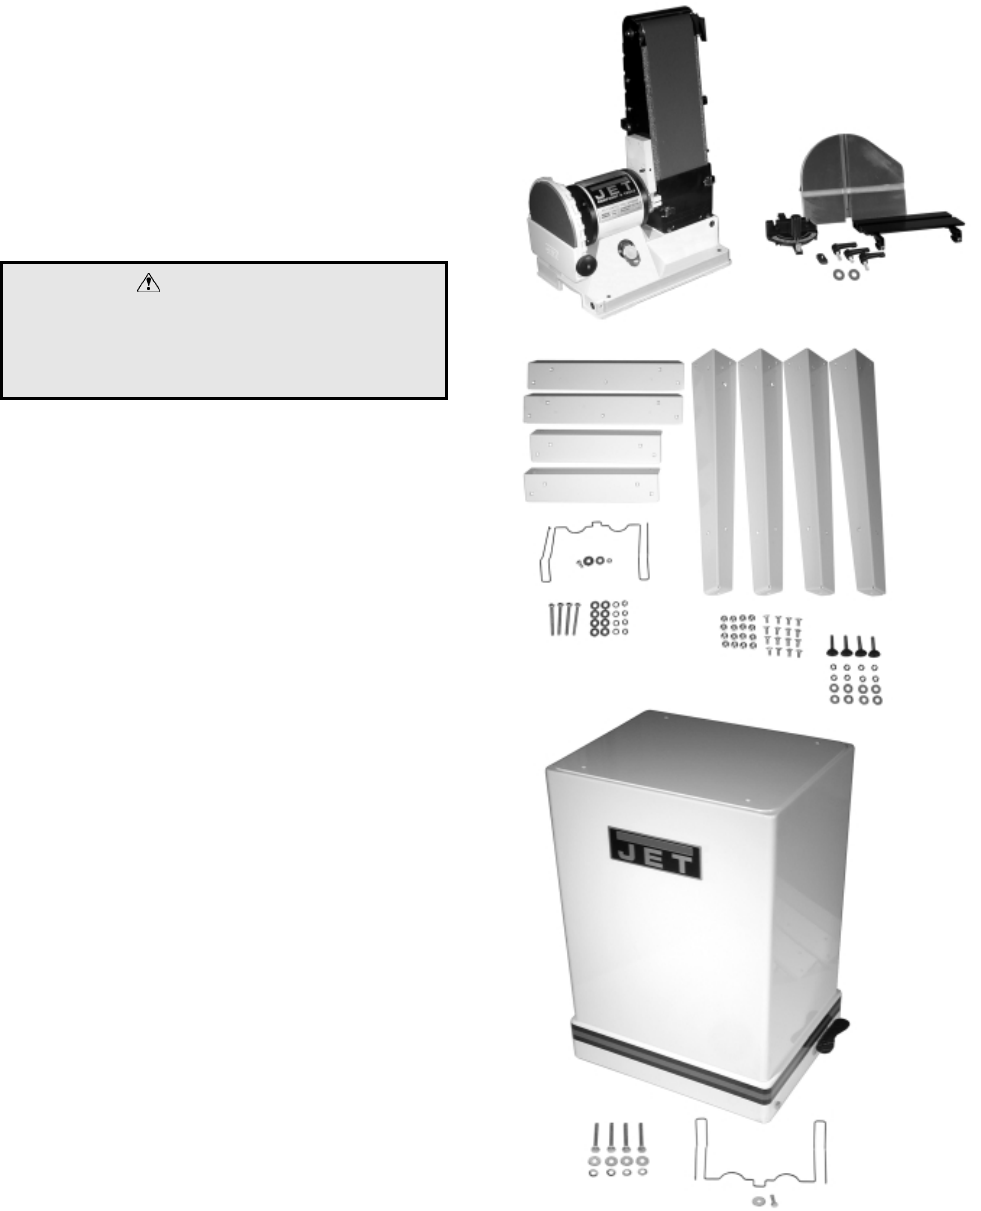
Closed Stand Assembly (Optional)
1. Mount the belt rack to the stand by inserting
the 90° bend through the stand and securing
the rack in place with a hex cap bolt, and a
flat washer.