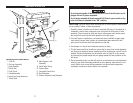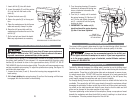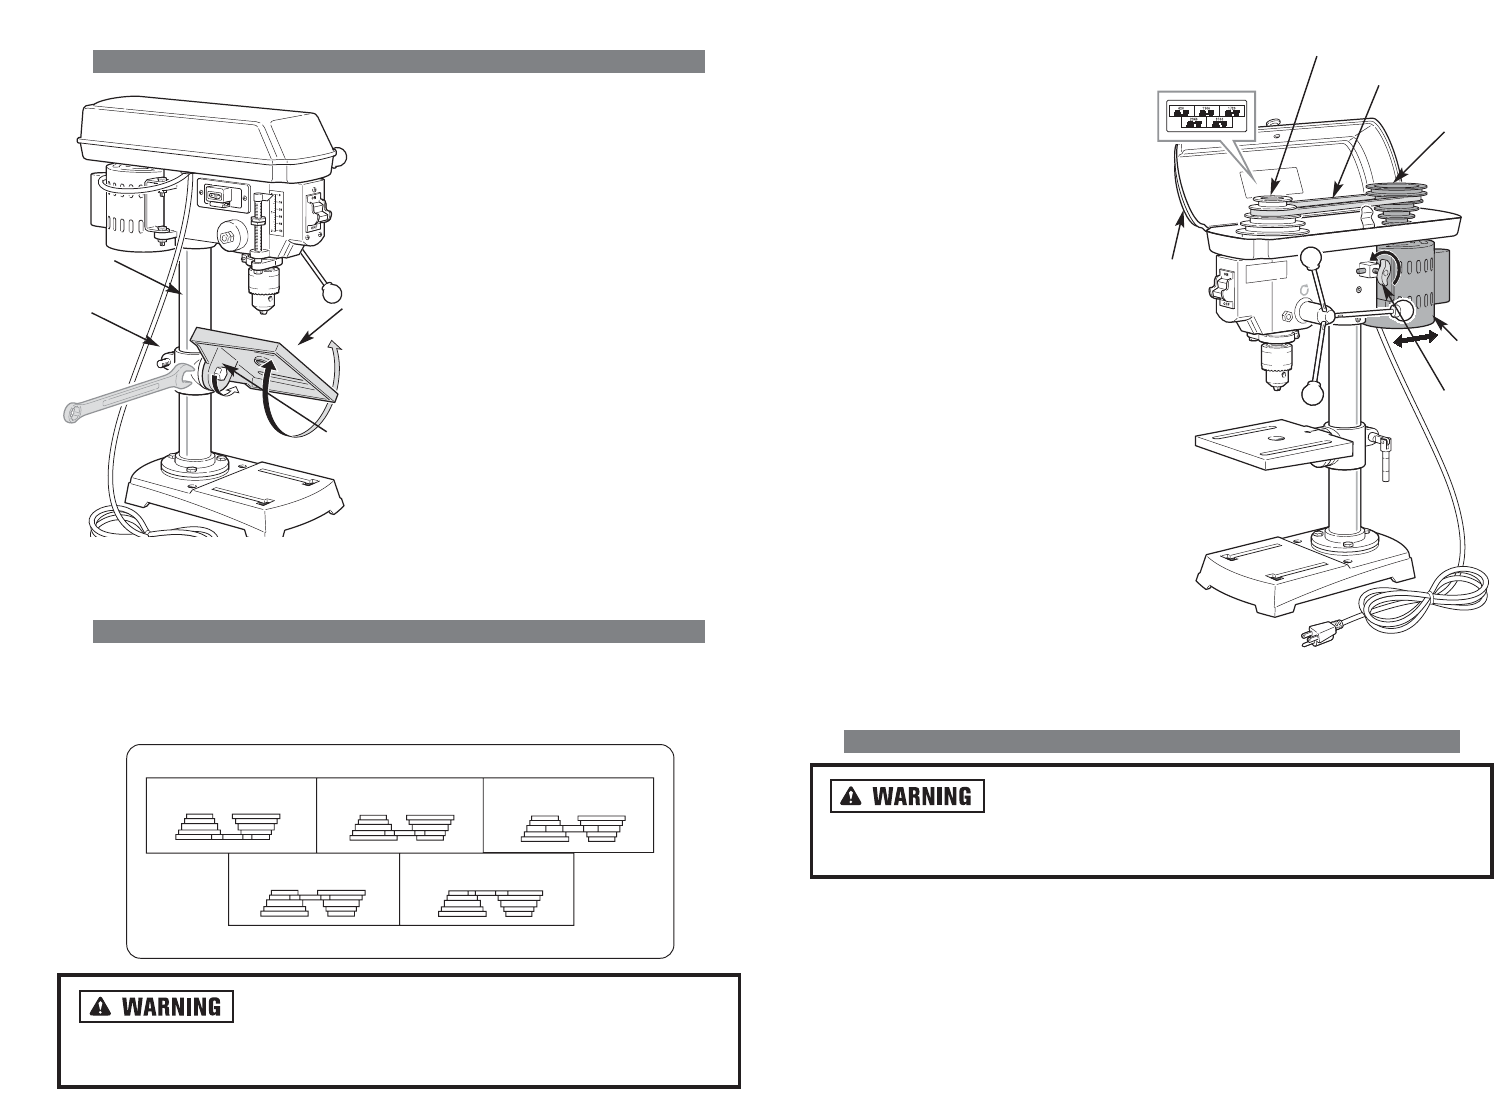
1. Lift up the pulley cover (1).
2. Release the belt tension by loosen-
ing the tension lock knob (2) located
on the side of the drill press head.
Loosen the tension lock knob (2) by
turning it counterclockwise.
3. Pivot the motor (3) towards the
front of the drill press.
4. While holding the motor pivoted to
the front of the drill press, position
the belt (4) on the desired step of
the motor pulley (5) and the spindle
pulley (6). See Figure 14.
5. After attaining the desired spindle
speed, pivot the motor (3) to the
rear of the drill press and securely
tighten the tension lock knob (2) by
turning it clockwise.
6. The belt (4) should be tight enough
to prevent any slippage. If the belt is
overtightened, the life of the belt will
be noticeably reduced.
7. Close the pulley cover (1).
DRILLING HOLES TO SPECIFIED DEPTHS
Disconnect drill press from AC power source and ensure
the “ON/OFF” switch is in the “OFF” position. Failure to adhere to this warn-
ing could cause severe, permanent injury to the operator.
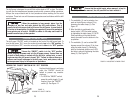
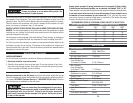
A depth stop (1) is provided on the pinion shaft, allowing multiple holes to be
drilled to a specific depth. See Figure 15.
2221
TILTING THE WORKTABLE
ADJUSTING THE DRILL PRESS SPINDLE SPEED
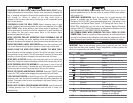
A spindle speed and pulley/belt arrangement chart is posted inside the pulley cover.
See the chart below. Refer to this chart whenever spindle speeds need to be
changed.
Disconnect drill press from AC power source and ensure
the “on/off” switch is in the “OFF” position. Failure to adhere to this warn-
ing could cause severe, permanent injury to the operator.
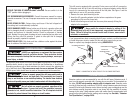
1
5
4
6
2
3
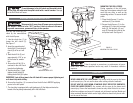
FIGURE 14.
ADJUSTING DRILL PRESS SPEED
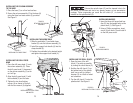
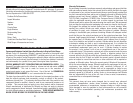
3
2
1
4
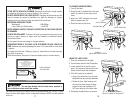
FIGURE 13.
TILTING THE WORK TABLE
1. The worktable (1) can be tilted to the left
or right by loosening the pivot bolt (4)
mounted beneath the worktable. See
Figure 13.
2. Tilt the worktable (1) to the desired posi-
tion and tighten the pivot bolt (4).
3. When returning the table to the level
position, line up the register mark on the
table with the tilt scale. This ensures the
table surface is positioned 90 degrees to
the spindle.
4. A tilt scale (K) is provided on the table
bracket casting (L) to indicate the degree
of tilt.
5. A witness line and zero mark (1) are pro-
vided on the table to ensure proper
alignment with the tilt scale (2).
620 1100
2340 3100
1720


