


MMAAIINNTTEENNAANNCCEE AANNDD CCLLEEAANNIINNGG
It is important to keep your band saw in perfect operating condition.
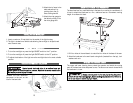
CCLLEEAANNIINNGG
After every use of the band saw, the saw and surrounding area should be cleaned
thoroughly to remove any buildup of metal filings. Use an air hose or soft bristled
brush to clean the saw components. Sweep around the saw or use a shop vacuum
to remove the debris from the floor.
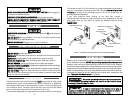
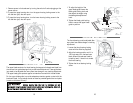
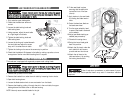
AACCCCEESSSSOORRIIEESS
OOppttiioonnaall aacccceessssoorriieess ffoorr tthhee bbaanndd ssaaww
can include wire-brush wheels that can be
used for cleaning and layered cloth wheels that can be used for polishing and buff-
ing. Contact
AALLLLTTRRAADDEE CCuussttoommeerr SSeerrvviiccee
at
11--880000--559900--33772233 ((ttoollll
ffrreeee))
to find out
what accessories are available for the band saw.
OOnnllyy uussee aacccceessssoorriieess tthhaatt aarree ddeessiiggnneedd ttoo ffiitt yyoouurr ppaarrttiicc--
uullaarr bbaanndd ssaaww.. TThheessee aacccceessssoorriieess
sshhoouulldd bbee ssppeecciiffiiccaallllyy llaabbeelleedd ttoo mmaattcchh
tthhee ssppeeeedd aanndd aarrbboorr ssiizzee ooff tthhee bbaanndd ssaaww.. FFaaiilluurree ttoo uussee tth
hee pprrooppeerr aacccceess--
ssoorriieess ccoouulldd rreessuulltt iinn pprrooppeerrttyy ddaammaaggee,, ddaammaaggee ttoo tthhee bbaanndd ssaaww,, aanndd sseerrii--
oouuss ppeerrsso
onnaall iinnjjuurryy ttoo tthhee ooppeerraattoorr..
AAllwwaayyss aattttaacchh ggrroouunnddeedd ((33--pprroonngg)) eexxtteennssiioonn ccoorrddss ttoo ggrroouunnddeedd ((33--hhoollee)) oou
uttlleettss..
IIff tthhee bbaanndd ssaaww mmuusstt bbee uusseedd oouuttssiiddee,, uussee aann eexxtteennssiioonn ccoorrdd llaabbeelleedd ““WW--AA”” oorr
““WW..””
These extension cords are rated for outdoor use and reduce the chances of
electrical shock.
IIff yyoouu mmu
usstt uussee aann eexxtteennssiioonn ccoorrdd,, bbee ssuurree tthhaatt tthhee ggaauuggee iiss llaarrggee eennoouugghh ttoo ccaarrrryy
tthhee aammoouunntt ooff ccuurrrreenntt nneecce
essssaarryy ffoorr yyoouurr ppoowweerr ttooooll..
If not, your tool may experi-
ence a loss of power, excessive voltage drop or overheating. The smaller the gauge
number, the heavier the cord (see table on below).
RREECCOOMMMMEENNDDEEDD SSIIZZEESS OOFF EEXXTTEENNSSIIOONN CCOORRDDSS 112200 VVOOLLTT AACC 6600 HHZZ TTOOOOLLSS
TTOOOOLL CCUURRRREENNTT RRAATTIINNGG CCOONNDDUUCCTTOORR SSIIZZEE IINN AA..WW..GG
AMPERE 10FT. 25FT. 50FT. 100FT.
3-6 18 18 18 18
6-8 18 18 18 16
8-10 18 18 18 14
10-12 16 16 14 14
12-16 14 12 12 -
16-20 12 12 12 -
2625
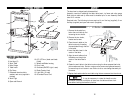
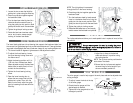
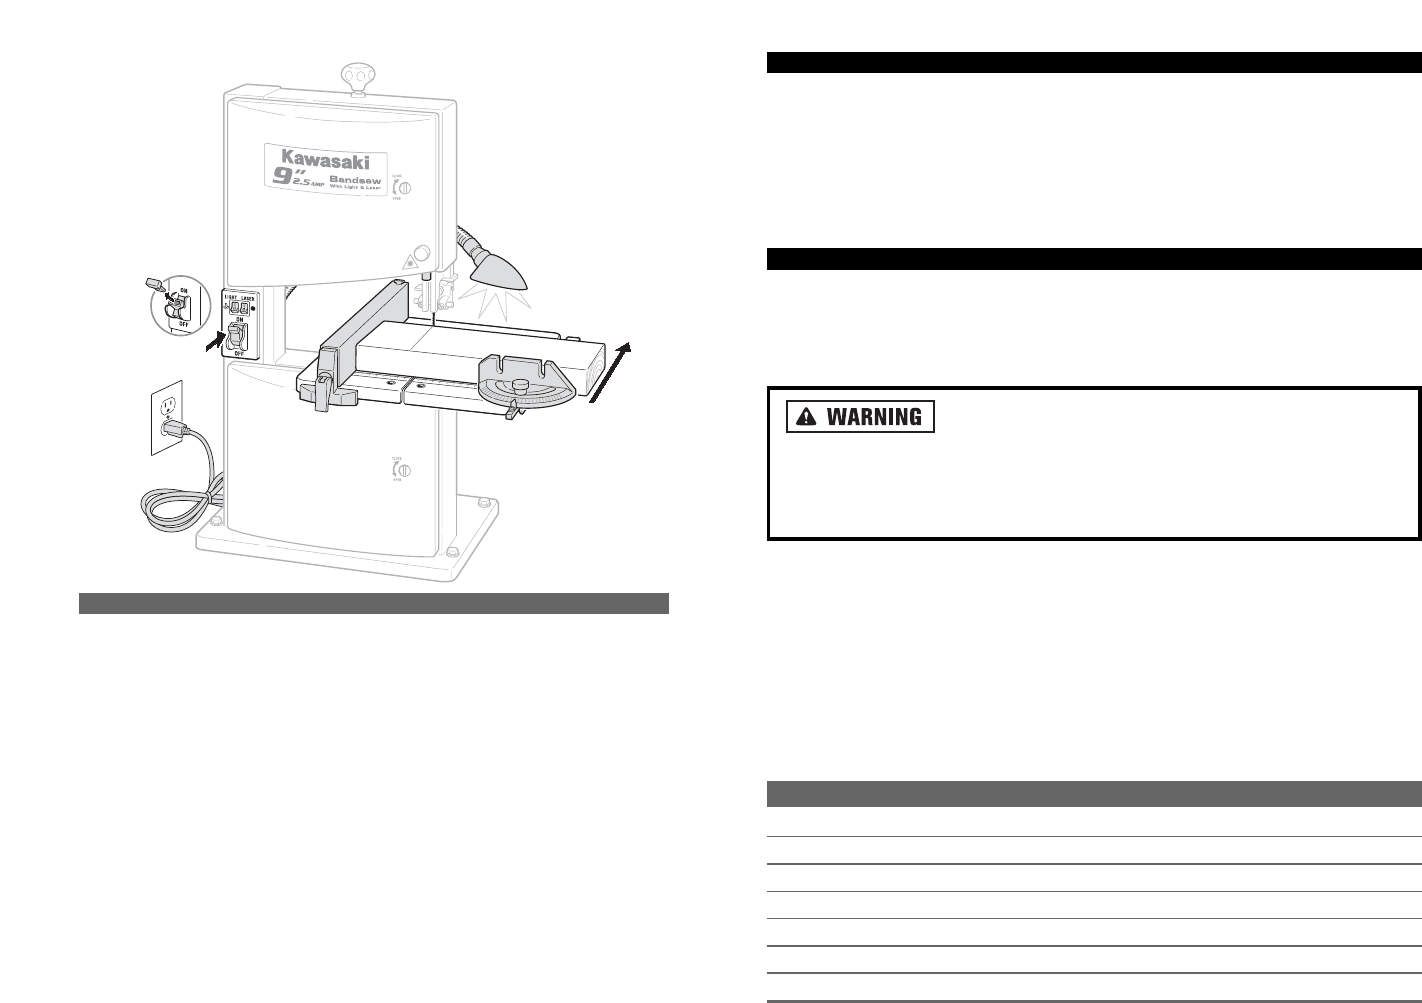
FFEEEEDDIINNGG WWOORRKK IINNTTOO TTHHEE SSAAWW
1. Ensure that the lighting is adequate.
2. Adjust the upper guide to just clear the work piece.
3. Inspect the work piece and remove all nails and other foreign objects before
beginning sawing.
4. Hold the work piece firmly against table.
5. Feed the piece work into the blade against the direction of rotation of the blade.
6. Should the blade become jammed, immediately turn the machine switch OFF and
wait for the blade to come to a full and complete stop. Unplug the saw from the
power source and then proceed to gently disengage the piece from the blade.