


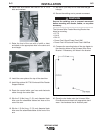


7. Lift the stanchion assembly off the ground and
move to desired location.
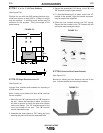
8. Secure the stanchion to the floor per qualified engi-
neer specifications or secure the stanchion to the
optional platform. If using the platform, level the
platform before installing the stanchion. Install and
secure at least 300# of weight onto the platform. A
welding power source may be sufficient for this pur-
pose. Verify the weight of the power source.
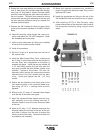
9. Remove the six 1/2" x 1-1/4 bolts and lock washers
from the rear of the arm.
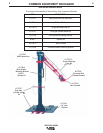
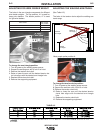
15.2”
15.2”
18”
A-2
INSTALLATION
WELDING ARMS
A-2
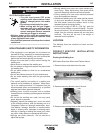
4. Remove the red arm from the crate.
5. Remove the two 3/8" lag bolts from the base of the
stanchion. Note: Do NOT remove the steel strap until
the stanchion has been secured.
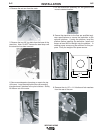
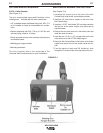
6. Secure an adequate nylon strap or rope to the top
of the arm. Loop the strap behind the red mounting
triangle where it attaches to the pivot clutches. Slowly
lift the arm out of the crate.