5
1
25 mm
2
(1")
006146
1
2
006148
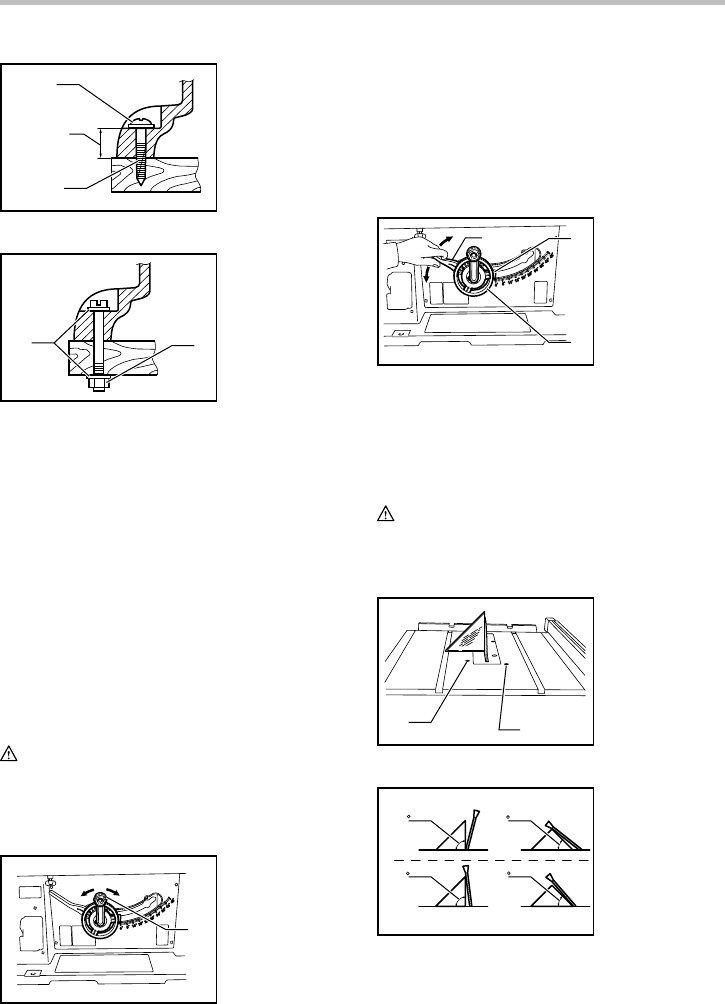
Locate the table saw in a well lit and level area where
you can maintain good footing and balance. It should be
installed in an area that leaves enough room to easily
handle the size of your workpieces. The table saw
should be secured with four screws or bolts to the work
bench or table saw stand using the holes provided in the
bottom of the table saw. When securing the table saw on
the work bench, make sure that there is an opening in
the top of the work bench the same size as the opening
in the bottom of the table saw so the sawdust can drop
through.
If during operation there is any tendency for the table
saw to tip over, slide or move, the work bench or table
saw stand should be secured to the floor.
FUNCTIONAL DESCRIPTION
CAUTION:
• Always be sure that the tool is switched off and
unplugged before adjusting or checking function on
the tool.
Adjusting the depth of cut
1
006154
The depth of cut may be adjusted by turning the handle.
Turn the handle clockwise to raise the blade or
counterclockwise to lower it.
NOTE:
• Use a shallow depth setting when cutting thin
materials in order to obtain a cleaner cut.
Adjusting the bevel angle
1
2
3
006155
Loosen the lock lever counterclockwise and turn the
handwheel until the desired angle (0° - 45°) is obtained.
The bevel angle is indicated by the arrow pointer.
After obtaining the desired angle, tighten the lock lever
clockwise to secure the adjustment.
CAUTION:
• After adjusting the bevel angle, be sure to tighten
the lock lever securely.
Adjusting positive stops
1
2
006156
(A)
(B)
90
90
45
45
006157
The tool is equipped with positive stops at 90° and 45° to
the table surface. To check and adjust the positive stops,
proceed as follows:
1. 90 ゚ Adjusting
screw
2. 45 ゚ Adjusting
screw
1. Lock lever
2. Arrow pointer
3. Handwheel
1. Handle
1. 6 mm (1/4") Std.
washer
2. 6 mm (1/4")
Mounting bolt &
Nut tighten
securely
1. 6 mm (1/4") Std.
washer
2. No.10 wood
screw 40 mm
(1-1/2") min.
length
