


18
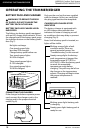
OPERATING THE TRIMMER/EDGER
OREGON® Cordless Tool System
TRIMMER/EDGER MODEL ST275
AB 0214 - F/N 564571
OPERATING THE TRIMMER/EDGER
BATTERY PACK AND CHARGER
WARNING: TO REDUCE THE RISK
OF SHOCK, DO NOT CHARGE THE
BATTERY PACK IN THE RAIN.
BATTERY PACK LED CHARGELEVEL
INDICATOR
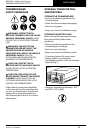
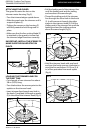
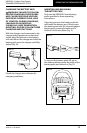
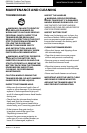
The lithium ion battery pack is equipped
with an LED charge-level indicator. To test
the charge level of the battery pack, press
the indicator button on the battery pack’s
face (Fig. ).
No lights: recharge.
One steady green light:
less than % charged.
Charge battery pack before use.
Two steady green lights:
–% charged.
Three steady green lights:
–% charged.
Four steady green lights:
–% charged.
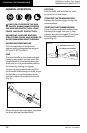
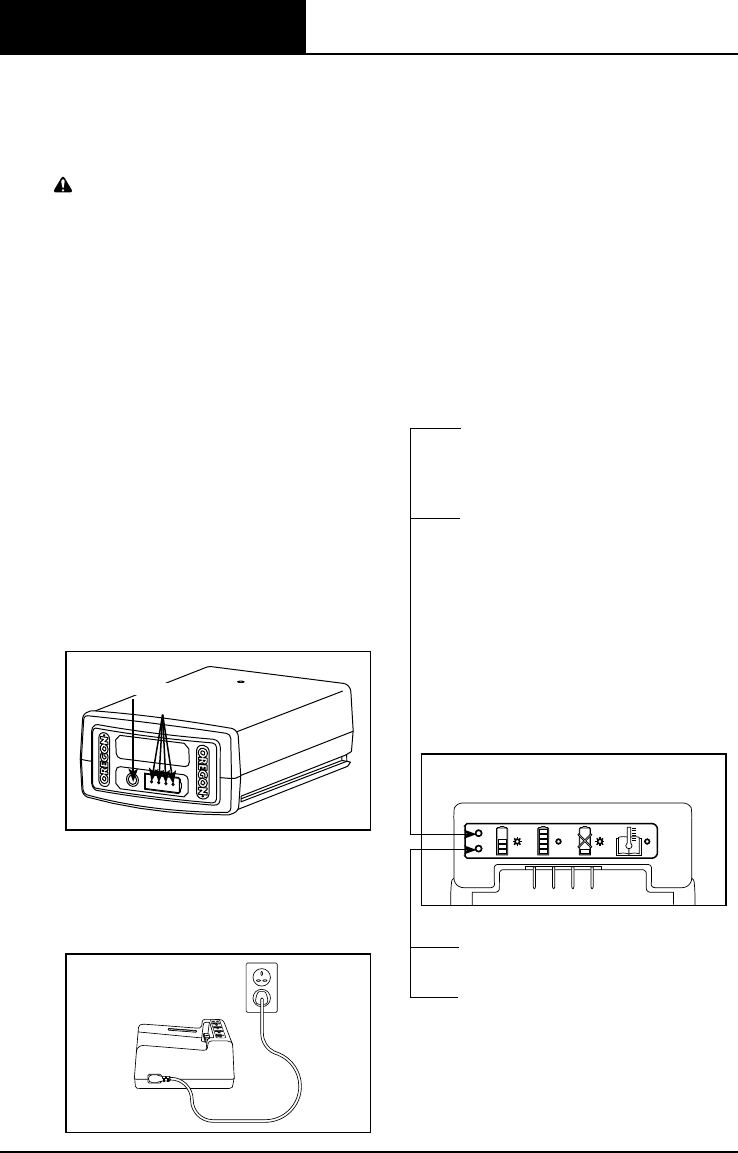
CONNECTING THE CHARGER
If the charger includes a separate power
cord, connect the charger cord to the
charger and to the proper electrical
outlet (Fig. ).
Only use the cord set that was supplied
with the charger. At first use, verify that
the plug type matches the receptacle.
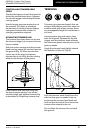
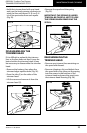
CHARGER LED CHARGESTATE
INDICATOR
The battery charger is equipped with
an LED charge-state indicator that
indicates the state of charging as well
as conditions that may delay or prevent
charging (Fig. ).
Note: Until a battery pack is inserted, no
lights will be visible.
Blinking orange light: a fault
condition exists. There are
several potential causes. See
“Troubleshooting” in this manual.
Steady orange light: the battery
pack temperature is beyond the
acceptable range (°C/°F to
°C/°F). Allow the battery pack
to reach the acceptable
temperature range before
charging. The pack may be left on
the charger as the temperature
adjusts. Charging will begin when
the proper temperature is
reached.
Blinking green light: battery pack
is charging.
Steady green light: battery pack is
ready for use.
FIG. 7
INDICATOR LIGHTS
INDICATOR BUTTON
FIG. 8
FIG. 9