10
BLADE GUARD AND SPLITTER
ASSEMBLY
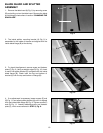
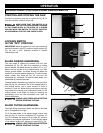
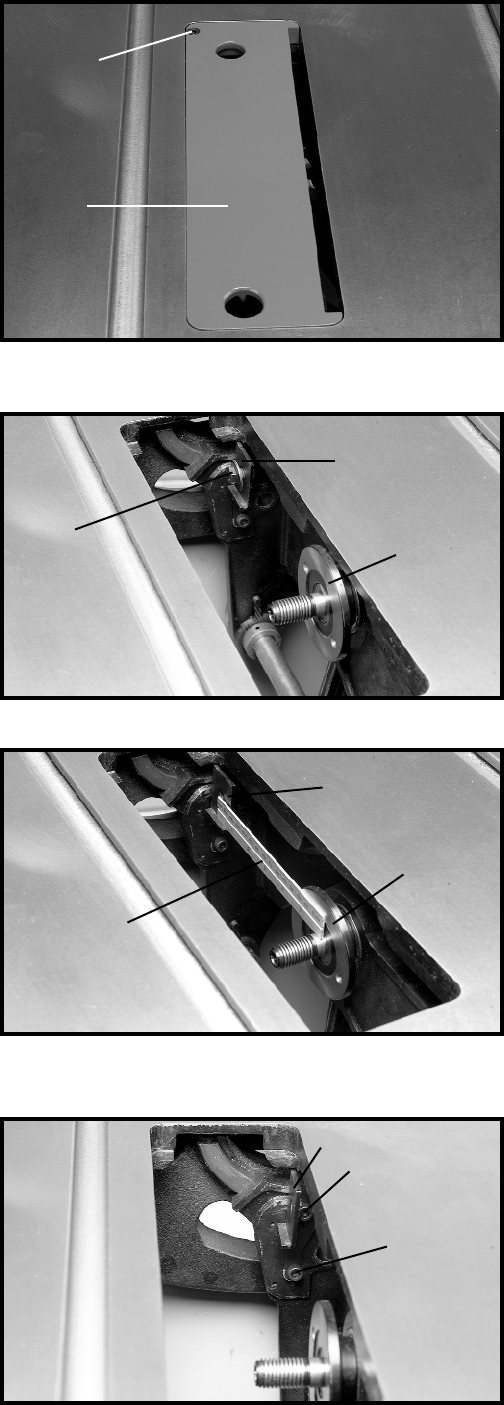
1. Remove the table insert (A) Fig. 8, by removing screw
(B) and pulling out on the table insert. Remove the blade
by following the instructions in section “CHANGING THE
SAW BLADE”.
Fig. 8
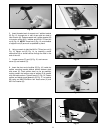
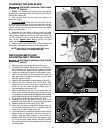
2. The inside splitter mounting bracket (A) Fig. 9, is
assembled to the inside of the saw and aligned with the
inside blade flange (B) at the factory.
Fig. 9
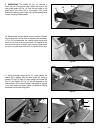
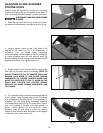
3. To check the alignment, remove screw and fastener
plate (C) Fig. 9. Using a straight edge (D) Fig. 10, check
to see if the splitter bracket (A) is aligned with the inside
blade flange (B). Check both the top and bottom of
bracket (A) with the top and bottom of flange (B).
Fig. 10
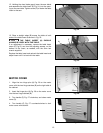
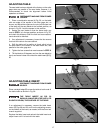
4. If an adjustment is necessary, loosen screws (F) and
(G) Fig. 11, and adjust splitter bracket (A) until it is aligned
with the inside blade flange (B) Fig. 9. Tighten screws (F)
and (G) Fig. 11. Loosely assemble screw and fastener
plate (C), which were removed in STEP 3, Fig. 9.
Fig. 11
A
B
B
A
C
D
A
B
F
G
A


