9
FOR YOUR OWN SAFETY, DO NOT CONNECT THE MACHINE TO THE POWER SOURCE UNTIL
THE MACHINE IS COMPLETELY ASSEMBLED AND YOU READ AND UNDERSTAND THE ENTIRE
INSTRUCTION MANUAL.
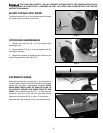
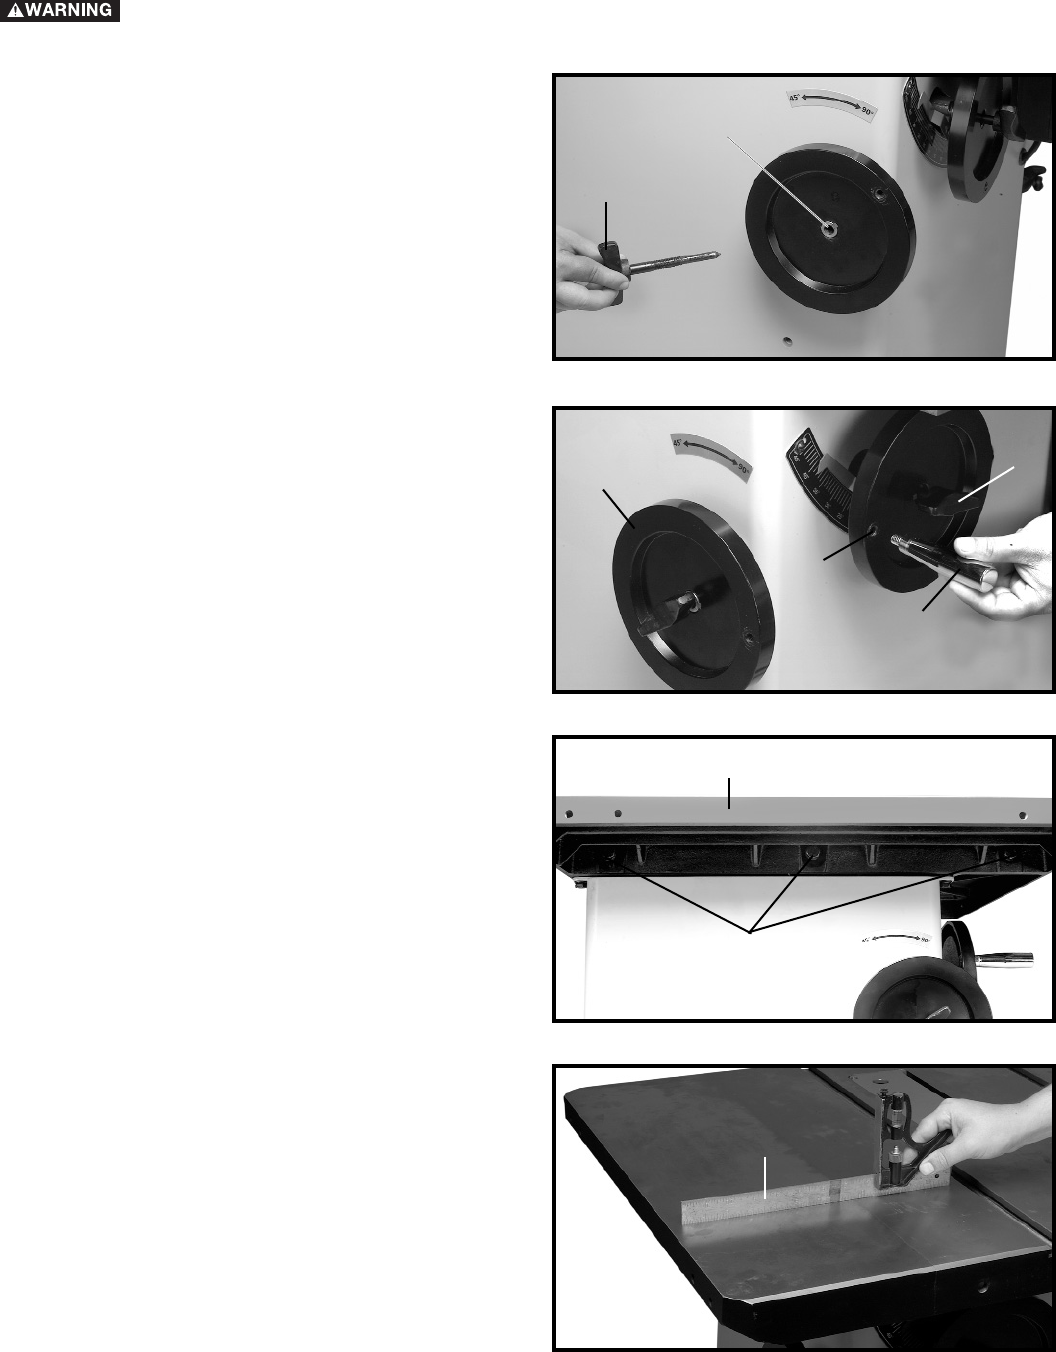
BLADE TILTING LOCK KNOB
Thread lock knob (A) Fig. 4, into threaded end of the shaft
(B). Hand-tighten lock knob at this time.
Fig. 4
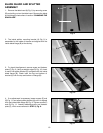
ATTACHING HANDWHEELS
1. Tighten lock knob (A) Fig. 5 on the blade height
adjusting wheel.
2. Thread handle (C) Fig. 5, into the tapped hole (D),
and tighten securely.
3. Repeat this process for attaching the handle for the
blade tilting operating wheel (E) Fig. 5.
Fig. 5
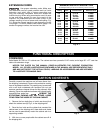
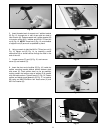
EXTENSION WINGS
Assemble the extension wing (A) Fig. 6 , to the left side of
the saw table using the three M10x1.5x35mm hex head
screws (B) and M10.1 lockwashers supplied. NOTE:
MAKE SURE FRONT EDGE OF WING IS FLUSH TO
OR SLIGHTLY BEHIND THE FRONT EDGE OF THE
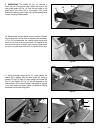
TABLE. Use a straight edge (C) Fig. 7, to make sure the
extension wing (A) is level with the saw table before
tightening the screws (B) Fig. 6 with a 17mm wrench.
Assemble the right extension wing in the same manner.
Fig. 7
Fig. 6
A
B
C
D
E
A
A
B
C


