12
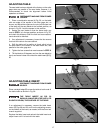
Fig. 21
Fig. 22
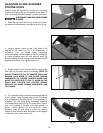
Fig. 19
Fig. 20
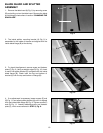
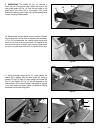
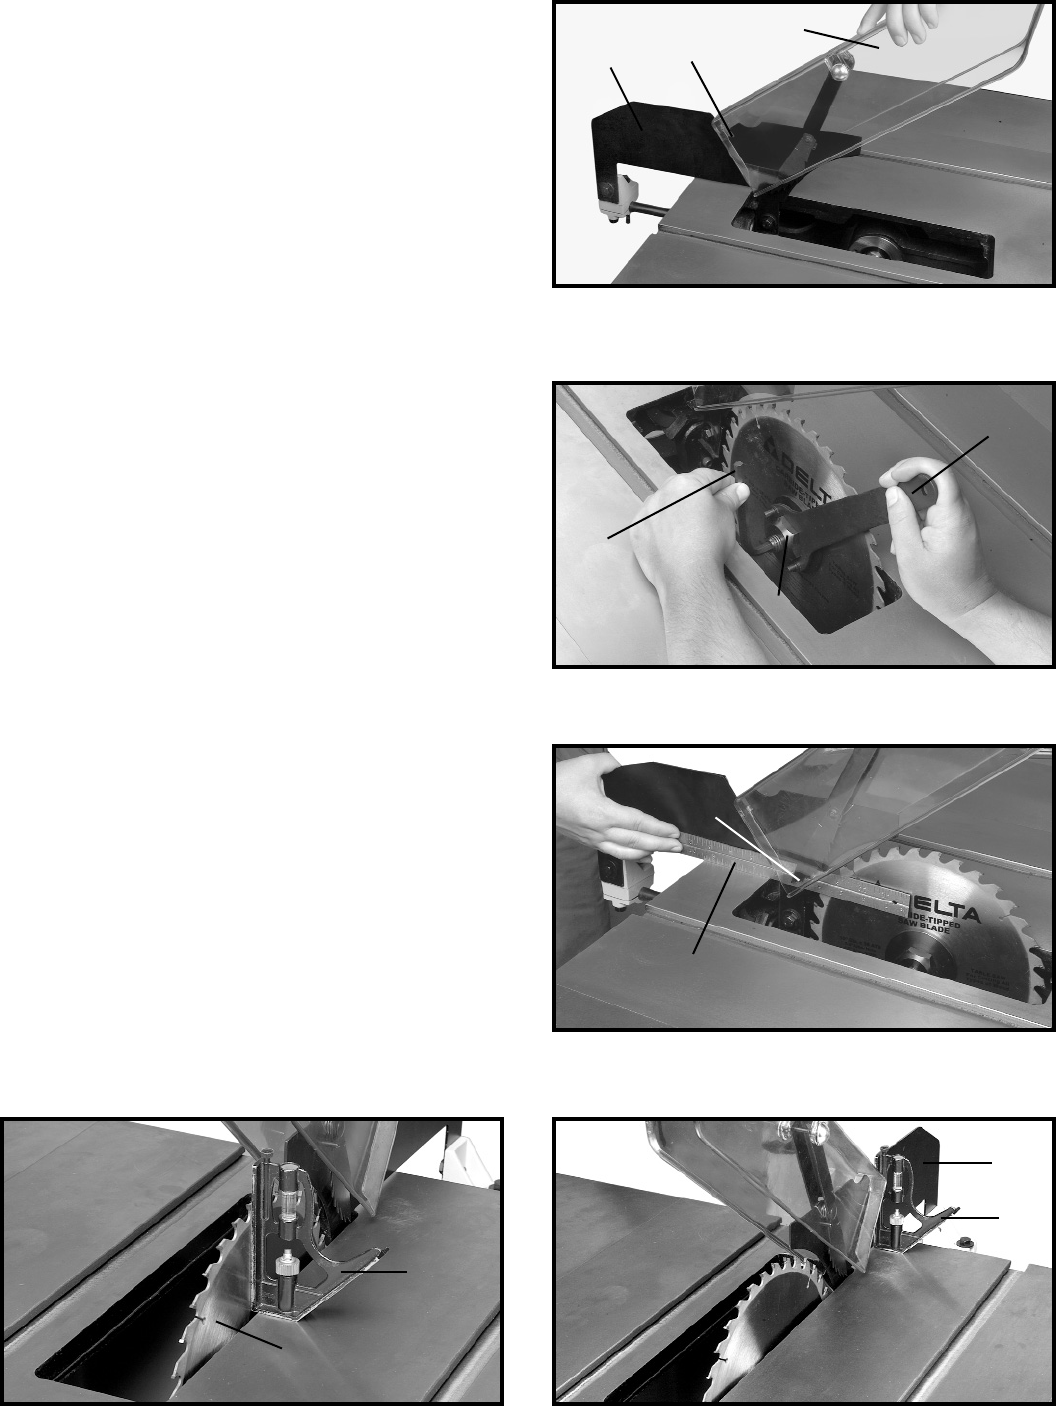
9. IMPORTANT: The splitter (P) Fig. 19, features a
notch (W) cut into the top edge. Raise the front of the
clear blade guard (G) Fig. 19, until the rear edge of the
guard slips into notch (W) of the splitter. This notch
enables the blade guard to stay in the raised position and
makes changing blades easier.
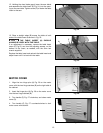
10. Reassemble the saw blade, making certain the teeth
are pointing down at the front of the saw table as shown
in Fig. 20, and assemble the outside blade flange and
arbor nut (X). With an 8mm hex wrench (Y) inserted in the
hex hole in the arbor to keep it from turning, tighten arbor
nut by turning box end wrench (Z) to the rear of the saw.
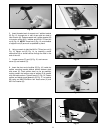
11. Using a straight edge (A) Fig. 21, make certain the
splitter (P) is aligned with the saw blade (B). Using a
square (C) Figs. 22 and 23, make certain saw blade (B)
Fig. 22, and splitter (P) Fig. 23, are 90 degrees to the
table surface. Once you are certain the splitter is aligned
to the saw blade and table, tighten all splitter mounting
hardware and recheck alignment.
Fig. 23
P
W
G
X
Y
Z
A
C
B
C
P
P


