


OPERATION
STARTING AND STOPING THE SAW
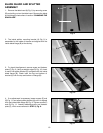
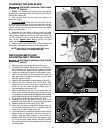
To start the machine, push the on button (A) Fig. 28. To
stop the machine, push off button (B).
MAKE SURE THAT THE SWITCH IS IN
THE OFF POSITION BEFORE PLUGGING
IN THE POWER CORD. IN THE EVENT OF A POWER
FAILURE, MOVE THE SWITCH TO THE OFF POSITION.
AN ACCIDENTAL START-UP CAN CAUSE INJURY.
Fig. 28
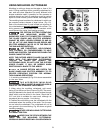
LOCKING SWITCH
IN THE “OFF” POSITION
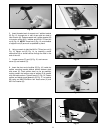
IMPORTANT: When the machine is not in use, the switch
should be locked in the OFF position using a padlock (C)
Fig. 29, with a 3/16" diameter shackle to prevent
unauthorized use.
Fig. 29
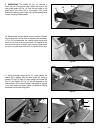
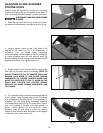
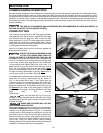
BLADE RAISING HANDWHEEL
The saw blade is raised and lowered with the front
handwheel (A) Fig. 30. With the exception of hollow
ground blades, the blade should be raised 1/8" to 1/4"
above the top surface of the material being cut. With
hollow ground blades, the blade should be raised the
maximum to provide greater clearance. To raise the saw
blade, loosen lock knob (B) Fig. 30, and turn the
handwheel (A), clockwise. To lower the saw blade, turn
handwheel (A) counterclockwise.
The saw blade is locked at any height by turning the lock
knob (B) Fig. 30, clockwise. Due to the wedge action of
this locking device, only a small amount of force is
required to lock the blade raising mechanism securely.
Any added force merely puts unnecessary strain on the
locking device. Limit stops for raising or lowering are
permanently built into the mechanism and need no
further adjustment.
ALWAYS LOCK THE BLADE IN POSITION
BEFORE STARTING THE SAW.
Fig. 30
Fig. 31
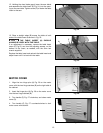
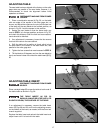
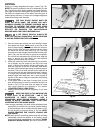
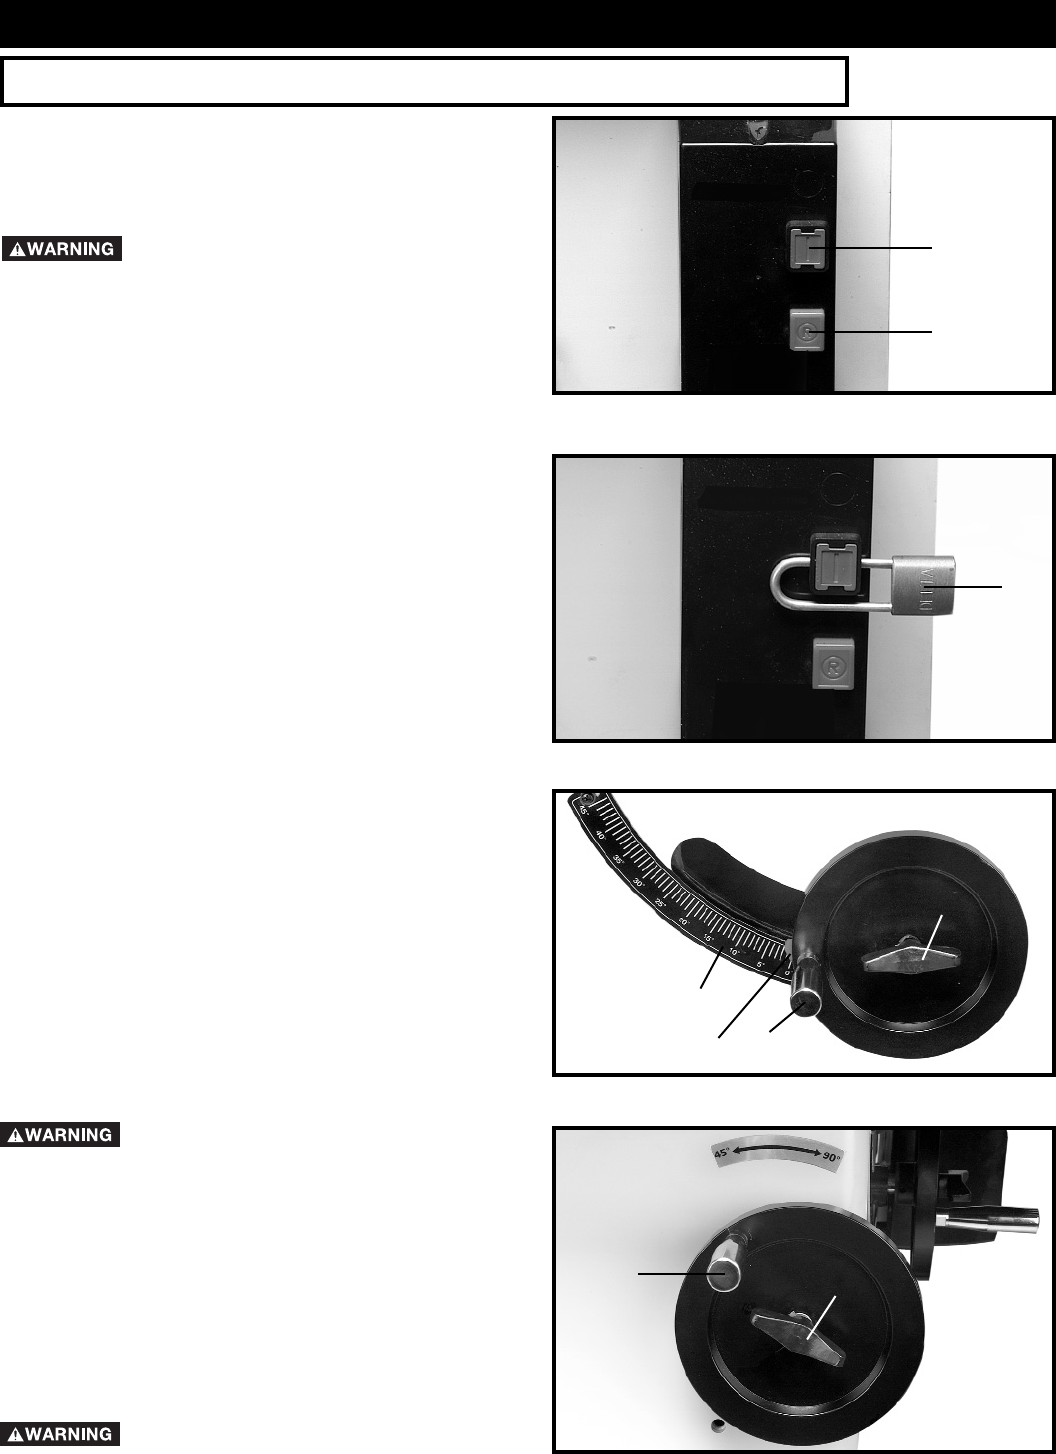
BLADE TILTING HANDWHEEL
The blade tilting mechanism allows the blade to be tilted
up to 45 degrees to the right.
To tilt the saw blade to the desired angle, loosen lock
knob (D) Fig. 31, and turn handwheel (C). A pointer (F)
Fig. 30, indicates the angle of tilt on scale (E), which is
marked in one-degree increments. To lock the saw blade
in the desired angle of tilt, tighten lock knob (D) Fig. 30.
ALWAYS LOCK THE BLADE IN POSITION
BEFORE STARTING THE SAW.
A
B
C
B
D
C
E
A
F
14
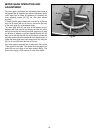
OPERATIONAL CONTROLS AND ADJUSTMENTS