18
Drive Belt Tension
The tightness of the belt that drives the spindle
has been adjusted at the factory. Further
adjustment may be necessary after the machine
receives some use, as the belt may stretch
slightly during the “breaking in” process.
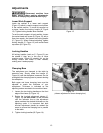
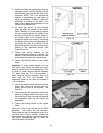
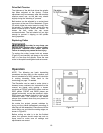
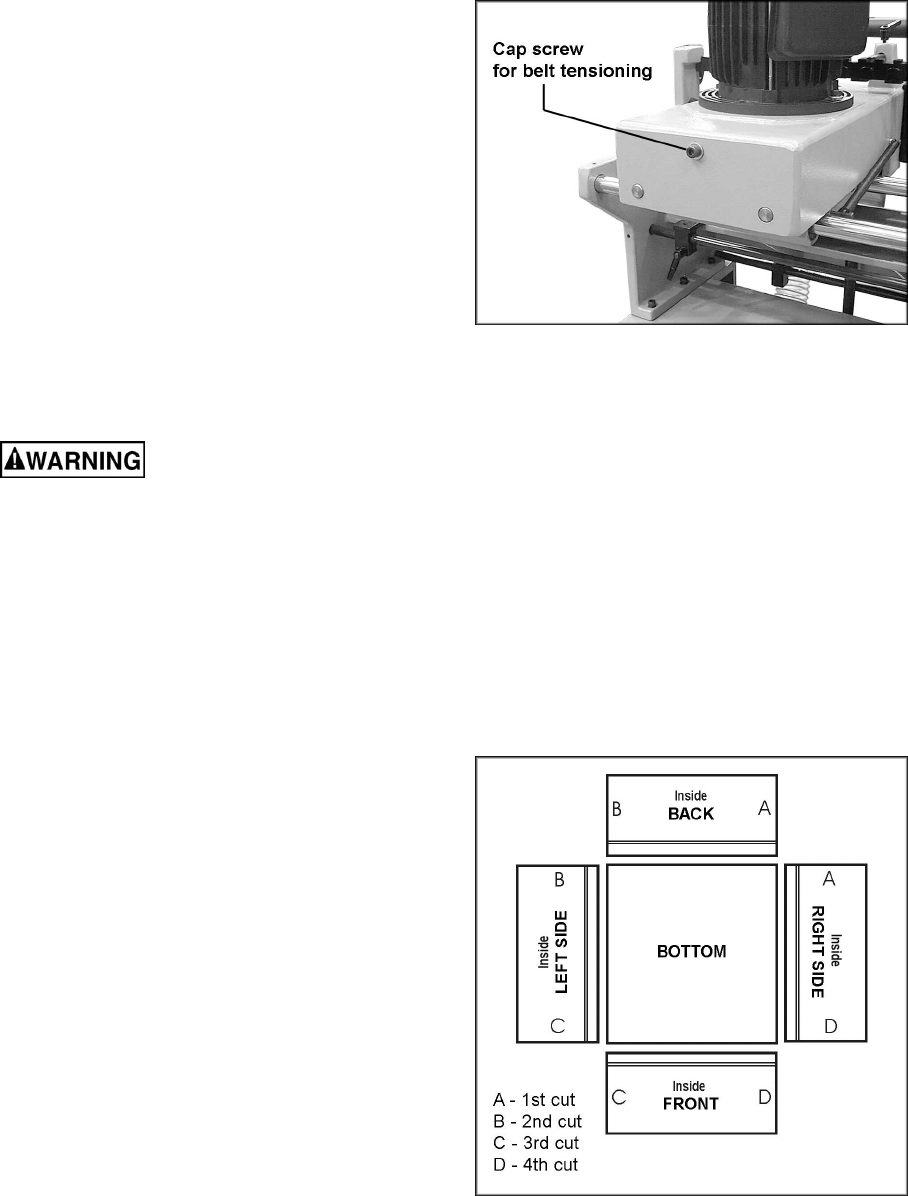
Belt tension can be adjusted by a socket head
cap screw at the rear of the headstock (Figure
24) which slides the motor toward or away from
the spindle. To tighten the belt, rotate this cap
screw clockwise with a 6mm hex wrench. To
loosen the belt, rotate the cap screw
counterclockwise. The belt should be just tight
enough to prevent it slipping on the spindle
during operation.
Replacing Cutter
The cutter is very sharp; use
caution when working with or around cutter.
Disconnect machine from power source!
Failure to comply may cause serious injury.
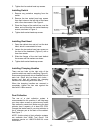
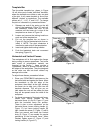
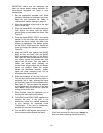
To replace the cutter, loosen both set screws
(Figure 23) and carefully pull down on the cutter
until it is free from the spindle. Place the new
cutter in the spindle and tighten both set screws.
Operation
NOTE: The following are basic dovetailing
procedures as they apply to this machine, and
are not intended to be a full course of instruction
in making dovetails. Refer back to the
terminology on page 7 if needed.
The Dovetailer can be used to make joints in
drawers, boxes, cabinets, etc. Instructions in this
manual are based upon making a drawer
consisting of FRONT and BACK pieces, and two
SIDE pieces. FRONT and BACK pieces are
placed horizontally on top the machine’s table;
SIDE pieces are placed vertically in front of the
machine’s table. The insides of the boards
always face outward when they are placed on
the machine.
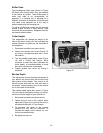
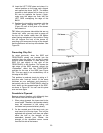
No matter the project, prevent mistakes by
laying out the pieces beforehand according to
how they will be assembled. Place them with the
inside facing up, and label the mating edges, as
shown in Figure 25.
Before cutting on what is to be the finished
piece, the operator should make test cuts on
scrap wood to make sure all settings and
adjustments are correct.
Figure 24
Figure 25


