8
Unpacking
Open shipping container and any smaller boxes
and check for shipping damage. Report any
damage immediately to your distributor and
shipping agent. Do not discard any shipping
material until the planer is installed and running
properly.
Compare the contents of your container with the
following parts list to make sure all parts are
intact. Missing parts, if any, should be reported
to your distributor. Read the instruction manual
thoroughly for assembly, maintenance and
safety instructions.
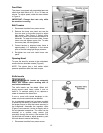
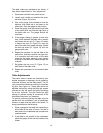
NOTE: To remove the box from atop the planer
table, loosen the table lock handle, push in the
elevating handwheel (see Figure 3) and rotate
the handwheel to lower the table.
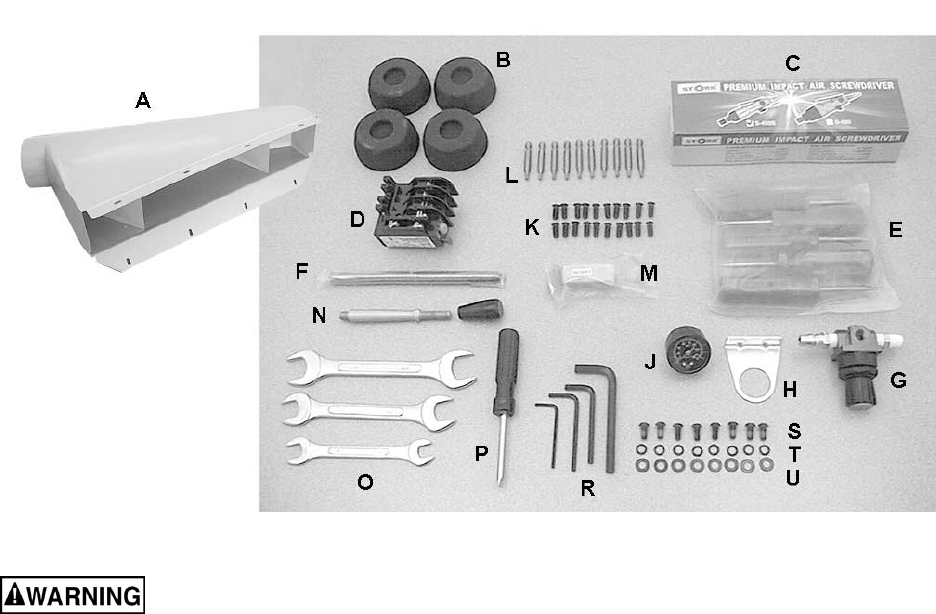
Contents of the Shipping Container
1 Planer
1 Dust Hood – (A)
4 Foot Pads – (B)
1 Air Impact Screwdriver – (C)
1 RA-30E 460V Overload Relay – (D)
5 Star Point Screwdrivers – (E)
1 Breaker Bar – (F)
1 Air Valve – (G)
1 Air Valve Mounting Bracket – (H)
1 Air Valve Pressure Gauge – (J)
20 Flat Head Spline Socket Screws,
M6x14 – (K)
10 Spline Bits, T-20 – (L)
10 Replacement Knife Inserts – (M)
1 Handle with Knob – (N)
3 Open End Wrenches, 17-19, 22-24, and 12-
14 mm – (O)
1 Reversible Screwdriver – (P)
4 Hex Wrenches, 3, 4, 5, and 8mm – (R)
8 Button Head Socket Screws, M6x12 – (S)
8 Lock Washers, M6 – (T)
8 Flat Washers, M6 – (U)
1 Operating Instructions and Parts Manual
1 Warranty Card
Read and understand the entire contents of this manual before attempting set-up
or operation! Failure to comply may cause serious injury.


