


13
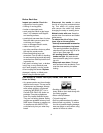
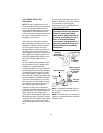
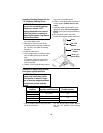
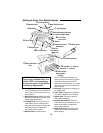
Removing the Sanding Belt
Assembly
WARNING: To reduce the risk of
injury from accidental start, make
sure tool is unplugged before
removing the sanding belt
assembly.
1. Loosen the backstop knob and pivot
the backstop out of the way. Tighten the
backstop knob.
2. Remove the spindle knob and lift off the
sanding belt assembly. NOTE: Knob
turns clockwise to loosen.
3. Store assembly in pocket in rear of
base.
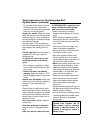
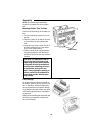
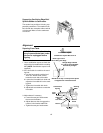
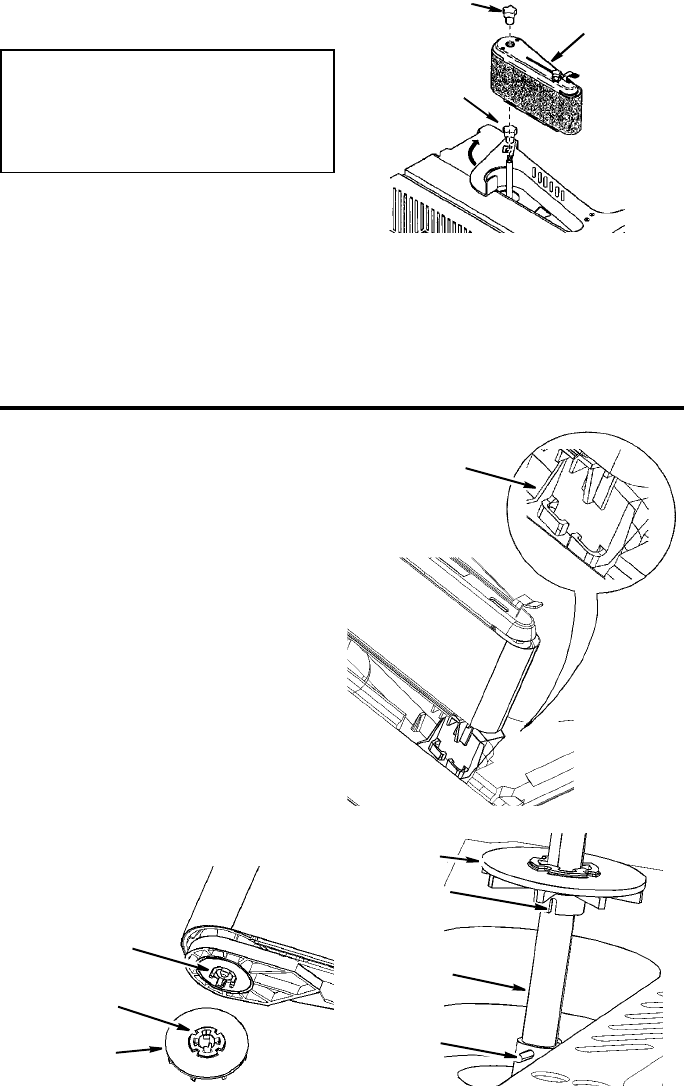
Installing the Sanding Belt
Assembly
1. Remove the fan and clean sawdust
from inside table recess.
2. Slide the fan onto the motor shaft
(vanes face down) aligning slot with roll
pin as shown. The fan is used in all
sanding operations.
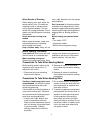
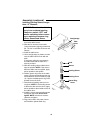
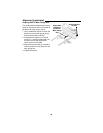
3. Slide bed assembly down motor shaft.
Align drive drum splines with the slots
in the fan. Place bed assembly into the
wear plate opening as shown.
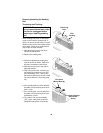
4. Tighten spindle knob. Do not over-
tighten. NOTE: Knob turns counter-
clockwise to tighten.
5. Install sanding belt (see “Removing/
Installing the Sanding Belt”, page 19).
6. Plug the power cord into the power
source and install the key.
Sanding Belt
Assembly
Backstop
Knob
Spindle
Knob
Wear
Plate
Fan
Motor
Slot
Roll Pin
Shaft
Fan
Slots
Splines