


21
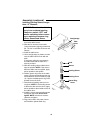
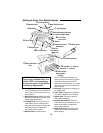
10.On-Off Switch
11.Backstop Knob. Loosening knob
allows backstop to be pivoted.
12.Dust Collection Port. 2-1/2" opening
for wet/dry vac hook-up.
13.Table Insert/Sanding Belt Storage.
Holds table insert or sanding belt
when not being used.
14.Hex “L” Wrench. Use 3/32" wrench
to adjust front table and table insert.
Use 5/32" wrench to adjust belt to
miter gauge slot.
15.Table Insert. Helps to support work-
piece when drum sanding.
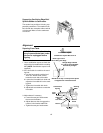
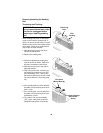
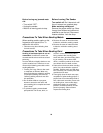
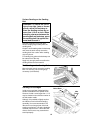
On-Off Switch
The On-Off switch has a locking feature.
This Feature Is Intended To Help Pre-
vent Unauthorized And Possible Haz-
ardous Use By Children And Others.
1. To turn sander “ON” insert key into
switch.
NOTE: Key is made of yellow plastic,
located in loose parts bag.
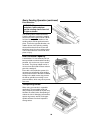
2. Insert finger under switch lever and
Pull end of switch out.
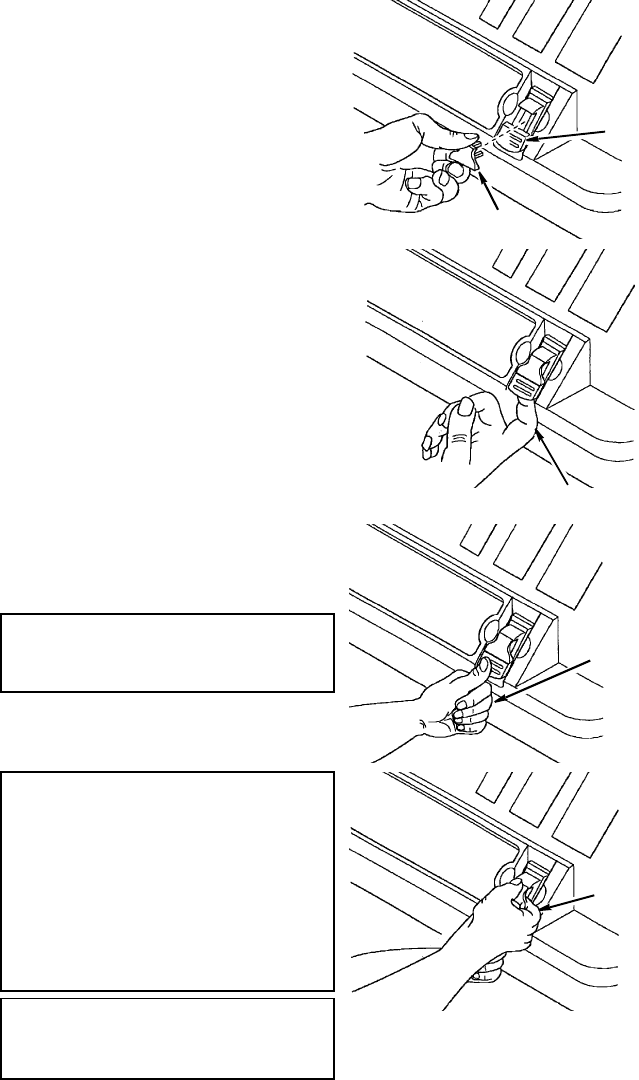
3. To turn sander “OFF”. Push lever in.
WARNING: Never leave the
sander unattended until it has
come to a complete stop.
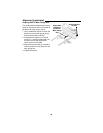
4. To lock switch in “OFF” position, hold
switch “IN” with one hand. Remove key
with other hand.
WARNING: For your own safety,
always lock the switch “OFF”
when sander is not in use.
Remove key and keep it in a safe
place. Also, in the event of a
power failure (all of your lights
go out) turn switch off, remove
the key and store it remote from
sander.
CAUTION: Before turning switch
on, make sure the belt or drum
and sleeve are properly installed.
Yellow
Switch Key
On-Off
Switch
Turning
Sander On
Turning
Sander Off
Remove
Yellow Key