


27
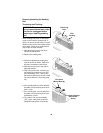
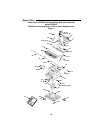
Surface Sanding on the Sanding
Belt
WARNING: To reduce the risk of
injury from slips, jams or thrown
pieces, adjust the backstop to
clear the sanding surface by no
more than 1/16 of an inch. When
checking clearance between the
sanding belt and backstop, press
the sanding belt flat against the
metal bed beneath it.
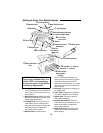
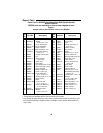
Hold the workpiece firmly with both
hands, keeping fingers away from the
sanding belt.
Keep the end butted against the backstop
and move the work evenly across the
sanding belt. Use caution when sanding
very thin pieces.
For sanding long pieces the backstop can
be rotated out of the way.
Apply only enough pressure to allow the
sanding belt to remove material.
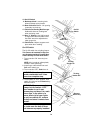
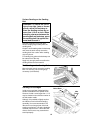
End Sanding on the Sanding Belt
Move the work evenly across the sanding
belt. For accuracy, use a miter gauge
accessory (not included).
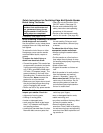
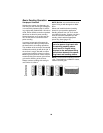
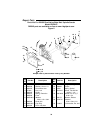
Sanding Curved Edges
Inside curves are best sanded with the
sander assembled in the spindle mode.
However, inside curves larger than 1-1/2"
may be sanded on the drive drum when in
the belt sander mode.
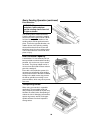
Although it is possible to lightly sand on
the idler drum end of the belt sanding
assembly, it is not recommended. The
idler drum is an integral part of the belt
tracking mechanism. It is spring loaded to
maintain proper tension. Use of the idler
drum to sand curves may cause belt to
track improperly.
Drive Drum
Idler
Drum