


9
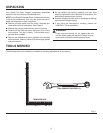
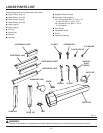
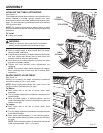
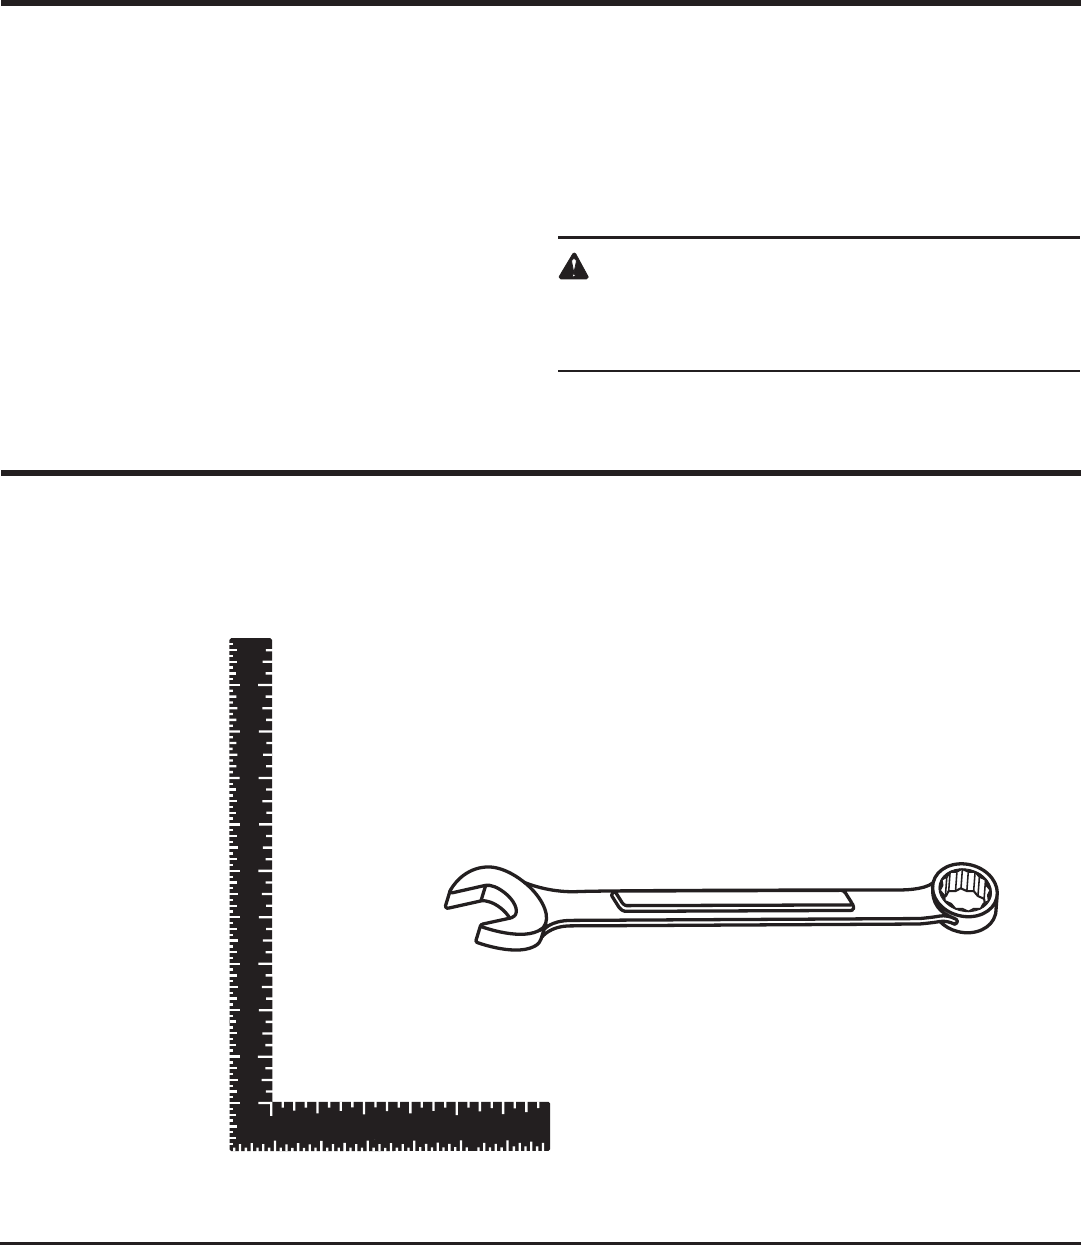
TOOLS NEEDED
The following tools (not included) are needed for checking adjustments of your planer:
13 mm COMBINATION WRENCH (2)
FRAMING SQUARE
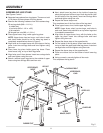
Do not discard the packing materials until you have
carefully inspected the tool, identified all loose parts, and
satisfactorily operated your new tool.
Examine all parts to make sure no breakage or damage
has occurred during shipping.
If any parts are damaged or missing, please call
1-866-539-1710 for assistance.
WARNING:
If any parts are missing, do not operate this tool
until the missing parts are replaced. Failure to do so
could result in possible serious personal injury.
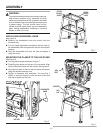
Your planer has been shipped completely assembled
except for the dust chute and handwheel knob.
NOTE: Every Ridgid Thickness Planer is tested at the factory
to insure its performance. You may see small amounts of
wood dust and chips on your new planer.
Remove all loose parts from the carton. Separate and
check with the list of loose parts.
See Figure 4.
Remove the packing materials from around your tool.
Carefully lift tool from the carton and place it on a level
work surface. This tool is heavy. To avoid back injury,
get help when needed.
Remove the protective oil that is applied to all unpainted
metal surfaces. Use any ordinary household type grease
and spot remover
UNPACKING
Fig. 3