


MAINTENANCE
If you are changing to the second side of the blade,
rotate the blade “end for end” keeping the same flat side
down. This correctly positions the blade for reinstallation.
Lightly oil new cutter blade.
Push the installed blade in firmly. Check that the blade
edge is parallel to the cutter head slot.
Securely retighten the square head bolts.
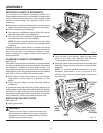
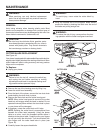
To rotate the cutter head to the next blade, hold down on
the red cutter lock and rotate the cutter head 180° as
shown in figure 18.
Release the cutter lock and continue to rotate the cutter
head until it locks in place. This correctly positions the
blade for removal.
Repeat the above steps for the second blade.
Tighten square head bolts securely.
Replace the cutter head guard, dust chute, the square
head bolts, and then the top of the housing.
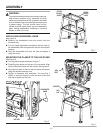
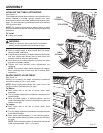
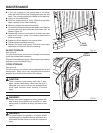
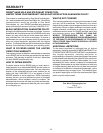
BLADE STORAGE
See figure 19.
For your convenience, an extra set of blades can be stored
under the outfeed table extension.
Dispose of used blades properly. Wrap blades in tape before
disposal to avoid accidental injury.
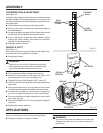
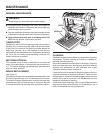
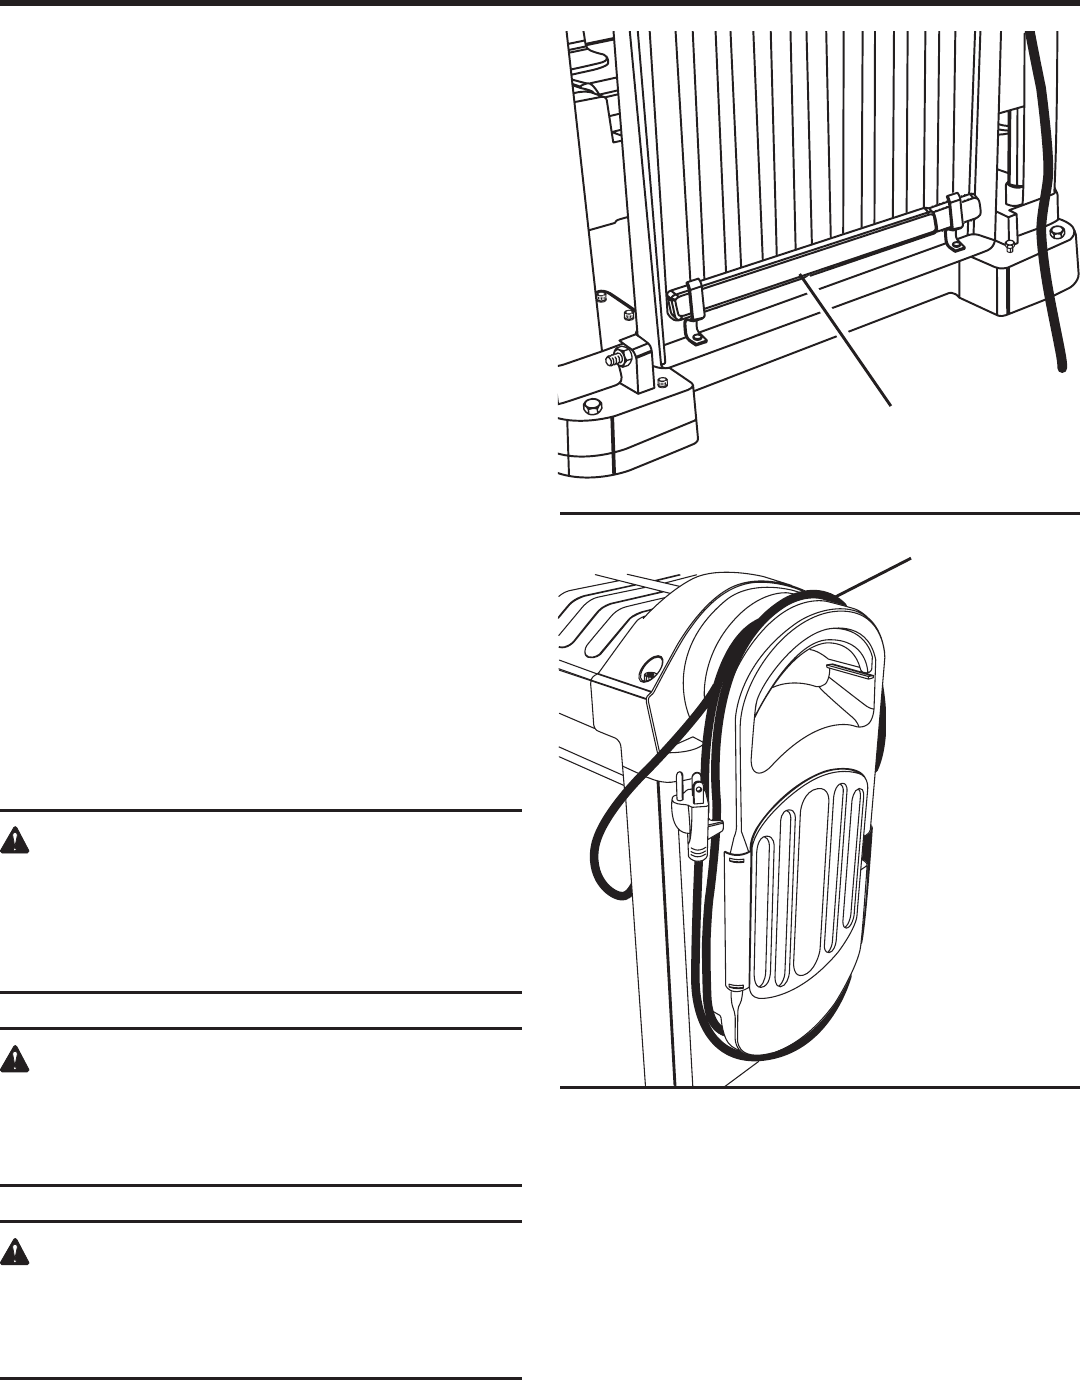
CORD STORAGE
See figure 20.
For convenience, your planer comes equipped with a cord
storage area. When not in use, the power cord should be
wrapped around the left-hand side of the planer.
CAUTION:
Check extension cords before each use. If dam-
aged, replace immediately. Never use tool with a
damaged cord since touching the damaged area
could cause electrical shock resulting in serious
injury.
WARNING:
Always wear safety goggles or safety glasses with
side shields during power tool operation or when
blowing dust. If operation is dusty, also wear a dust
mask.
WARNING:
To ensure safety and reliability, all repairs should
be performed by a qualified service technician at a
Authorized Service Center to avoid risk of personal
injury.
19
Fig. 19
Fig. 20
CORD
STORAGE
BLADE
STORAGE