


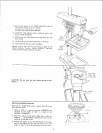


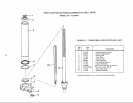
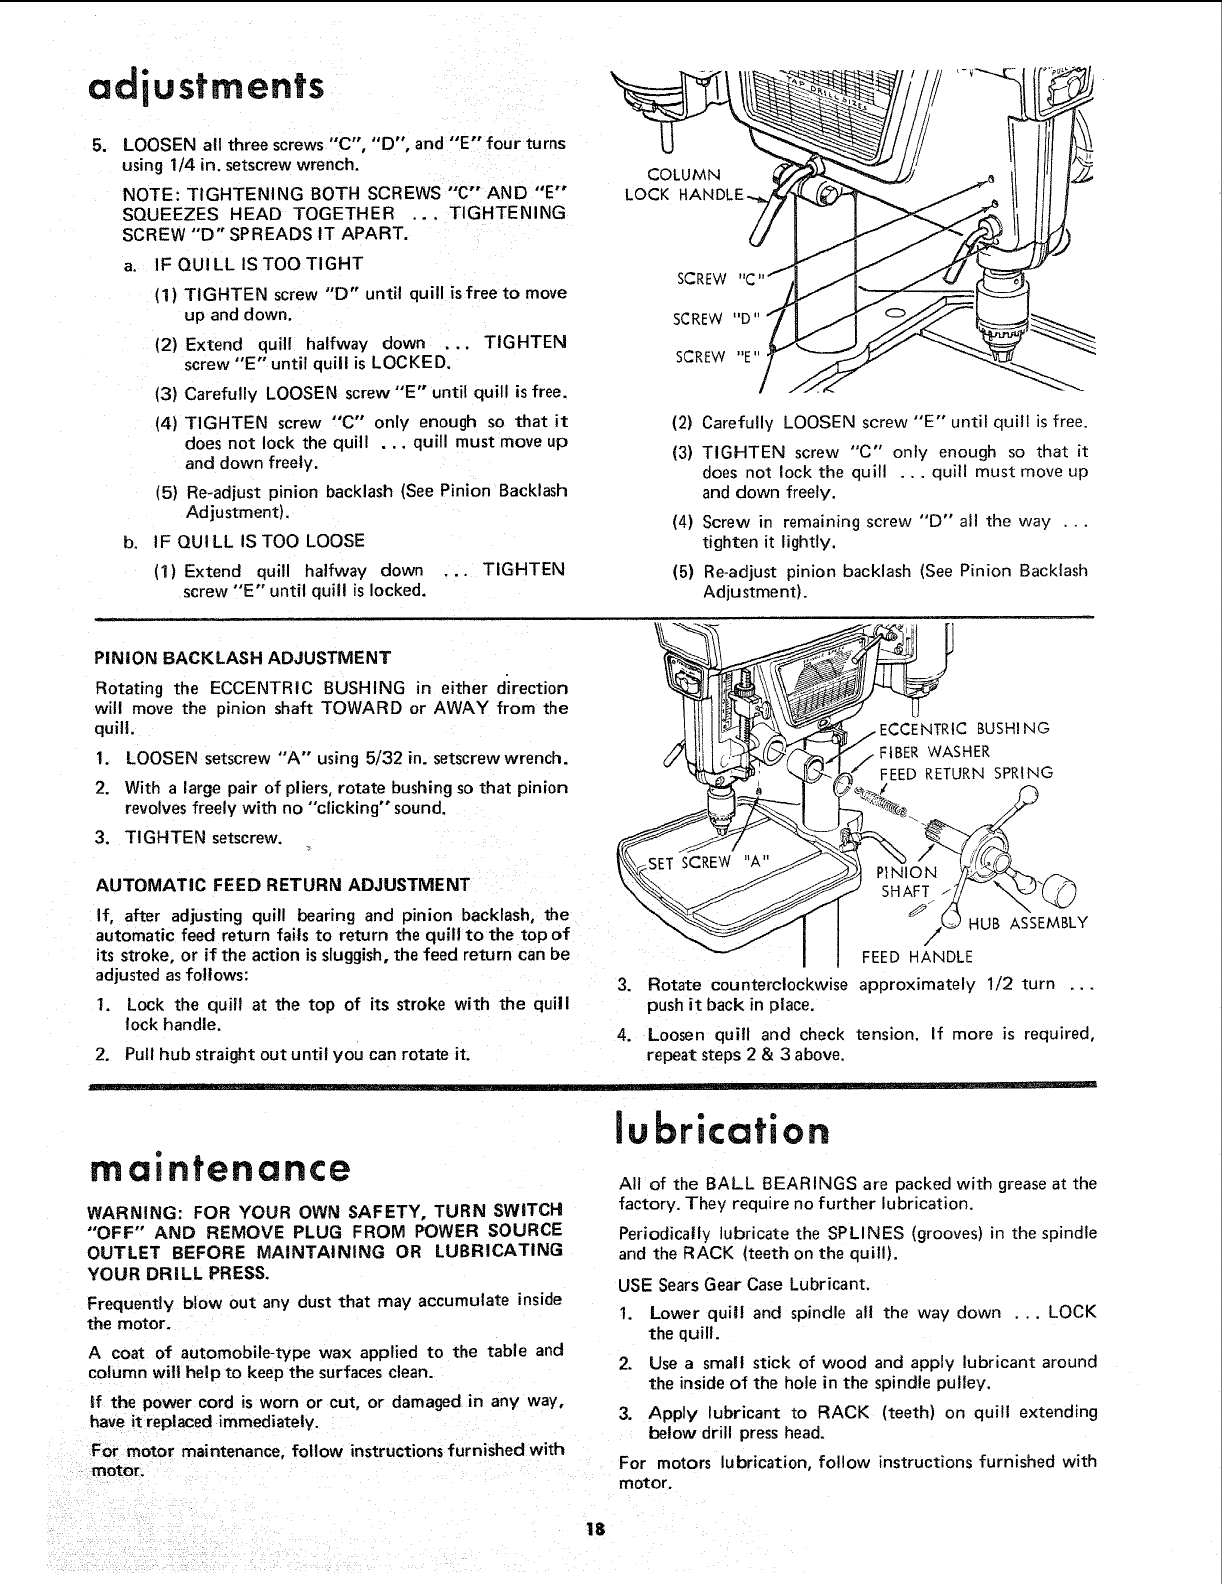
adiustments
5. LOOSEN all three screws "C", "D", and "E'" four turns
using 1/4 in. setscrew wrench.
NOTE: TIGHTENING BOTH SCREWS "C'" AND "E'"
SQUEEZES HEAD TOGETHER ... TIGHTENING
SCREW "'D" SPREADS IT APART.
a. IF QUILL ISTOOTIGHT
(1) TIGHTEN screw "D" until quill is free to move
up and down.
(2) Extend quill halfway down ... TIGHTEN
screw "E" until quill is LOCKED.
(3) Carefully LOOSEN screw "E" until quill is free.
(4) TIGHTEN screw "'C'" only enough so that it
does not lock the quill ... quill must move up
and down freely.
(5) Re-adjust pinion backlash (See Pinion Backlash
Adjustment).
b. IF QUILL ISTOO LOOSE
(1) Extend quill halfway down ... TIGHTEN
screw "'E" until quill is locked.
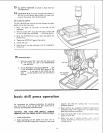
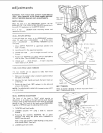
COLUMN
LOCK
SCREW
SCREW "E"
I
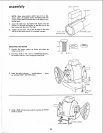
PINION BACKLASH ADJUSTMENT
Rotating the ECCENTRIC BUSHING in either direction
will move the pinion shaft TOWARD or AWAY from the
quill.
1. LOOSEN setscrew "A "°using 5/32 in. setscrew wrench.
2. With a large pair of pliers, rotate bushing so that pinion
revolves freely with no "clicking" sound.
3. TIGHTEN setscrew.
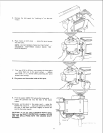
AUTOMATIC FEED RETURN ADJUSTMENT
If, after adjusting quill bearing and pinion backlash, the
automatic feed return fails to return the quill to the top of
its stroke, or if the action issluggish,the feed return can be
adjustedasfollows:
1. Lock the quill at the top of its stroke with the quill
lock handle.
2. Pull hub straight out until you can rotate it.
(2) Carefully LOOSEN screw "E" until quill is free,
(3) TIGHTEN screw "C" only enough so that it
does not lock the quill ... quill must move up
and down freely.
(4) Screw in remaining screw "D" all the way ,..
tighten it lightly.
(5) Re-adjust pinion backlash (See Pinion Backlash
Adjustment).
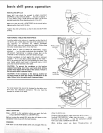
IC BUSHI NG
3. Rotate counterclockwise approximately 1/2 turn ...
push it back in place.
maintenance
WARNING: FOR YOUR OWN SAFETY, TURN SWITCH
"OFF" AND REMOVE PLUG FROM POWER SOURCE
OUTLET BEFORE MAINTAINING OR LUBRICATING
YOUR DRILL PRESS.
Frequently blow out any dust that may accumulate inside
the motor.
A coat of automobile-type wax applied to the table and
column will help to keep the surfaces clean.
If the power cord is worn or cut, or damaged in any way,
have it replaced immediately.
For motor maintenance, follow instructions furnished with
motor.
4. Loosen quill and check tension. If more is required,
repeat steps 2 & 3 above.
lubrication
All of the BALL BEARINGS are packed with grease at the
factory. They require no further lubrication.
Periodically lubricate the SPLINES (grooves)in the spindle
and the RACK (teeth on the quill).
USE Sears Gear Case Lubricant.
1. Lower quill and spindle all the way down . .. LOCK
the quill.
2. Use a small stick of wood and apply lubricant around
the inside of the hole in the spindle pulley.
3. Apply lubricant to RACK (teeth) on quill extending
below drill press head.
For motors lubrication, follow instructions furnished with
motor.
18