


Df[\cN(/)+('?pYi`[KXYc\JXn
-62-
J<IM@:<
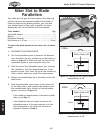
11. Tilt the blade to 45° and recheck the miter slot-to-
blade parallelism.
— If the blade is still parallel with the miter slot,
no additional adjustments need to be made. Skip
ahead to Step 15.
— If the blade was parallel with the miter slot at 90°
but not at 45°, continue to Step 12.
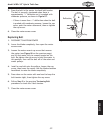
12. Depending on the result of Step 11, loosen the front
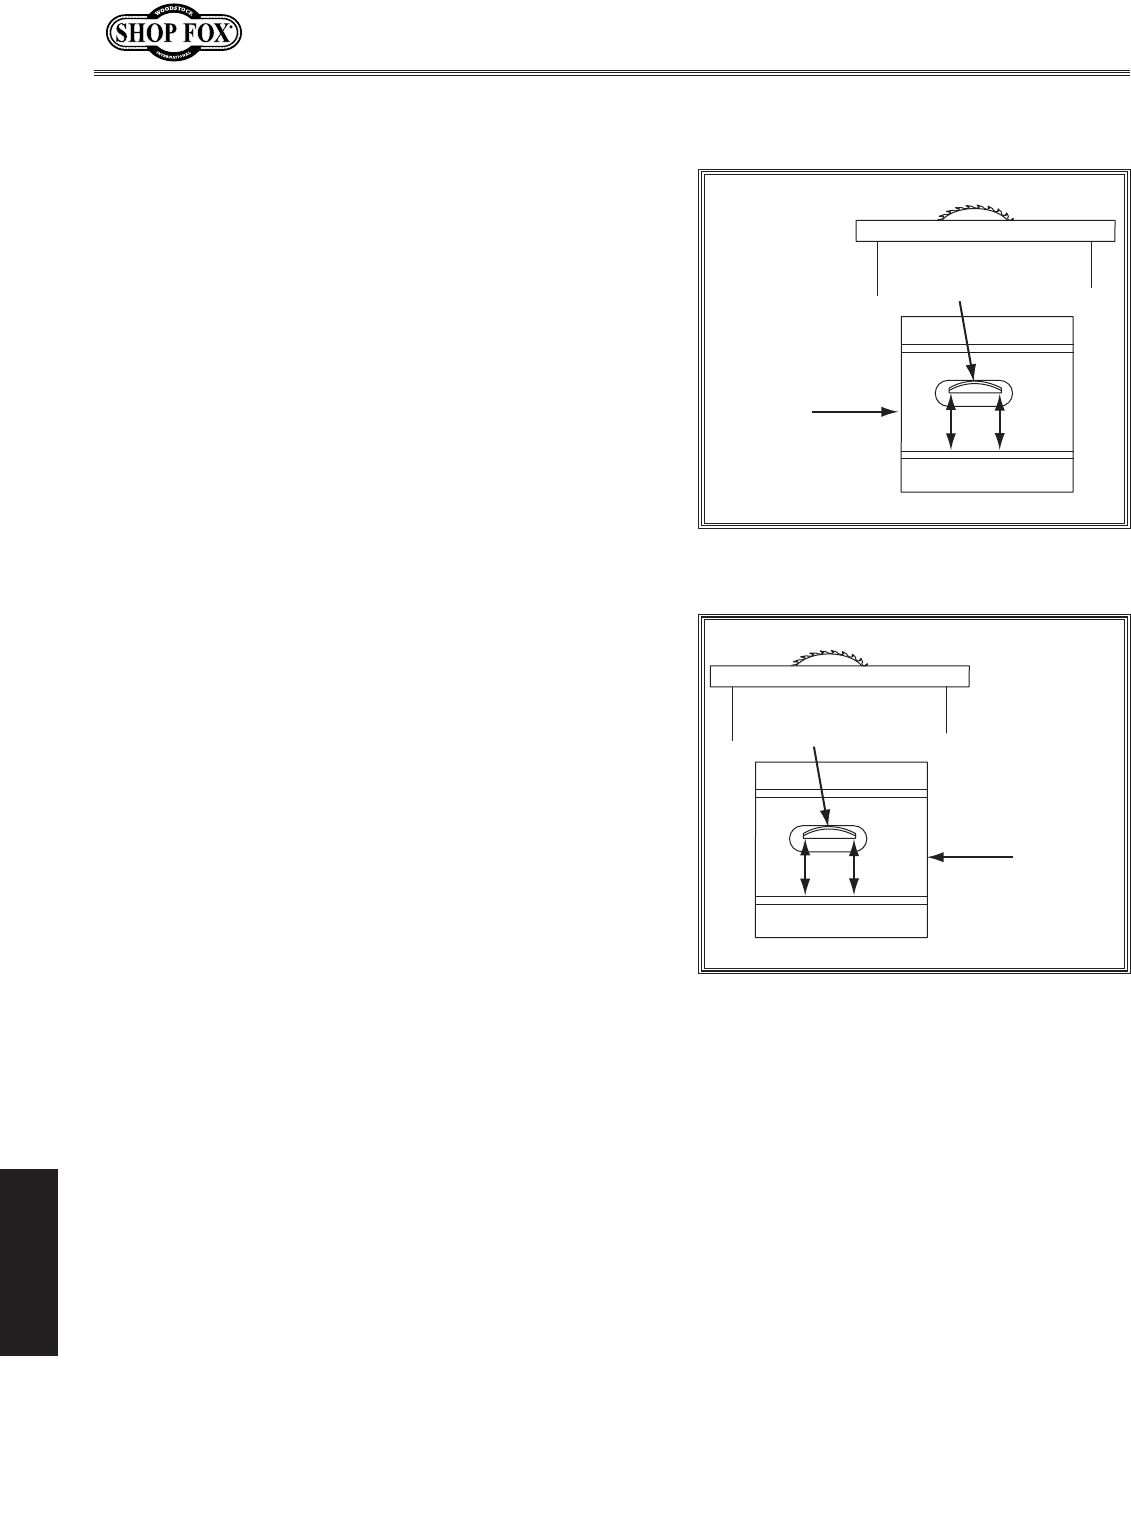
or rear trunnion cap screws 1
1
⁄2 turns and remove
one shim from each side of that trunnion.
— If the distance of A is greater than B, remove
one shim from each side of the front trunnion
(locations #1 and #2 in Figure 98).
— If the distance of B is greater than A, remove one
shim from each side of the rear trunnion (locations
#3 and #4 on Figure 99).
13. Re-tighten the cap screws and re-check the blade-to-
miter slot parallelism at 90° and 45°.
— If the distance of A and B are equal, no further
adjustments need to be made.
— If the distances of A and B are not equal, repeat
this entire procedure until they are.
14. Once the miter slot is adjusted parallel to the blade,
make sure that mounting fasteners are secure.
15. Re-install the rear trunnion access panel and close
the motor access cover.
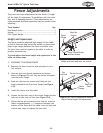
Front
Trunnion
#1
#2
Blade tilted to 45°
AB
Figure 98. Locations of the front trunnion
shims.
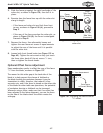
Rear
Trunnion
#3
#4
Blade tilted to 45°
AB
Figure 99. Locations of the rear trunnion
shims.