


-7-
SB1363-64/SB1367-68Mfg. Since 10/09
PREPARATION
Installation
Before installing the rotary
table, make sure that the spindle
centerline is properly aligned or
"trammed" with the mill table. Also,
remove any burrs or scratches from
the mating surfaces of the rotary
and mill table by "stoning" them,
then thoroughly wipe them clean
and dry (refer to the Surface Care
section on Page 16 for detailed
instructions).
Horizontal Installation
The horizontal base has slots (see
Figure 3) that accept keys for
quick alignment with the mill table.
Because of the many variations in
mill table T-slots, these keys are not
provided with the rotary table. If
you choose to use keys for alignment
when installing the rotary table
horizontally, you will have to
machine them to fit the rotary table
and your mill table.
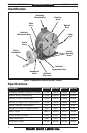
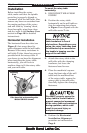
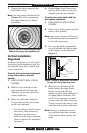
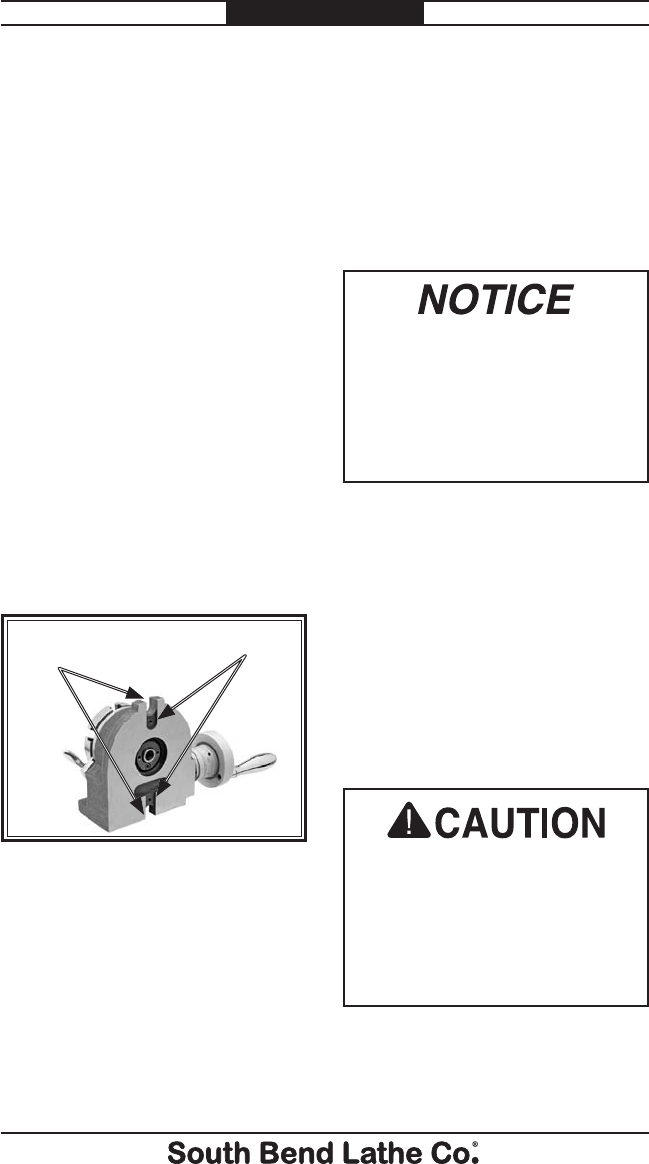
Figure 3. Locations of the horizontal
base key slots and mounting slots
(Model SB1363 shown).
Mounting
Slots
Key Slots
To mount the rotary table
horizontally:
1. DISCONNECT MILL FROM
POWER!
2. Position the rotary table
horizontally on the mill table so
that the mounting slots shown
in Figure 3 are aligned with the
mill table center T-slot.
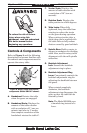
You MUST properly secure the
rotary table to the mill table to
prevent unexpected movement
of the rotary table and workpiece
during operation, which could
result in personal injury or
workpiece damage.
5. Perform the Horizontal
Installation Alignment
procedure as instructed on
Page 9.
Make sure the rotary
table handwheel is free of
obstructions. Depending on your
setup, the rotary table may need
to be blocked up or mounted so
the handle is hanging over the
edge of the mill table.
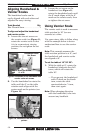
3. Attach the rotary table to the
mill table with the clamping
hardware, but leave the
fasteners loose for now.
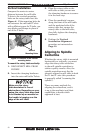
4. Placethemachinist'ssquare
along the front edge of the mill
table and the machined foot
of the rotary table, square the
rotary table to the mill table,
then fully tighten the clamping
fasteners.