


18 ► DS06 User Manual
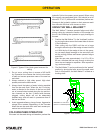
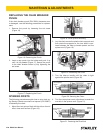
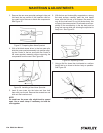
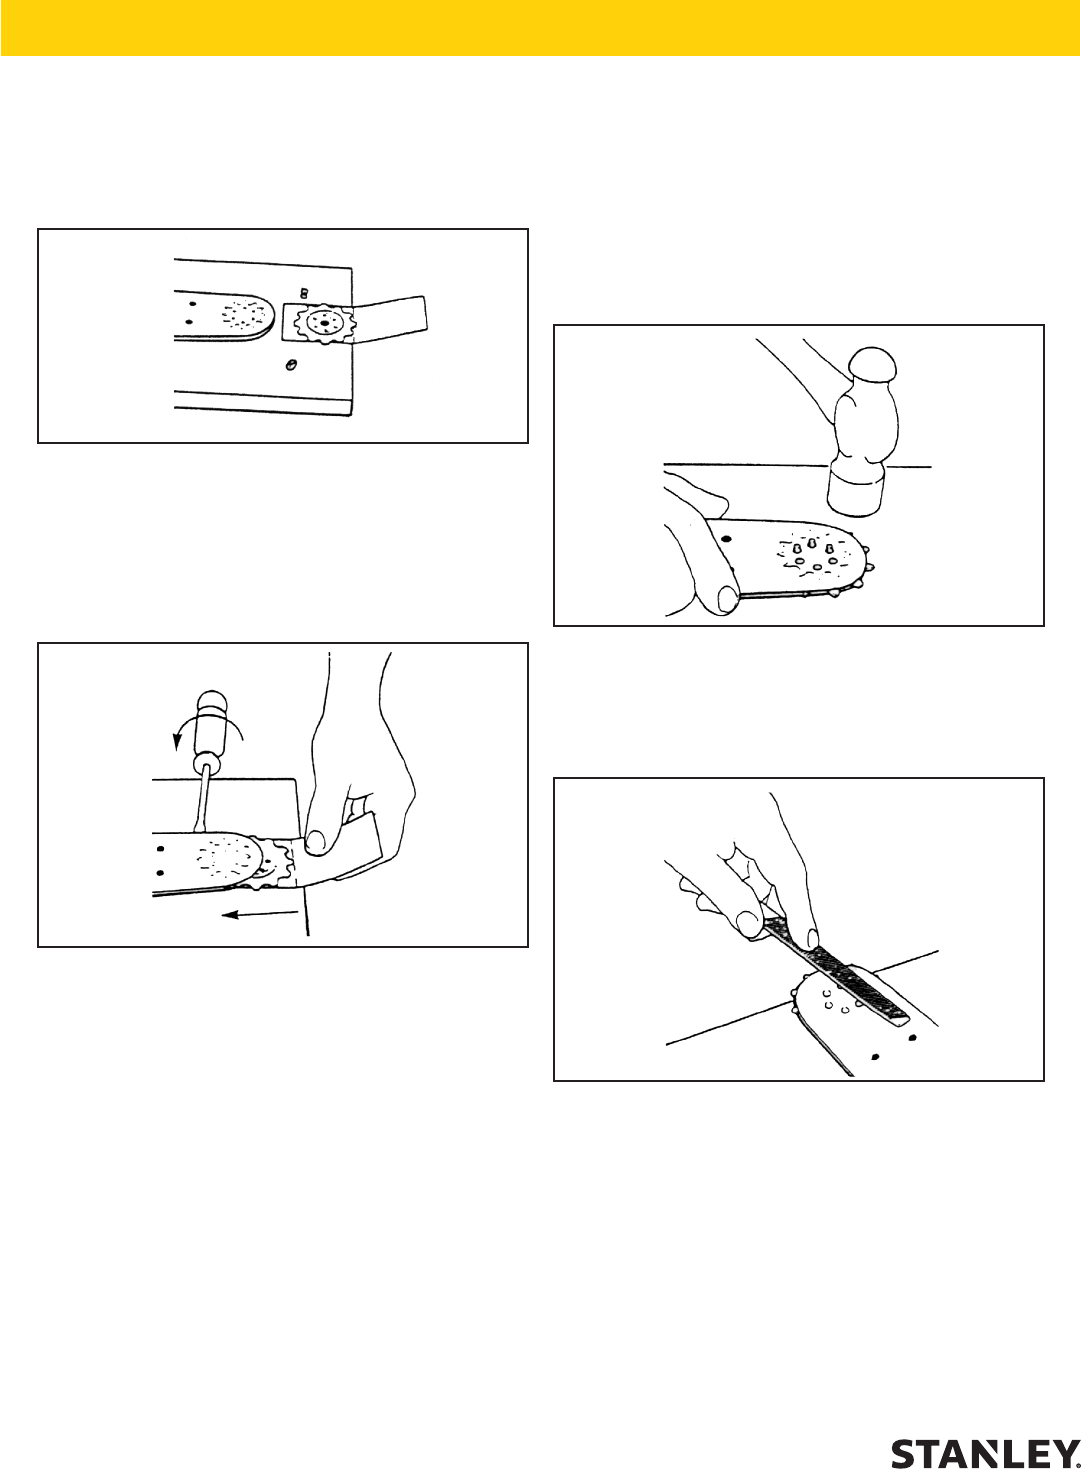
6. With the bar and rivets solidly supported on a strong
at steel surface, carefully peen the rivet heads
down with the at end of a hammer. Be careful to
only hit the rivet head. Do not hit the bar body; this
will pinch the nose sprocket. Rivet heads must com-
pletely ll the countersinks in the bar body and be
snug and secure while still allowing the sprocket to
freely turn. See Figure 29.
Figure 29. Replacing Rivets
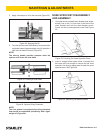
7. Using a at le, shave the rivet heads to a uniform
height that is as close to the bar body as possible.
See Figure 30
Figure 30. Filing Rivets
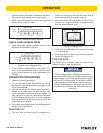
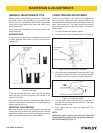
3. Remove the new nose sprocket package's clips and
fold back the top portion of the insertion card be-
ing careful not to remove or disturb the components.
See Figure 27.
Figure 27. Preparing New Nose Sprocket
4. With a at blade screw driver in the bar nose rails,
slide the nose sprocket assembly into position align-
ing the 6 holes in the bar nose with the 6 holes in
the nose sprocket assembly without removing the
components from the card. See Figure 28.
Figure 28. Installing a New Nose Sprocket
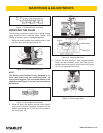
5. Insert 6 nose rivets into the holes and then hold
them with your thumb. Remove the screwdriver and
slide out the insertion card.
NOTE:
On used bars the nose rails might tend to spread
apart. Use a small clamp if necessary to hold the
rails together.
MAINTENAN & ADJUSTMENTS