27
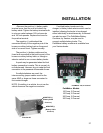
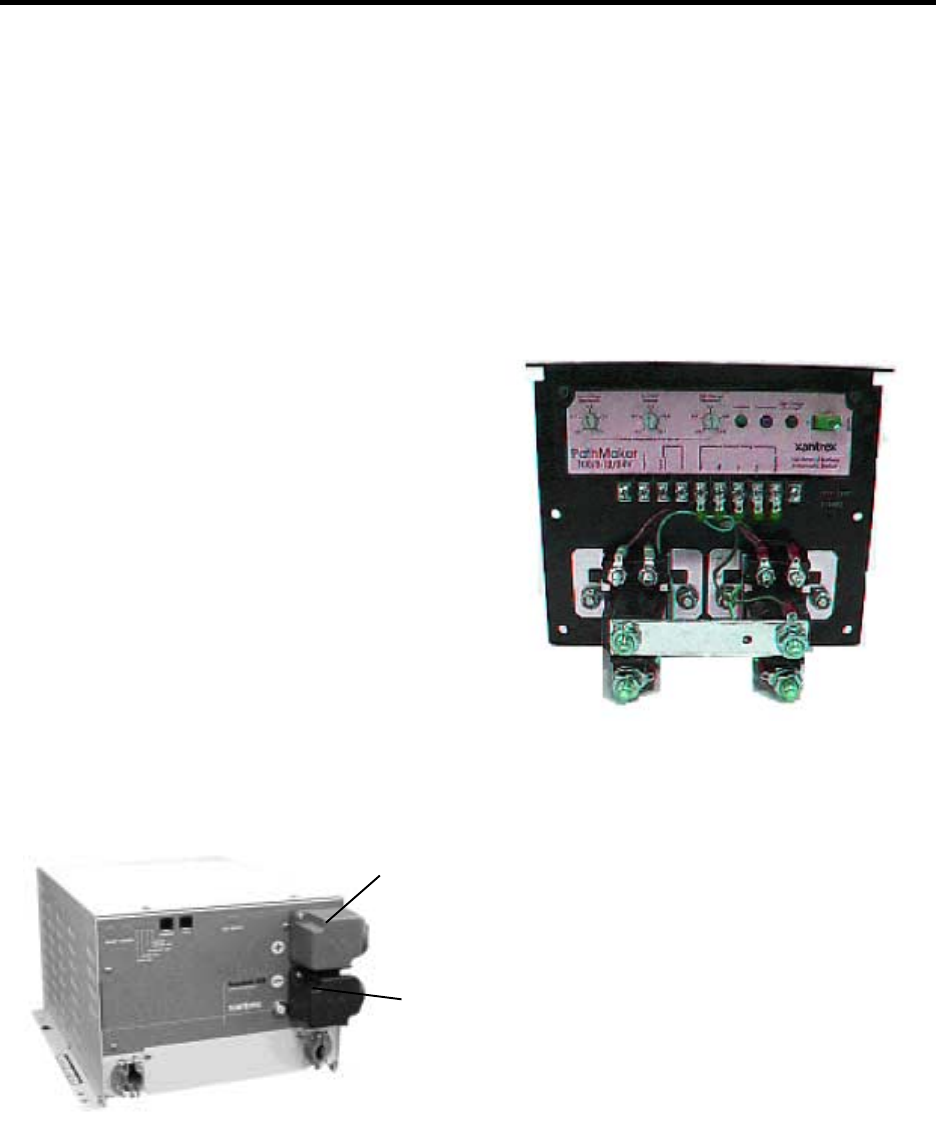
• Remove the positive (+) battery cable
terminal cover from the unit and attach the
battery cable. Tighten the battery terminal bolts
to a torque value between 160 inch-pounds
and 180 inch-pounds. Replace the cover for
the positive terminal.
The negative (-) cable should be
connected directly to the negative post of the
house or auxiliary battery bank or the ground
side of a current shunt. Tighten securely.
The positive (+) battery cable must be
fused and connected to the positive post of the
house or auxiliary battery bank, or through a
selector switch to one or more battery banks.
A spark may be generated when the final
battery connection is made. This is normal; do
not be alarmed. However, do not make the final
connection in the presence of flammable fumes.
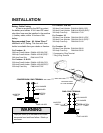
If multiple batteries are used, the
interconnecting jumper cables must be the
same AWG or larger as those connected to
the inverter/charger.
NOTE: If installing in a vehicle, do not use the
vehicle frame as the negative conductor.
If multiple battery banks are to be
charged, a battery bank selector switch can be
installed, allowing the banks to be charged
either individually or simultaneously. A solenoid
can also be used. The PathMaker Battery
Combiner, by Xantrex, may be used to
connect multiple battery banks. The
PathMaker battery combiner is available from
your Xantrex dealer.
INSTALLATION
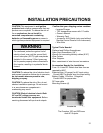
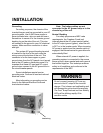
POSITIVE (+)
(Battery Cable
Cover on)
PathMaker Models
100 Amp, 2 Channel
100 Amp, 3 Channel
200 Amp, 2 Channel
200 Amp, 3 Channel
PathMaker 100, 2 Channel
NEGATIVE (-)
(Battery Cable
Cover on)
Freedom 20


