


Basic Installation Procedures
975-0468-01-01 1–13
This guide for use by qualified installers only
Step 3: Mounting the Freedom HW
To mount the Freedom HW:
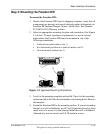
1. Remove the Freedom HW from its shipping container, verify that all
components are present, and record relevant product information on
Freedom HF Inverter/Charger Owner’s Guide (Doc. Part Number:
975-0467-01-01) Warranty section.
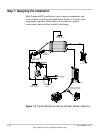
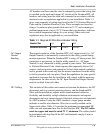
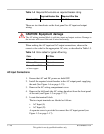
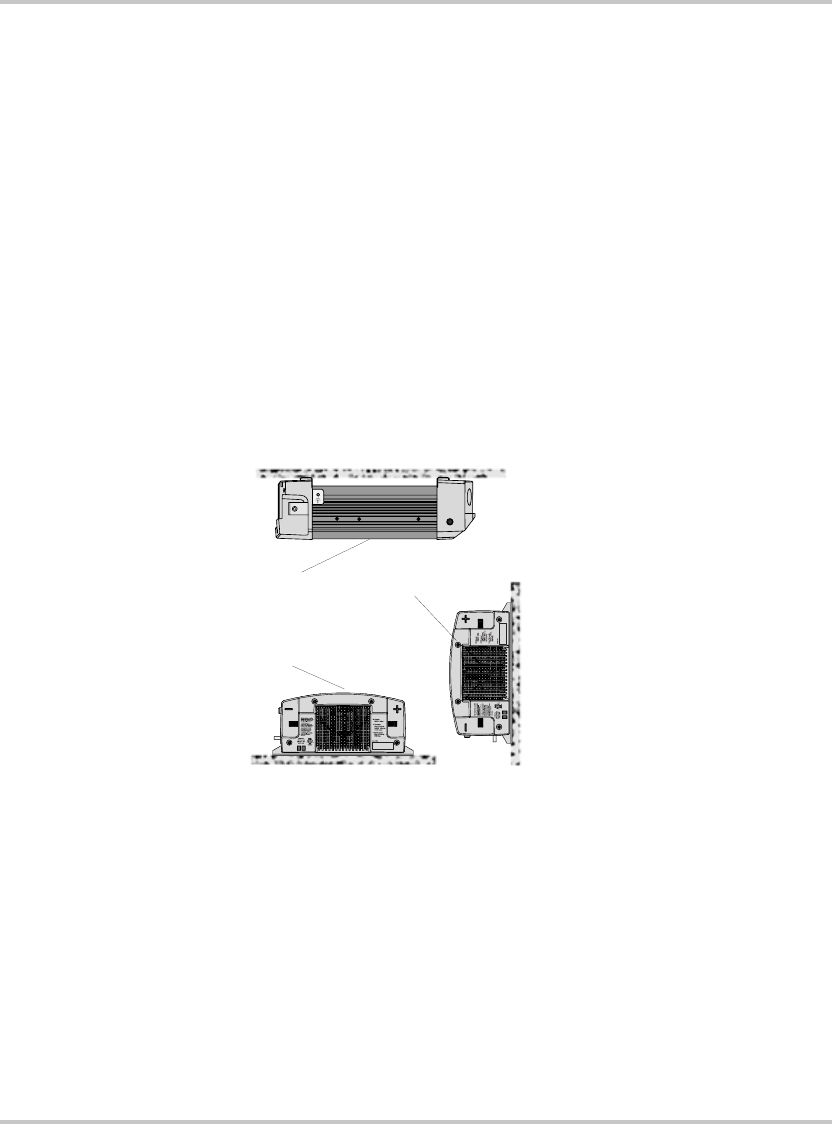
2. Select an appropriate mounting location and orientation. (See Figure
1-3 below.) To meet regulatory requirements, for use in on-land
applications, the Freedom HW must be mounted in one of the
following orientations:
• Under a horizontal surface (see 1)
• In a horizontal position on a vertical surface (see 2)
• On a horizontal surface (see 3)
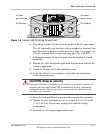
3. Look for the mounting template and unfold. Tape it to the mounting
surface and pilot-drill the desired number of mounting holes. Remove
the template.
4. Fasten the Freedom HW to the mounting surface. If you are mounting
the unit on a wall or bulkhead, use #12 or #14 pan-head wood or sheet
metal screws to secure it to the framing behind the wall or bulkhead.
Alternatively, use nut inserts and 1/4-20 machine screws.
Figure 1-3
Approved Mounting Orientations
1
2
3