75Starting a Conference by Calling a Remote Party
Chapter 3: Daily Videoconference
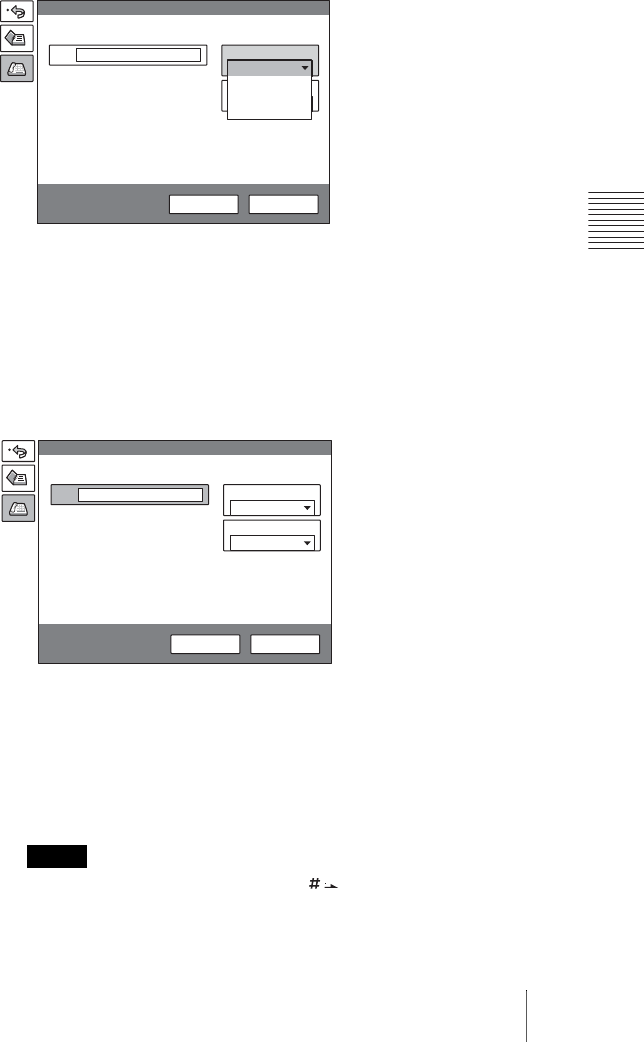
2 Use the V, v, B or b button to select “Line I/F”, then press the PUSH
ENTER button. The submenu appears. Press the V or v button to select the
line interface used to connect to the remote party, then press the PUSH
ENTER button.
IP: Connects to the videoconferencing system of a remote party via a LAN.
ISDN: Connects to the videoconferencing system of a remote party via an
ISDN.
ISDN (2B): Connects to the H.221-format videoconferencing system via 2B
channels of the ISDN connection.
ISDN (Telephone): Connects to the phone of a remote party to conduct a voice
meeting via the ISDN connection.
3 Configure the LAN, or ISDN line.
When using the LAN
1 Enter the IP address of a remote party to connect in the IP text box.
Use the V, v, B or b button on the Remote Commander to select the IP text
box, then press the PUSH ENTER button. Then enter the IP address with
the number buttons on the Remote Commander. Enter the host name and
domain name when using the DNS server in the IP text box (ex.
host.domain). When using the gatekeeper, enter the user name and user
number registered in the LAN Setup menu (page 50).
• You can enter a dot ( . ) with the b or button on the Remote
Commander.
• To correct the entered number, press the PinP (BACK SPACE) button on the
Remote Commander. The last entered number is deleted.
Notes
More Options
IP
LAN
Line I/F
Dial
A2
B1
B2
1024 Kbps
LAN Bandwidth:
Dial Save
ISDN
ISDN (2B)
ISDN(Telephone)
IP
More Options
IP
IP
Line I/F
Dial
A2
B1
B2
1024 Kbps
LAN Bandwidth
Dial Save


