1-24
Cisco 8500 Series Wireless Controller Installation Guide
Chapter 1 Cisco 8500 Series Wireless Controller Installation Guide
Rear Panel
Rear Panel
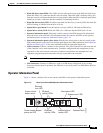
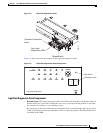
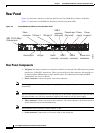
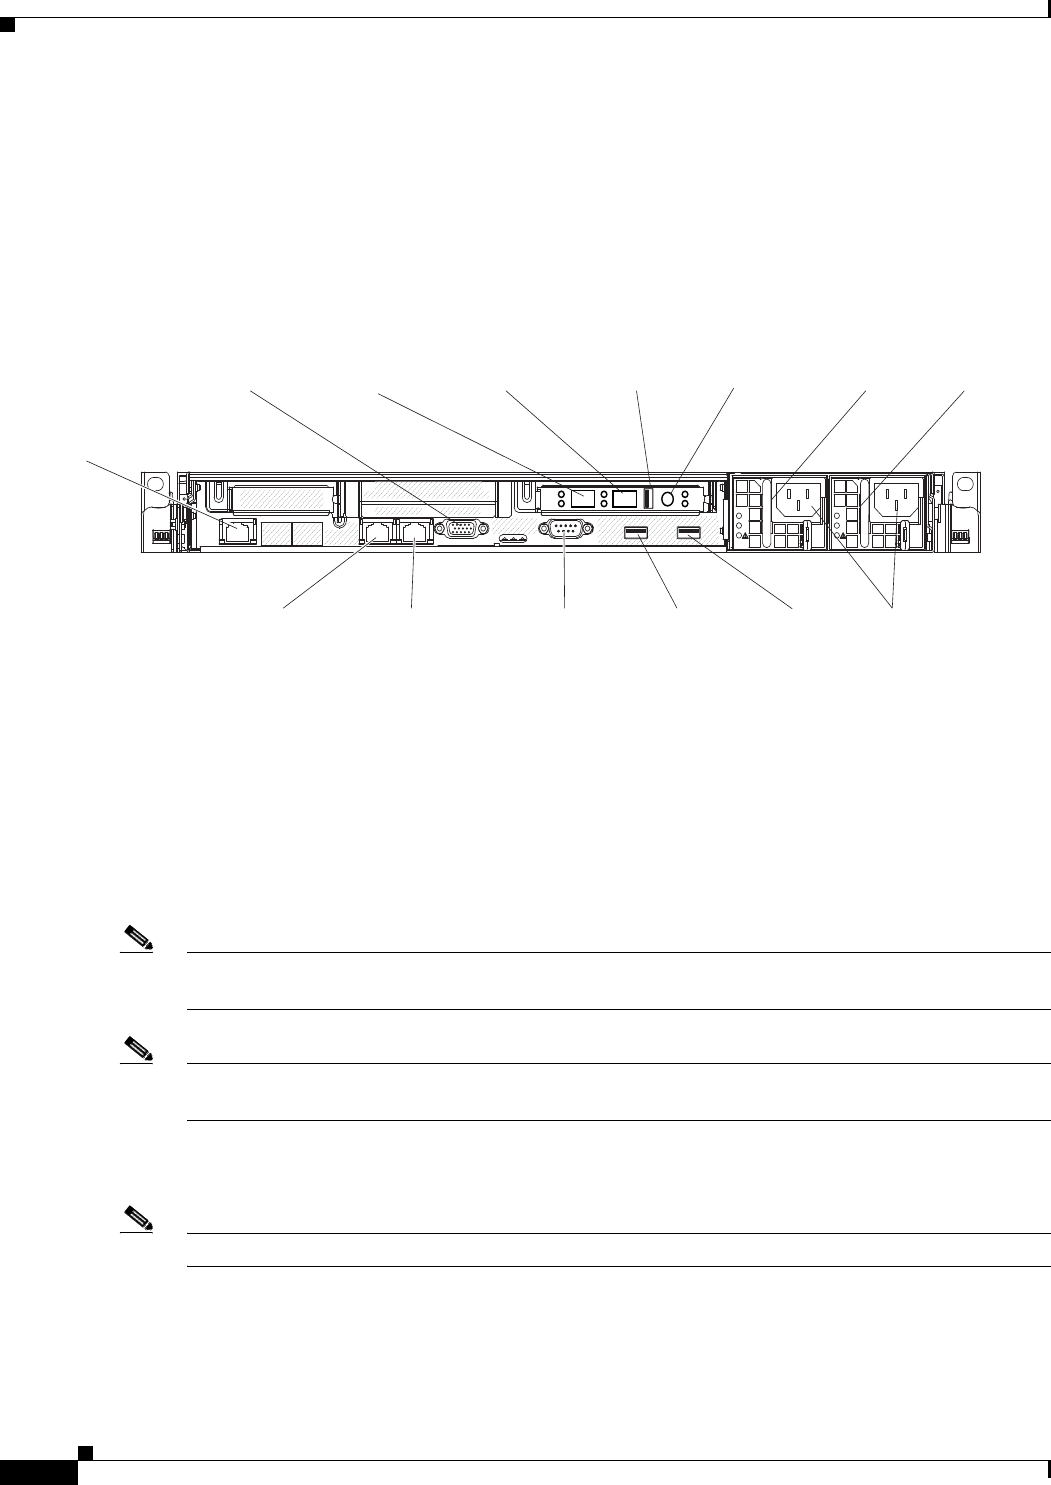
Figure 1-6 shows the connectors on the rear panel for the Cisco 8500 Series Wireless Controller.
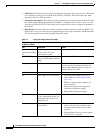
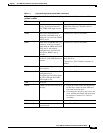
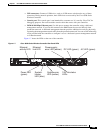
Figure 1-7 shows the Cisco 8500 Series Wireless Controller rear panel LEDs.
Figure 1-6 Cisco 8500 Series Wireless Controller Rear Panel
Rear Panel Components
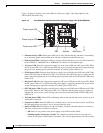
• 10G ports: Use these connectors to connect the controller to a network. The 10G connectors provide
interface for 10 Gb SFP+ transceivers. When you use the Service Port connector, the network can
be shared with the IMM through a single network cable. See additional notes about the IMM
configuration and access for details.
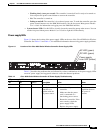
• Power connector: Connect the power cord to this connector.
Note Power supply 1 is the default/primary power supply. If power supply 1 fails, you must replace it
immediately.
Note The DC-powered 8510 controller does not ship with any of the country-specific power cords. For these
DC-powered units, use 12G wires (customer-supplied) and connect to the DC power supply.
• Video connector: Connect a monitor to this connector. The video connectors on the front and rear
of the controller can be used simultaneously.
Note The maximum video resolution is 1600 x 1200 at 75 Hz.
• Serial connector: Connect the serial console cable to this connector.
AC
DC
AC
DC
IMM 10/100 Mbps
Ethernet port
HA port
Video
connector
Serial
connector
USB 3
connector
USB 5
connector
(Not used)
Power cord
connectors
Power
supply 1
Power
supply 2
10G port 1
10G port 2
USB 4
connector
Console port
(Not used)
Service port
282300


