


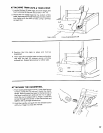
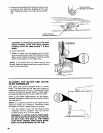
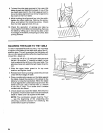
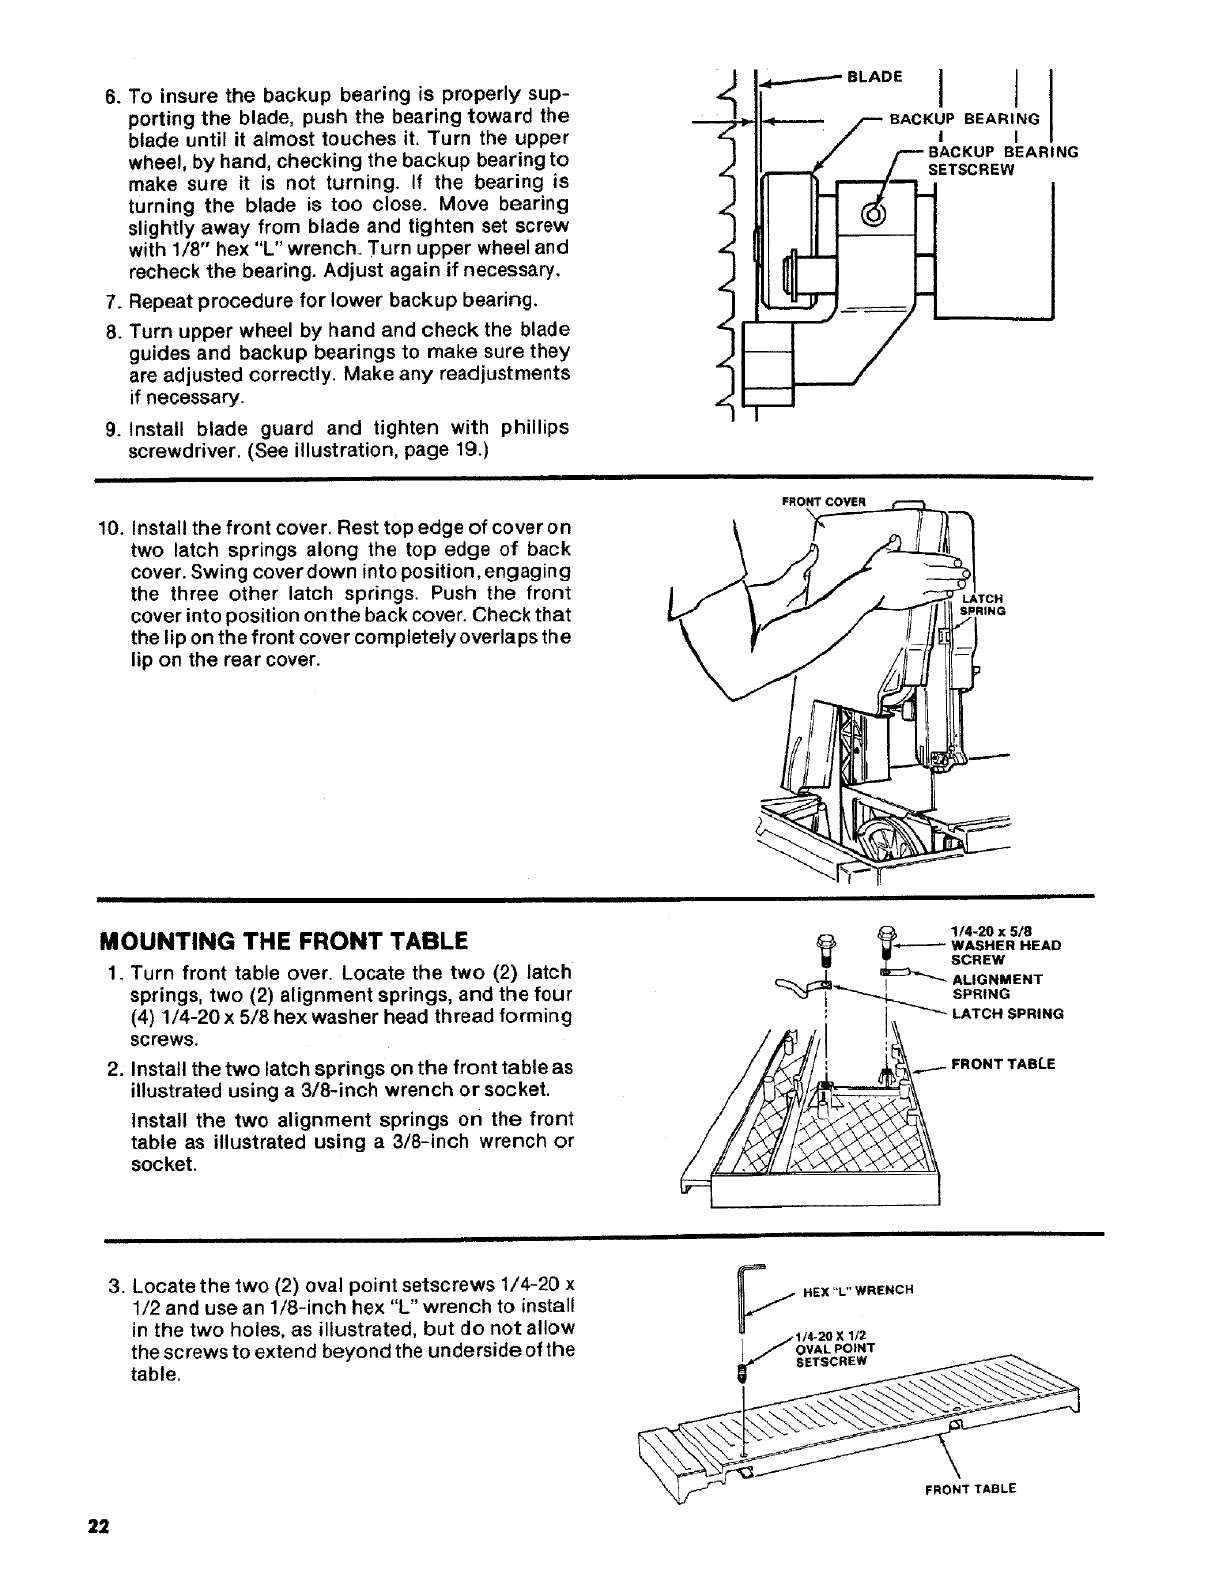
6. To insure the backup bearing is properly sup-
porting the blade, push the bearing toward the
blade until it almost touches it. Turn the upper
wheel, by hand, checking the backup bearing to
make sure it is not turning. If the bearing is
turning the blade is too close. Move bearing
slightly away from blade and tighten set screw
with 1/8" hex "L" wrench. Turn upper wheel and
recheck the bearing. Adjust again if necessary.
7. Repeat procedure for lower backup bearing.
8. Turn upper wheel by hand and check the blade
guides and backup bearings to make sure they
are adjusted correctly. Make any readjustments
if necessary.
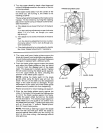
9. Install blade guard and tighten with phillips
screwdriver. (See illustration, page 19.)
z
i
"1
"1
z
J
I
'4''"'--" BLAD E I I
F BACKUP BEARIING I
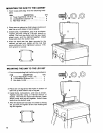
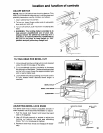
10. Install the front cover. Rest top edge of cover on
two latch springs along the top edge of back
cover. Swing cover down into position, engaging
the three other latch springs. Push the front
cover into position on the back cover. Check that
the lip on the front cover completely overlaps the
lip on the rear cover.
FRONT COVER
SPRING
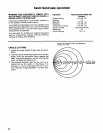
MOUNTING THE FRONT TABLE
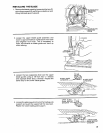
1. Turn front table over. Locate the two (2) latch
springs, two (2) alignment springs, and the four
(4) 1/4-20 x 5/8 hex washer head thread forming
screws.
2: Install the two latch springs on the front table as
illustrated using a 3/8-inch wrench or socket.
Install the two alignment springs on the front
table as illustrated using a 3/8-inch wrench or
socket.
_ 114-20 x 5/8
_"*-."_--- WASHER HEAD
SCREW
...-.L i=_-_'''''_ ALIGNMENT
"'_T _'_..._ SPRING
', I _ LATCH SPRING
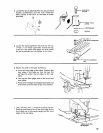
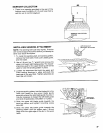
3. Locate the two (2) oval point setscrews 1/4-20 x
1/2 and use an 1/8-inch hex "L" wrench to install
in the two holes, as illustrated, but do not allow
the screws to extend beyond the underside of the
table.
,../HEX"L"WRENCH
j.l/4-20X1/2
I _ OVAL pOINT
y SETSCREW
FRONT TABLE
22