


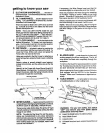

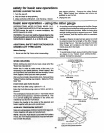
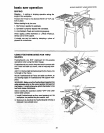
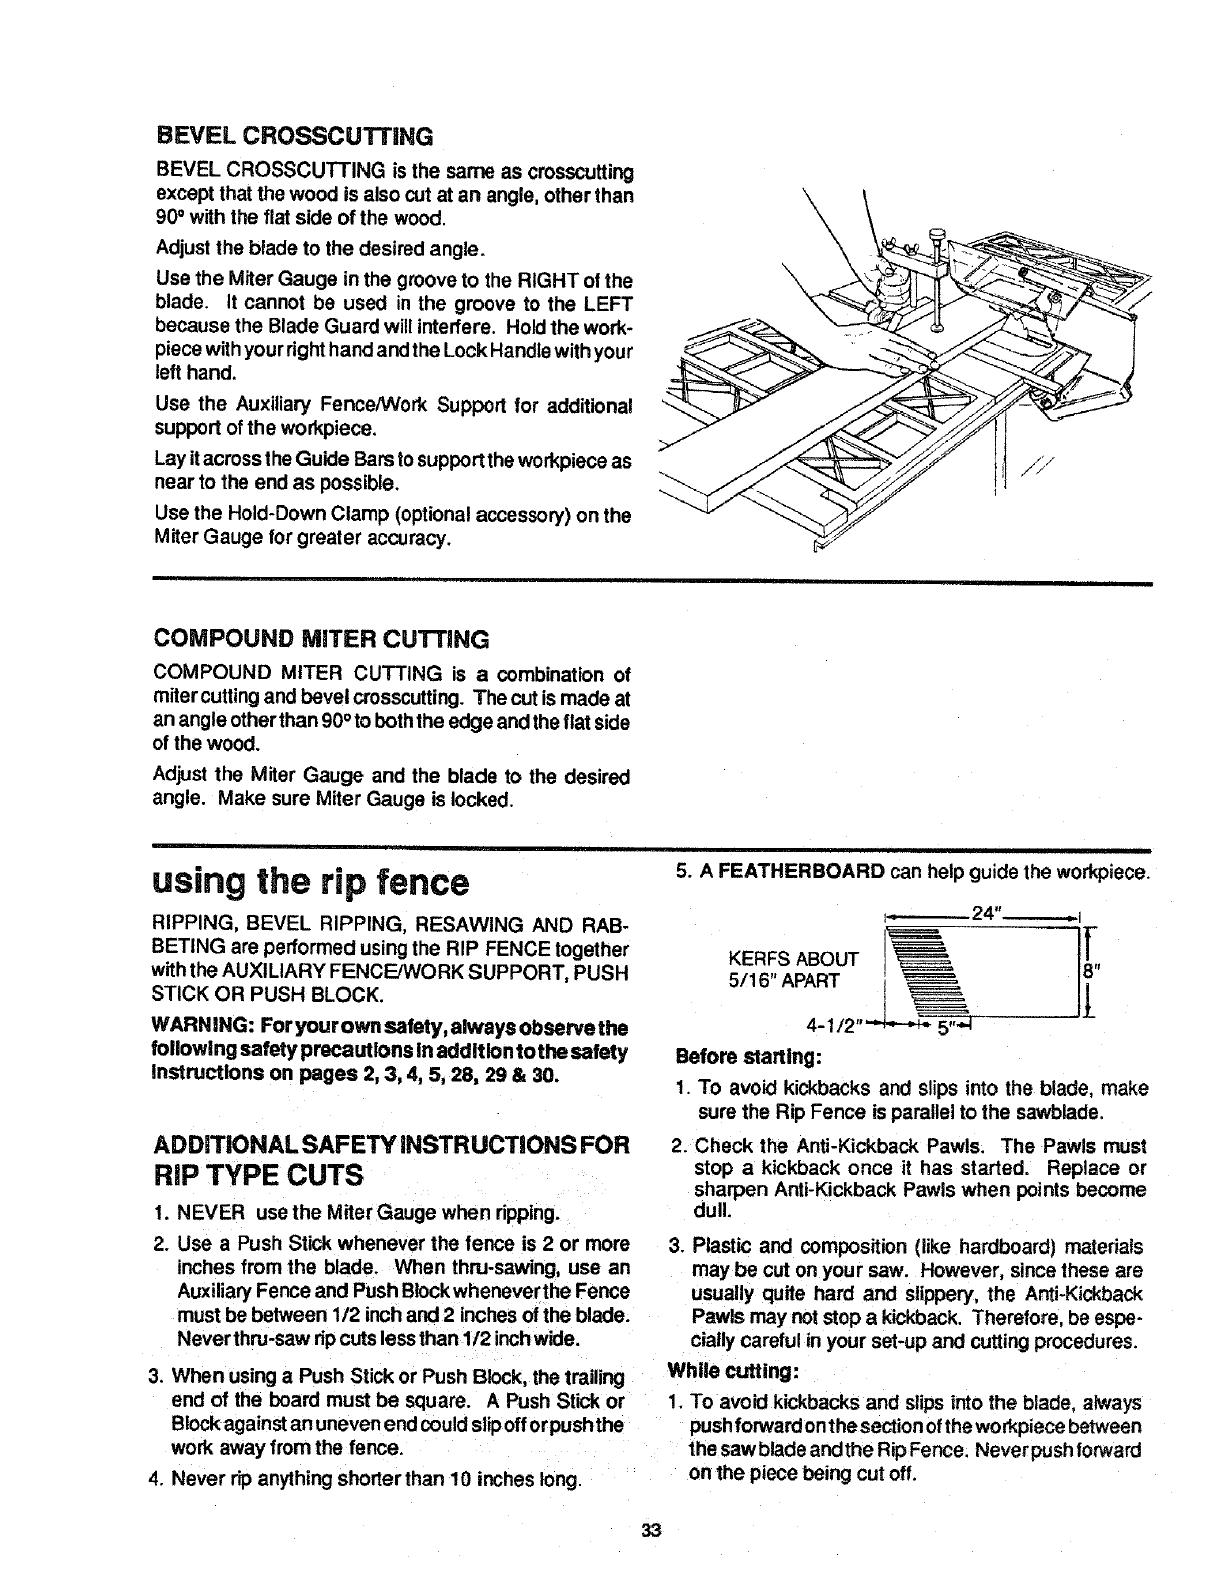
BEVEL CROSSCUTTING
BEVEL CROSSCUTTING is the same as crosscutting
except that the wood is also cut at an angle, other than
90° with the flat side of the wood.
Adjustthe blade to the desired angle.
Use the Miter Gauge in the groove to the RIGHT of the
blade. It cannot be used in the groove to the LEFT
because the Blade Guard will interfere. Hold the work-
piece with your righthand andthe Lock Handlewith your
left hand.
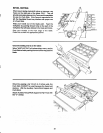
Use the Auxiliary FenceNVork Support for additional
support of the workpiece,
Lay itacross theGuide Barsto support the workpiece as
near to the end as possible,
Use the Hold-Down Clamp (optional accessory) on the
Miter Gauge for greater accuracy.
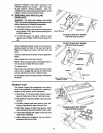
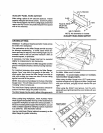
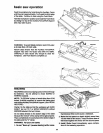
COMPOUND MITER CUTTING
COMPOUND MITER CUTTING is a combination of
miter cuttingand bevel crosscutting. The cut is made at
an angle other than 90° to boththe edge and the flat side
of the wood.
Adjust the Miter Gauge and the blade to the desired
angle. Make sure Miter Gauge is locked.
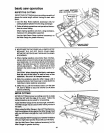
using the rip fence
RIPPING, BEVEL RIPPING, RESAWlNG AND RAB-
BETING are performed usingthe RIP FENCE together
withthe AUXILIARY FENCE/WORK SUPPORT, PUSH
STICK OR PUSH BLOCK.
WARNING: Foryourown safety, always observe the
following safety precautions in addition to the safety
instructions on pages 2, 3, 4, 5, 28, 29 & 30.
ADDmONAL SAFETY INSTRUCTIONS FOR
RiP TYPE CUTS
1. NEVER use the Miter Gauge when ripping.
2. Use a Push Stick whenever the fence is 2 or more
inches from the blade. When thru-sawing, use an
Auxiliary Fence and Push Biockwhenever the Fence
must be between 1/2 inch and 2 inches of the blade.
Never thru-saw ripcuts less than 1/2 inchwide.
3. When using a Push Stick or Push Block, the trailing
end of the board must be square. A Push Stick or
Block againstan uneven end couldslipofforpush the
work away from the fence.
4. Never rip anything shorter than 10 inches long.
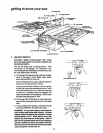
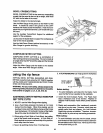
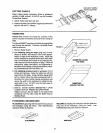
5. A FEATHERBOARD can help guide the workpiece.
KERFS ABOUT
5/16" APART
4-1/'
Before staring:
1. To avoid kickbacks and slips into the blade, make
sure the Rip Fence is parallel to the sawblade,
2. Check the Anti-Kickback Pawls. The Pawls must
stop a kickback once it has started. Replace or
sharpen Anti-Kickback Pawls when points become
dull.
3. Plastic and composition (like hardboard) materials
may be cut on your saw. However, since these are
usually quite hard and slippery, the Anti-Kickback
Pawls may not stop a kickback. Therefore, be espe-
cially careful in your set-up and cutting procedures.
While cutting:
1. To avoid kickbacks and slips into the blade, a_ways
push forward onthe sectionoftheworkpiece between
the saw bladeand the RipFence. Never pushforward
on the piece being cut off.
33