


z
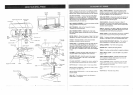
SPECnFIC SAFETY NSTRUCTMONS
FOR THE DR LL PRESS
I4. SECURE WORK. Use clamps or a vise to hold the
work when practical. It's safer than using your hand
and it Frees both hands to operate tool.
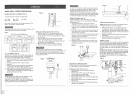
For your own safety, do not try to use your drill press
or plug it in until it is completely assembled and installed
according tO the instructions, and until you have read and
understood this instruction manual:
1.
YOUR DRILL PRESS MUST BE BOLTED securely
to a workbench. In addition, ff there is any tendency
for your drill press to move during certain operations,
bolt the workbench to the floor.
2. THIS DRILL PRESS is intended for use in dry
conditions, indoor use only.
. WEAR EYE PROTECTION. USE face or dust mask
along with safety goggles if drilling operation is dusty.
USE ear protectors, especially during extended periods
of operation.
4. DO NOT wear gloves, neckties, or loose clothing. :
5. DO NOT try to drill material too small to be securely
held.
6. ALWAYS keep hands out of the path of a drill bit.
Avoid awkward hand positions where a sudden slip
could cause your hand to move into the drill bit.
.
DO NOT install or use any drill bit that exceeds
!75 mm (7") in length or extends 150 mm (6") below
the chuck jaws. They can suddenly bend outward or
break.
8. DO NOT USE wire wheels, router bits, shaper cutters,
circle (fly) cutters, or rotary planers on this drill press.
9. WHEN;cutting a large piece of material make sure it
is fully'supported at the table height.
10. DO NOT perform any operation freehand. ALWAYS
hold the workpiece firmly against the table so it will
not rock or twist. Use clamps or a vise for unstable
workpieces.
15.
16.
17.
18.
I9.
20.
21,
22.
23.
24.
25.
11. MAKE SURE there are no nails or foreign objects in 26.
the part of the workpiec.e to be drilled. 27.
CLAMP WORK:PIECE OR BRACE against the left
side of the column to prevent rotation. If it is too short
or the table is tilted, clamp solidly to the table and
use the fence provided,
t2
WHEN using a drill press vise, always fasten to the
table.
MAKE SURE all clamps and locks are firmly
tightened before drilling.
SECURELY LOCK THE HEAD and table support to
the column, and the table to the table support before
operating the drill press.
NEVER turn your drill press on before clearing the
table of all objects (-tools, scraps of wood, etc.)
BEFORE STARTING the Operation, jog' the motor
switch to make sure the drill bit does not wobble or
vibrate.
LETTHE SPINDLE REACH FULL SPEED before
starting to drill. If your drill press makes an unfamiliar
noise or if it vibrates excessively, stop immediately,
turn the drill press off and unplug. Do not restart until
the problem is corrected
DO NOT perform layout assembly or set up work on
the table while the drill press is in operation.
USE RECOMMENDED SPEED for drill accessory and
workpiece material. SEE INSTRUCTIONS that come
with the accessory.
WHEN DRILLING large diameter holes, clamp the
workpiece firmly to the table. Otherwise, the bit may
grab and spin the workpiece at high speed. DO NOT
USE fly cutters or multiple-part hole cutters, as they
can come apart or become unbalanced in use.
MAKE SURE the spindle has come to a complete
stop before touching the workpiece.
TO AVOID INJURY from accidental starting, always
turn the switch "OFF" and unplug the drill press before
installing or removing any accessory or attachment
or making any adjustment.
KEEP GUARDS lN PLACE and in working order.
USE ONLY SELF-EJECTING TYPE CHUCK KEY as
provided with the drill press.
13.
IF THE WORKP1ECE overhangs the table such that
it will fall or tip if not held, clamp it to the table or
provide auxiliary support.
SAVE THESE
INSTRUCTmONS
::}i
q
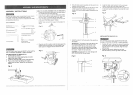
GROUNDING INSTRUCTIONS
INTHE EVENT OF A MALFUNCTION OR BREAKDOWN,
grounding provides a path of least resistance for electric
current and reduces the risk of electric shock. This tool
is equipped with an electric cord that has an equipment
grounding conductor and a grounding plug. The plug
MUST be plugged into a matching receptacle that is
properly installed and grounded in accordance with ALL
local codes and ordinances.
DO NOT MODIFYTHE PLUG PROVIDED. tf it wilt no[ fit [he
receptacle, have the proper receptacle installed by a
qualified electrician.
IMPROPER CONNECTION of the equipment grounding
conductor can result in risk of electric shock. The
conductor with the green insulation (with or without yeltow
stripes) is the equipment grounding conductor. If repair
or replacement of the electric cord or plug is necessary,
DO NOT connect the equipment grounding conductor to
a live terminal.
CHECK with a qualified electrician or service personnel if
you do not completely understand the grounding instructions,
or if you are not sure the tool is properly grounded.
USE ONLY 3oWIRE EXTENSION CORDS THAT HAVE
3-PRONG GROUNDING PLUGS AND 3opOLE
RECEPTACLES THAT ACCEPT THE TOOL'S PLUG.
REPAIR OR REPLACE DAMAGED OR WOF_?,_CORD
IMMEDIATELY.
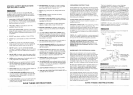
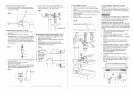
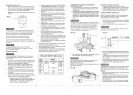
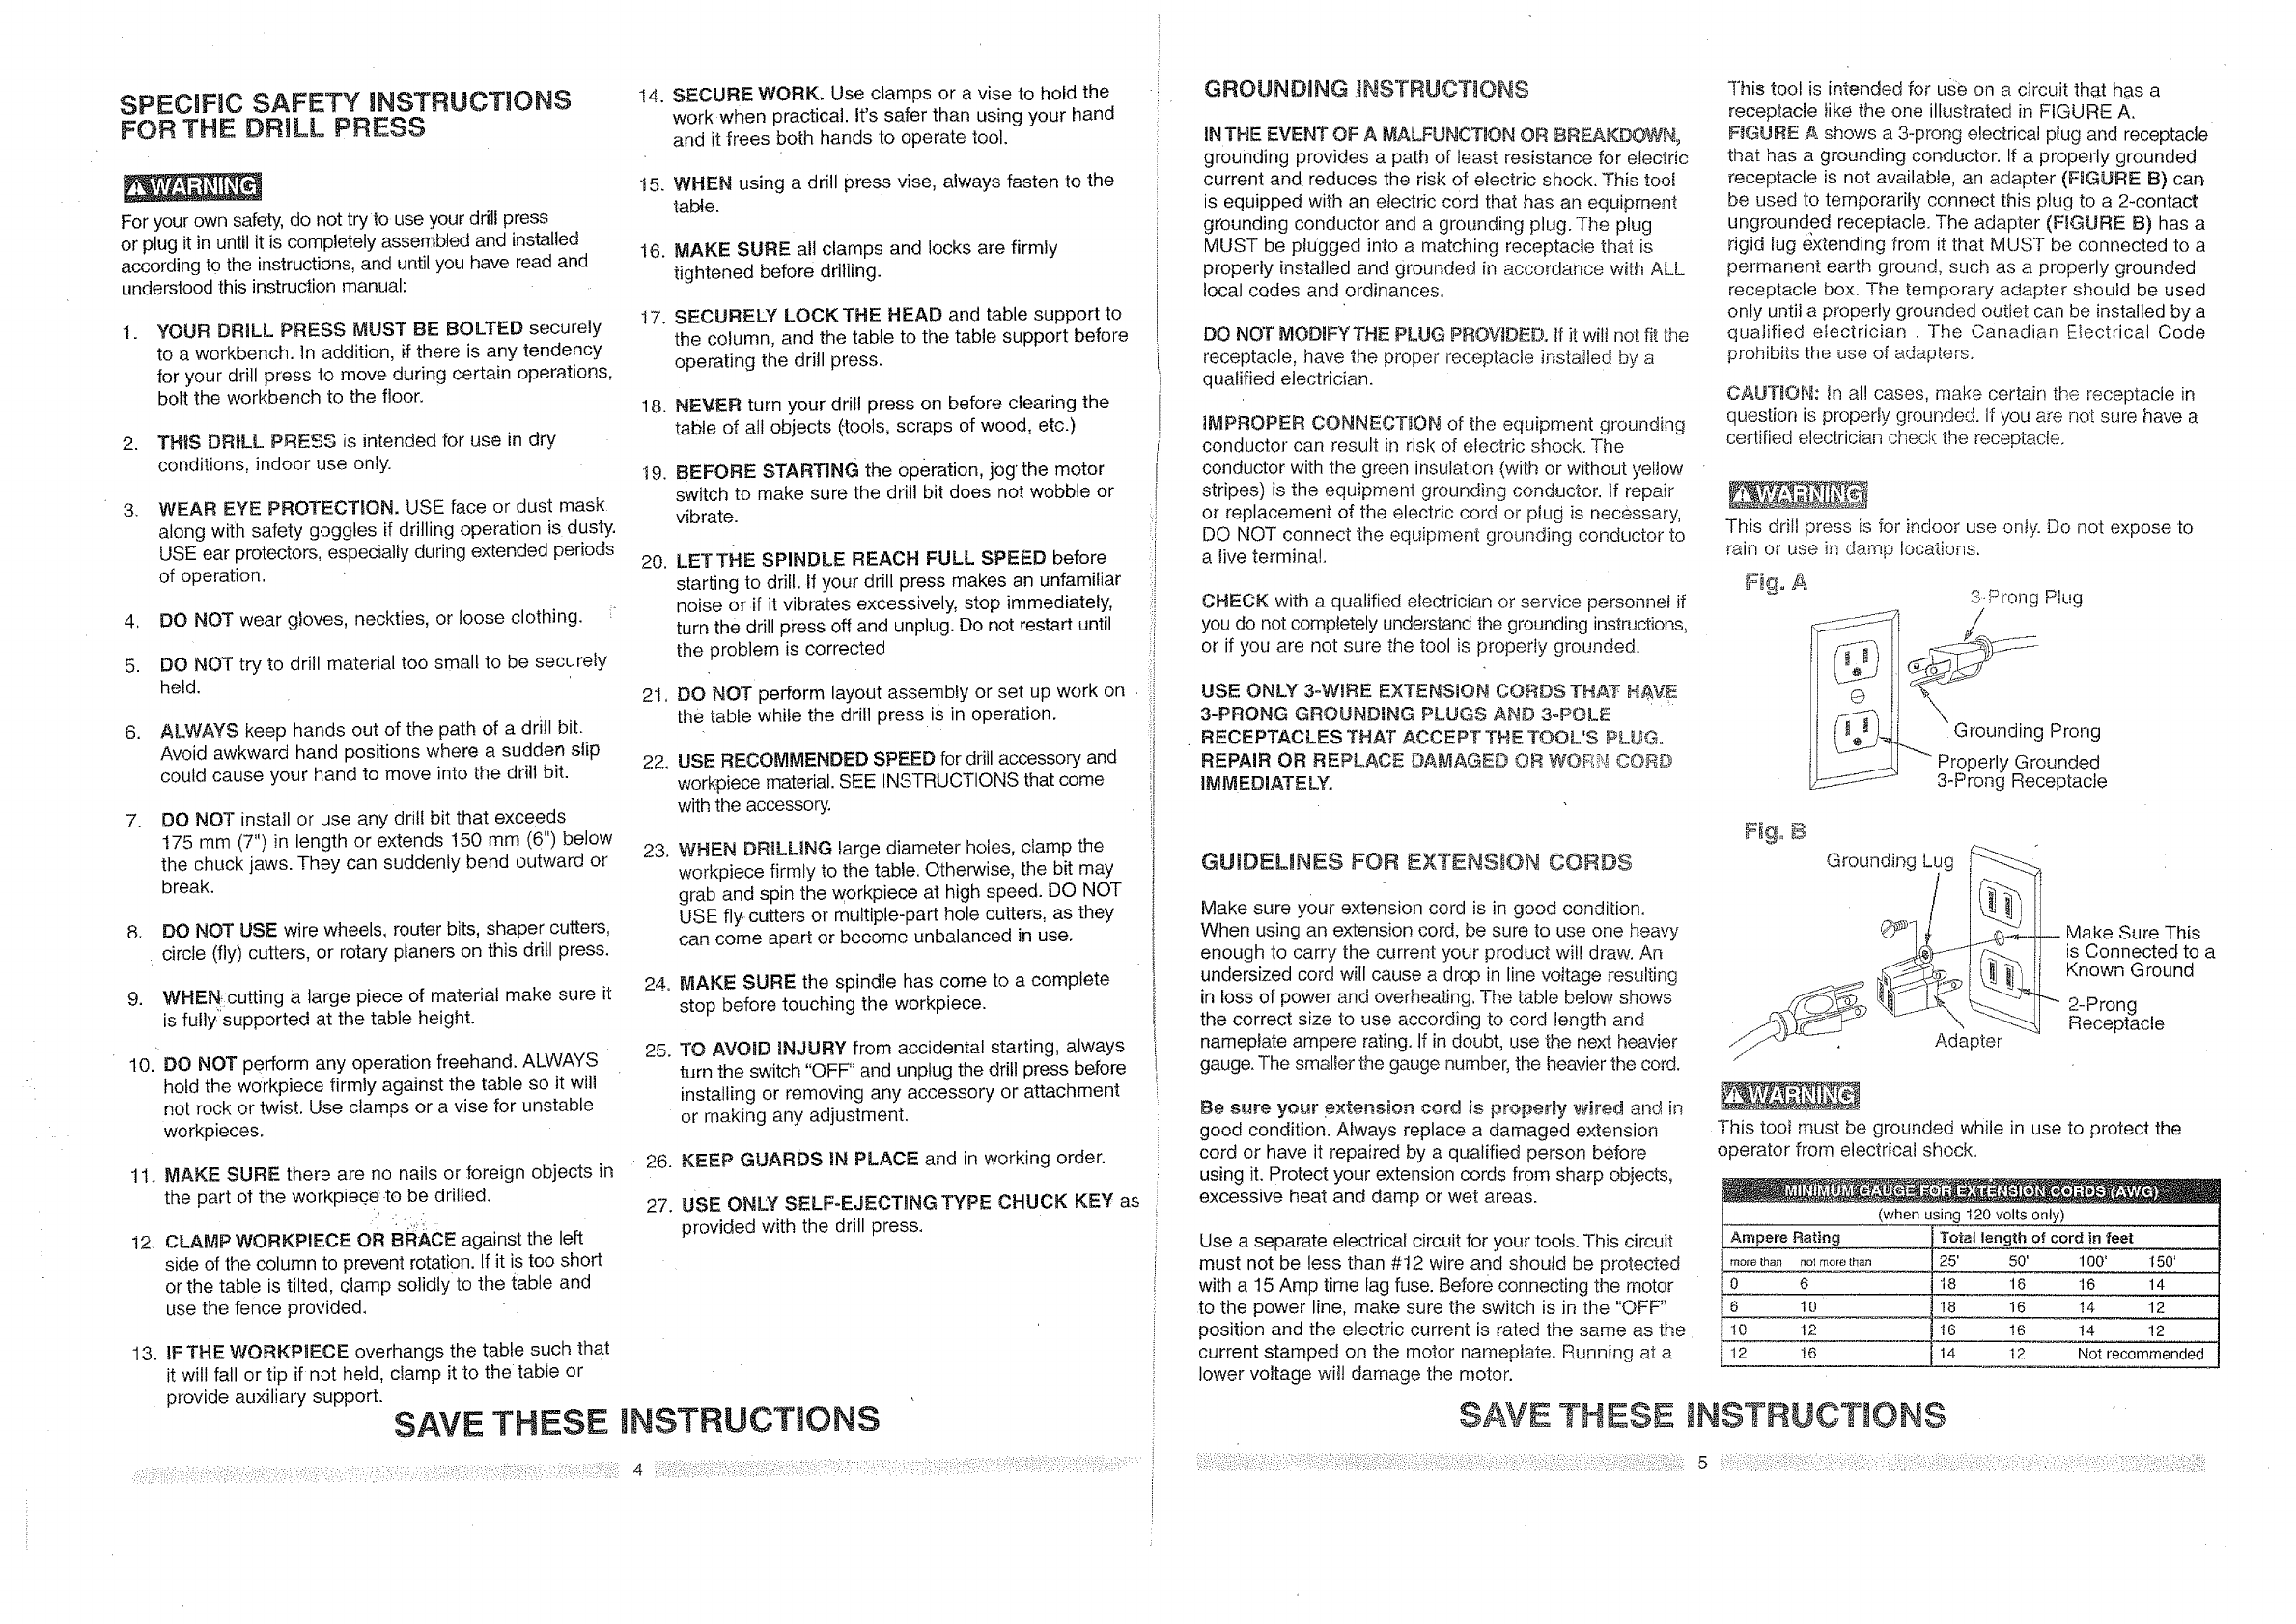
This tool is intended for use on a circuit that has a
receptacle iike the one illustrated in FIGURE A.
FIGURE A shows a 3-prong electrical plug and receptacle
that has a grounding conductor. If a properly grounded
receptacle is not available, an adapter (F_GURE B) can.
be used to temporarily connect this plug to a 2-contact
ungrounded receptacle. The adapter (RGURE B) has a
rigid lug extending from it that MUST be connected to a
permanent earth ground, such as a properly grounded
receptacle box. The temporary adapter should be used
only until a properly grounded outle_ can be installed by a
qualified electrician . The Canadian E!ectrical Code
prohibits the use of adapters.
CAUTION: In all cases, make certain the receptacle in
question is property grounded. If you are not sure have a
codified electrician check the receptacle.
This drill press is for indoor use only. Do not expose to
rain or use in damp locations.
Fig° A
(
3-Prong Plug
Grounding Prong
Properly Grounded
3-Prong Receptacle
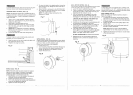
GU_DEUNES FOR EXTENSION CORDS
Make sure your extension cord is in good condition.
When using an extension cord, be sure to use one heaw
enough to carry the current your product wil! draw. An
undersized cord will cause a drop in line voltage resulting
in loss of power and overheating. The table below shows
the correct size to use according to cord length and
nameplate ampere rating. If in doubt, use the next heavier
gauge. The smaller the gauge number, the heavier the cord.
Be sure your extension cord _s property wired and in
good condition. Always replace a damaged extension
cord or have it repaired by a qualified person before
using it. Protect your extension cords from sharp objects,
excessive heat and damp or wet areas.
Use a separate electrical circuit for your tools. This circuit
must not be less than #t2 wire and should be protected
with a 15 Amp time tag fuse. Before connecting the motor
to the power line, make sure the switch is in the "OFF"
position and the electric current is rated the same as the
current stamped on the motor nameplateo Running at a
lower voltage will damage the motor.
F_9. B
Grounding Lug
I Make Sure This
is Connected to a
Known Ground
2-Prong
Receptacle
This toof must be grounded while in use to protect the
operator from electrical shock.
more than not mere then
0 6
6 10
10 12
12 16
(when using 120 volts only)
Arc@ere Rating l Total length of cord in feet
[
25' 50' 100' t 50'
! 18 16 16 14
18 16 14 1216 16 14 12
| 14 12 Not recommended
±
SAVE THESE NSTRUCT ONS
! }:i::i::':::: : :: :i :::::i: ::: :.':4 :::: 5 ::: :::::: :: :.:.::: :::::::::::::::::::::::::::