


13
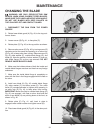
Fig. 26
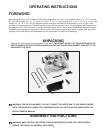
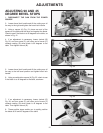
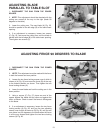
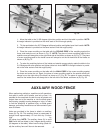
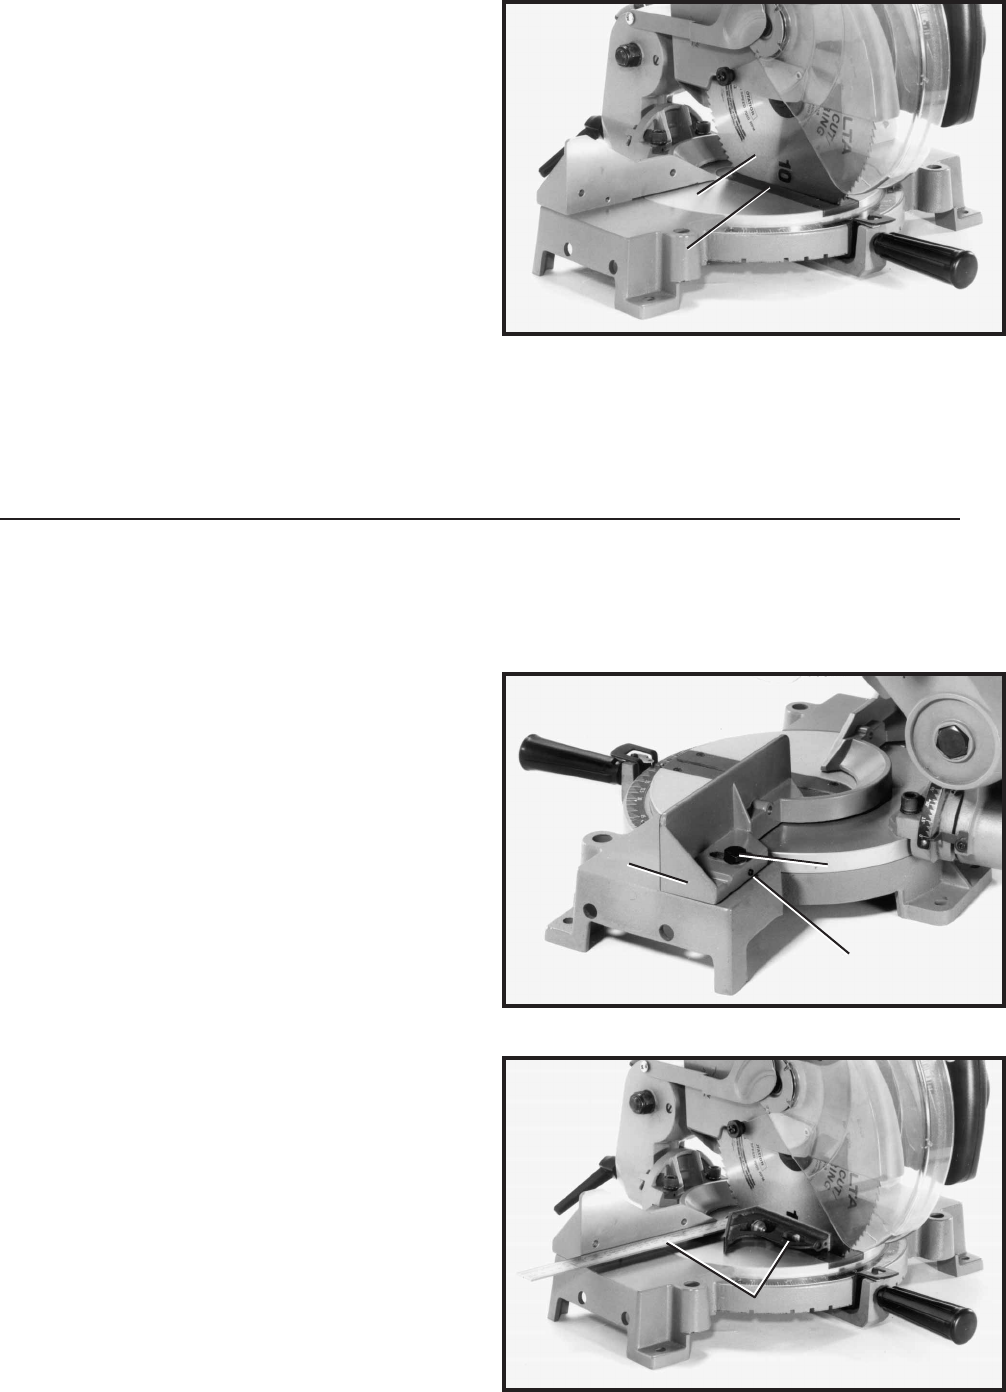
ADJUSTING BLADE
PARALLEL TO TABLE SLOT
1. DISCONNECT THE SAW FROM THE POWER
SOURCE.
2. NOTE: This adjustment should be checked with the
cutting arm moved all the way to the right (blade 90
degrees to the table).
3. Lower the cutting arm. The saw blade (A) Fig. 25,
should be parallel to the left edge (B) of the table insert
opening.
4. If an adjustment is necessary, loosen two screws
(C) Fig. 25, and move the cutting arm until the blade is
parallel with the left edge (B) of the table insert opening.
Then tighten two screws (C).
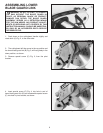
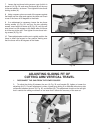
1. DISCONNECT THE SAW FROM THE POWER
SOURCE.
2. NOTE: This adjustment must be made with the fence
in both the forward and rear position.
3. Loosen the two fence locking screws, one of which is
shown at (A) Fig. 26, and move the fence (B) all the way
to the forward position, as shown. Then tighten the two
fence locking screws (A).
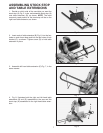
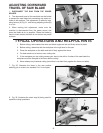
4. Lower the saw blade and lock the cutting arm in the
down position.
5. Using a square (C) Fig. 27, place one end of the
square against the blade and the other end against the
table, as shown. Check to see if the fence is 90 degrees
to the blade.
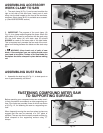
6. If an adjustment is necessary, loosen the two fence
locking screws (A) Fig. 26, and turn the two adjusting
screws, one of which is shown at (D) Fig. 26, until you are
sure fence is at 90 degrees to the blade when the fence
is all the way forward and tighten the two fence locking
screws (A) Fig. 26.
ADJUSTING FENCE 90 DEGREES TO BLADE
Fig. 27
Fig. 25
A
B
A
D
B
C