8
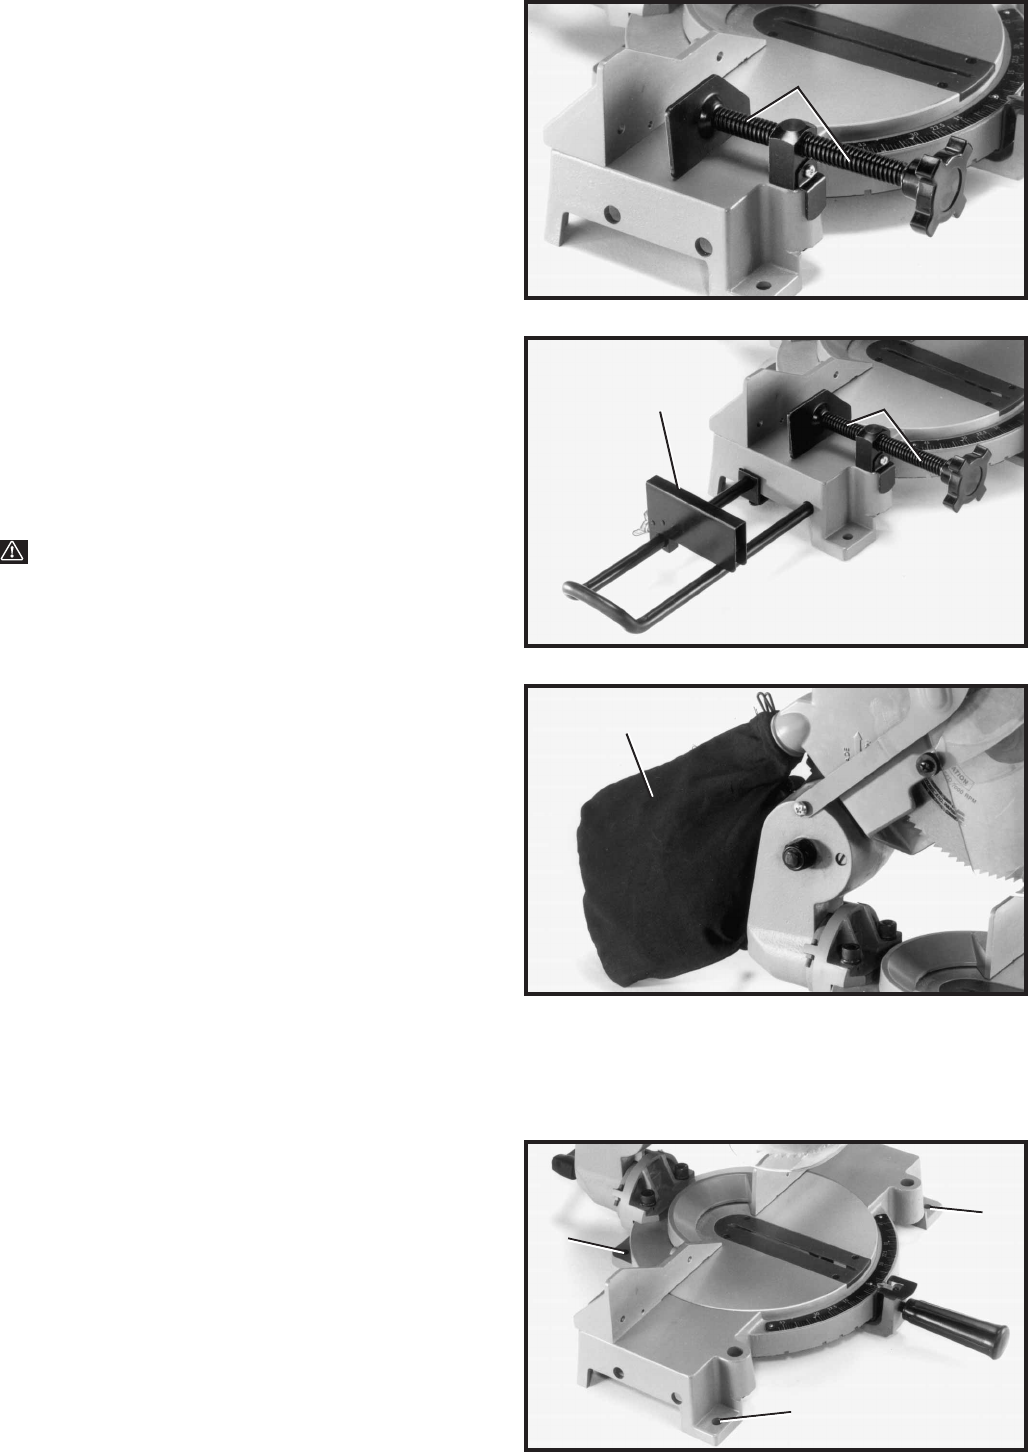
Fig. 12
Fig. 11
Fig. 10
Fig. 9
ASSEMBLING ACCESSORY
WORK CLAMP TO SAW
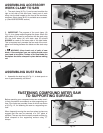
1. The work clamp (A) Fig. 9, can be used on either the
right or left side of the saw base. Insert post of work
clamp into the hole located on the front of the saw base,
as shown. Work clamp 36-221 is available as a accesso-
ry. (See ASSESSORIES section)
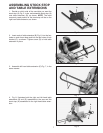
2. IMPORTANT: The purpose of the work clamp (A)
Fig. 10, is to clamp material against the fence. When the
work clamp (A) is used in conjunction with the stock stop
(B), the work clamp (A) and stock stop (B) should
ALWAYS be used on the same side of the saw blade.
This is important as it prevents the free end of the work-
piece from binding between the blade and the stock stop
(B).
3. WARNING: Keep hands out of path of saw
blade. If the workpiece you are cutting would cause
your hand to be within 4 inches of the saw blade, the
workpiece should be clamped in place before making
cut.
ASSEMBLING DUST BAG
1. Assemble the dust bag (A) Fig. 11, to dust spout on
rear of guard assembly, as shown.
Before operating your compound miter saw make sure it
is firmly mounted to a workbench or other supporting sur-
face. Four holes are provided, three of which are shown
at (A) Fig. 12, for fastening the saw to a supporting sur-
face.
When frequently moving the saw from place to place we
suggest that the saw be mounted to a 3/4" piece of
plywood. The saw can then be easily moved and the ply-
wood clamped to the supporting surface using “C”
clamps.
FASTENING COMPOUND MITER SAW
TO SUPPORTING SURFACE
A
B
A
A
A
A
A


