5
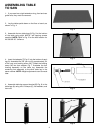
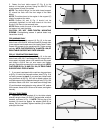
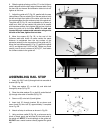
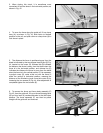
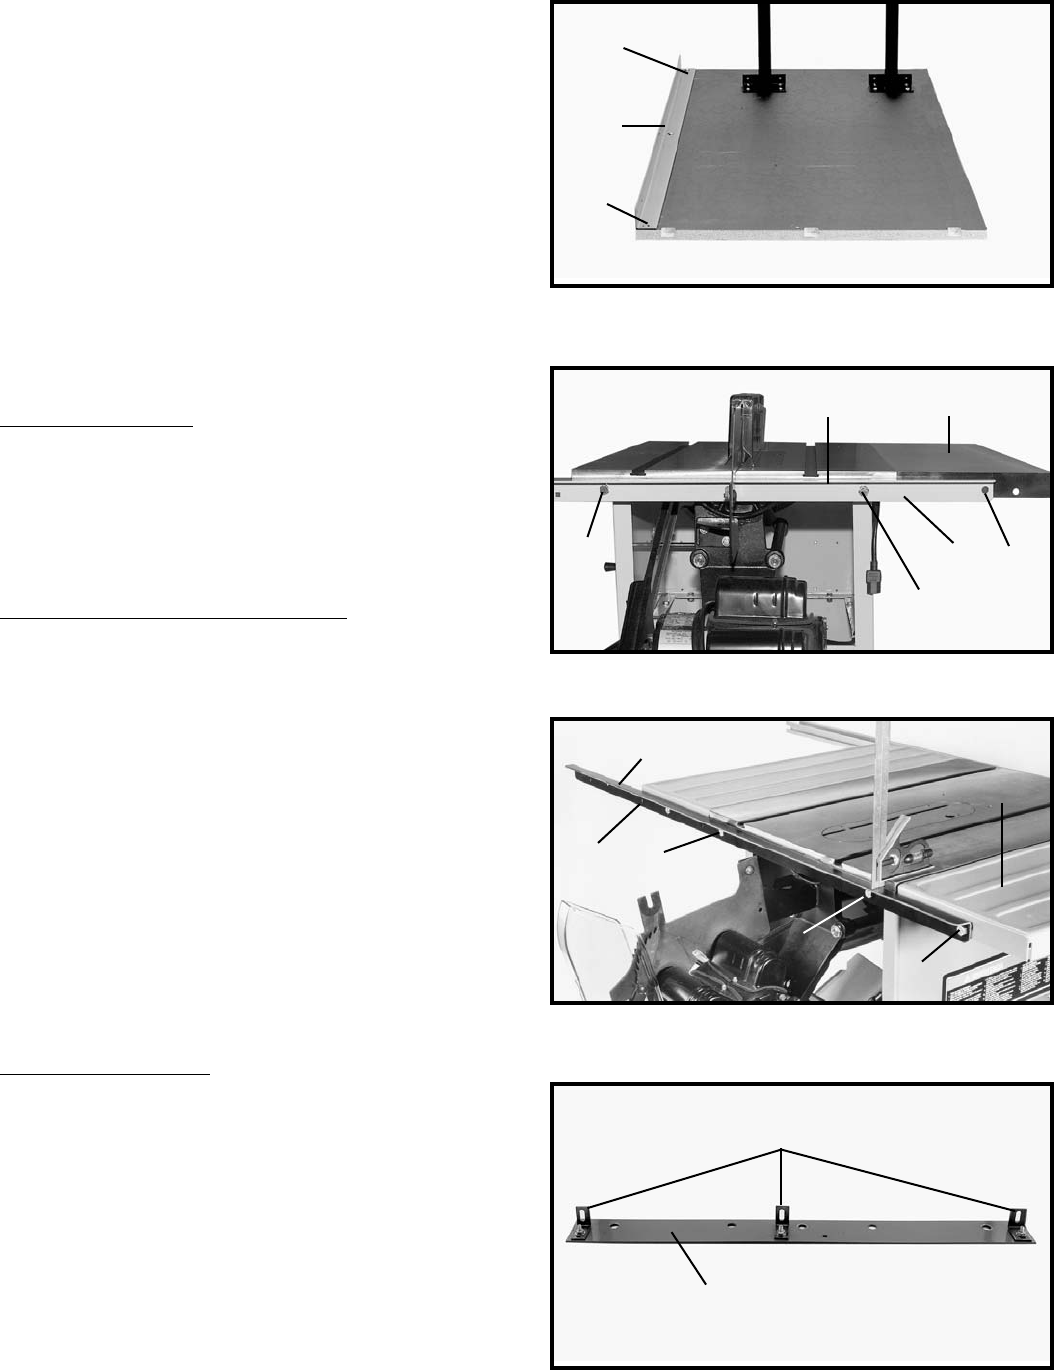
5. Fasten the front table support (F) Fig. 9, to the
bottom of the table as shown using two #8x7/8" long
wood screws (H) and (I) supplied.
NOTE: The vertical flange, on the table board support
(F), should be flush with the front edge of the table
board.
NOTE: The slots closer to the angles in the support (F)
should be against the table.
NOTE: Screws (H) and (I) Fig. 9 should not be
completely tightened to the table board at this time.
Screw (I) will have to be removed later.
NOTE: Make certain the end of the table support does
not extend out past the table.
CAUTION: DO NOT OVER-TIGHTEN MOUNTING
SCREWS. Over-tightening screws in particle board may
cause them to strip.
FOR UNISA
WS ONL
Y
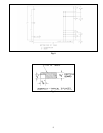
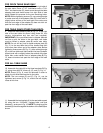
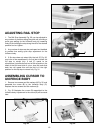
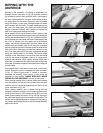
6. Fasten the rear table support (A) Fig. 10, to the saw
table. Insert a 3/8-24x5/8" hex head screw (B), through hole
in rear support and thread screw into tapped hole in table.
Repeat this process for the remaining hole. Tighten screws
securely. NOTE: FLAT EDGE (D) Fig. 10 AND FIG. 10A, OF
REAR TABLE SUPPORT WILL FACE UPWARD.
FOR 10" CONTRACTORS SA
WS ONLY
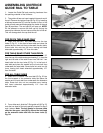
6. Fasten the rear table support (A) Fig. 10, to the saw
table. Insert a 3/8-16x1" hex head screw (B), through hole in
rear support and table, place a 3/8 washer onto the screw
and thread a 3/8-16 hex nut onto screw and tighten
securely. Repeat this process for the remaining hole. NOTE:
FLAT EDGE (D) Fig. 10 AND FIG. 10A, OF REAR TABLE
SUPPORT WILL FACE UPWARD.
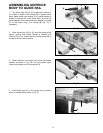
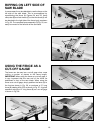
7. If your saw is equipped with a cast iron wing as shown
at (I) Fig. 10. which has a smooth surface, hole (C) Fig. 10 is
not used, proceed to step 8. If your saw has a sheet metal
wing as shown at (W) Fig. 10A, with a ribbed surface, the
rear table support will be fastened through hole (C) Fig. 10A
as follows. Insert a 3/8-16x1" hex head screw through hole
(C) and the sheet metal extension wing, place a 3/8" washer
on the screw, thread a 3/8-16 hex nut on screw, and tighten
securely.
FOR ALL T
ABLE SAWS
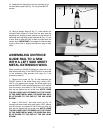
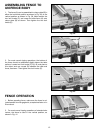
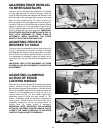
8. Assemble the three brackets (J) to the table adapter
plate (K) using the three 1/4-20x3/4" carriage bolts, nuts and
washers, as shown in Fig. 11. NOTE: The long leg of the
brackets (J) should be against the adapter plate (K) as
shown. Do not completely tighten brackets (J) to adapter
plate (K) at this time.
Fig. 9
Fig. 11
J
K
Fig. 10
A
B
B
F
H
I
C
D
Fig. 10A
W
C
D
B
B
A
I


