8
ASSEMBLING UNIFENCE
GUIDE RAIL TO TABLE
1. Locate the Guide Rail and mounting hardware from
the packing material of the Unifence.
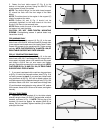
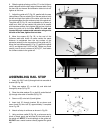
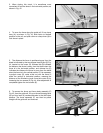
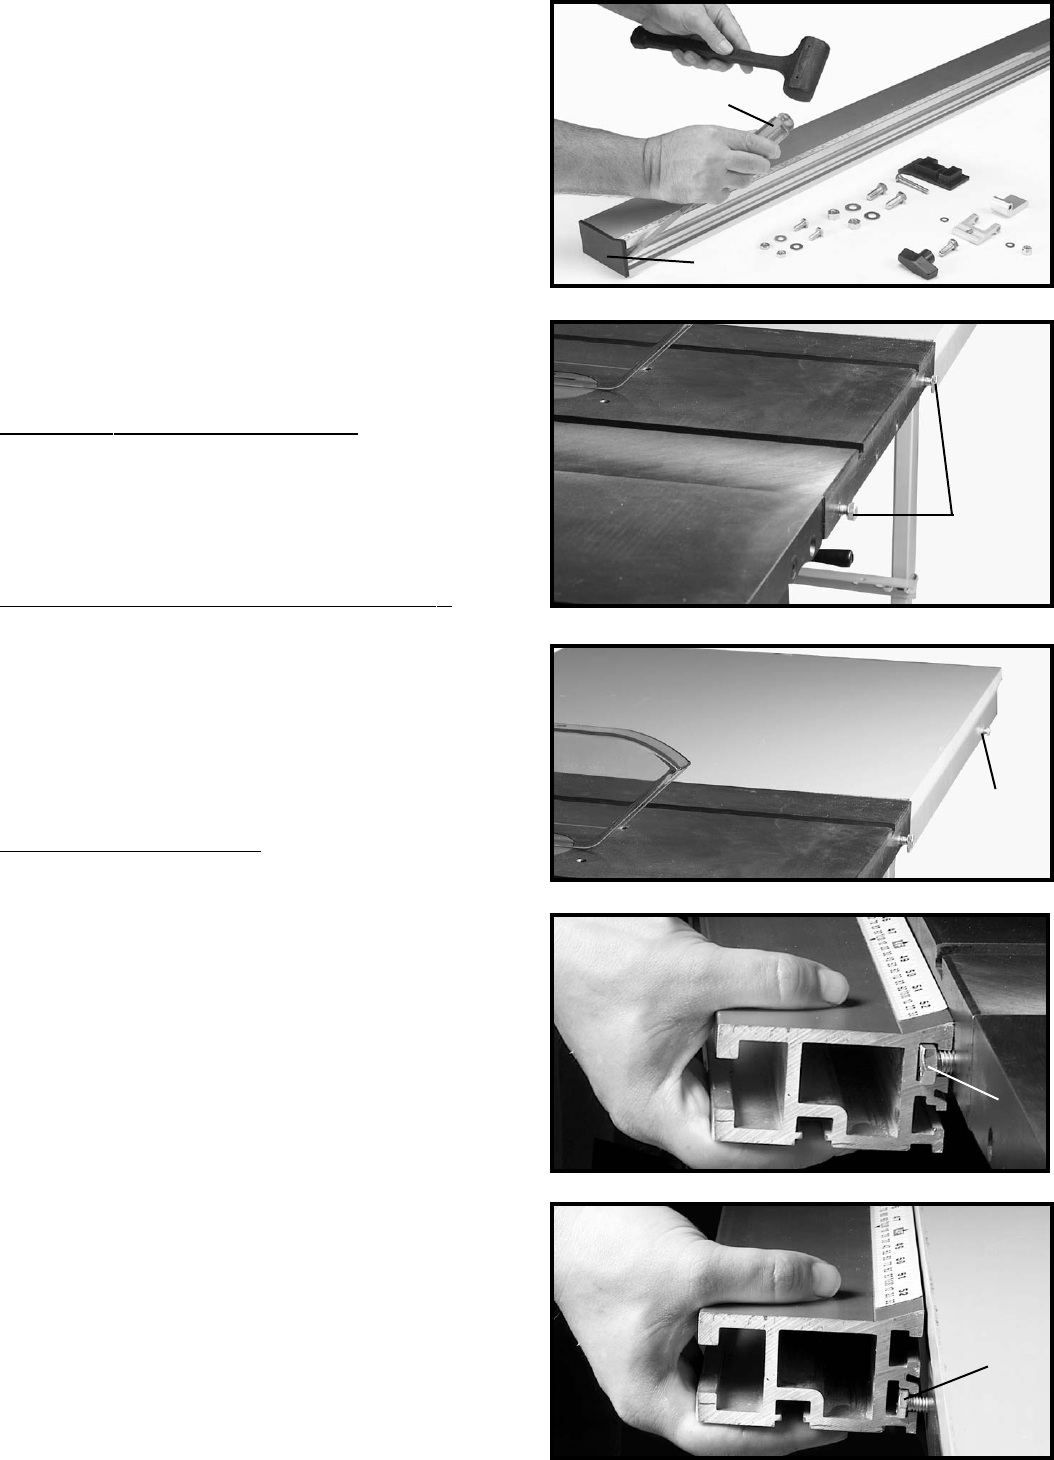
2. The guide rail has end caps inserted into each end of
the rail. Remove the right end cap (B) Fig. 20, by inserting
a flathead screwdriver (C) into the channel in front of the
guide rail and press outward against the inside of the end
cap (B) as shown. The end cap (B) will pop out. NOTE:
Do not attempt to remove the end cap by forcing the
screwdriver between the end cap and the end of the rail.
This will damage both the cap and the rail.
FOR DELT
A TABLE SAWS ONLY
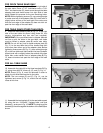
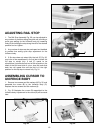
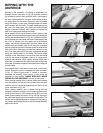
3. Insert two 3/8-24x1" hex head bolts into the two
holes (F) Fig. 21, in the front of saw table and place flat
washer and nut onto bolt from underneath the saw table.
Screw bolts into nuts two full turns, leaving bolt head
extended approximately 1/2" from the table.
FOR TABLE SAWS OTHER THAN DELTA
3. Drill two 7/16" holes in the front of the table 1.18"
from the top of the table and approximately 2" in from the
right and left side of the table. Insert two 3/8-24x1" hex
head bolts into the two holes (F) Fig. 21, in the front of
saw table and place flat washer and nut onto bolt from
underneath the saw table. Screw bolts into nuts two full
turns, leaving bolt head extended approximately 1/2"
from the table.
FOR ALL T
ABLE SAWS
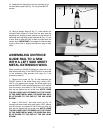
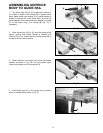
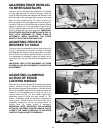
4. Insert one 1/4-20x3/4" hex head bolt (E) Fig. 22 into
the front support of the extension table and place flat
washer and nut onto bolt from underneath the extension
table. Screw bolt into nut two complete turns, leaving
bolt head extended approximately 1/4" from the
extension table.
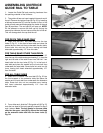
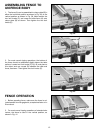
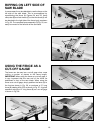
5. From either end, slide the T-SIot guide rail (A) Fig. 23,
onto the hex head of the bolts partially inserted in step 3
and 4 above. Note: The bolt heads on the saw table
slide into the upper t-slot (B) Fig. 23 and the bolt head
on the extension table slide into the lower t-slot (C)
Fig. 24.
Fig. 20
Fig. 21
Fig. 23
Fig. 24
C
B
A
B
C
A
Fig. 22
F
E


