14
ATTACHING THE SAW TO THE STAND
The band saw is VERY heavy. Use a
helper to attach the saw to the stand.
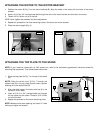
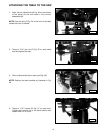
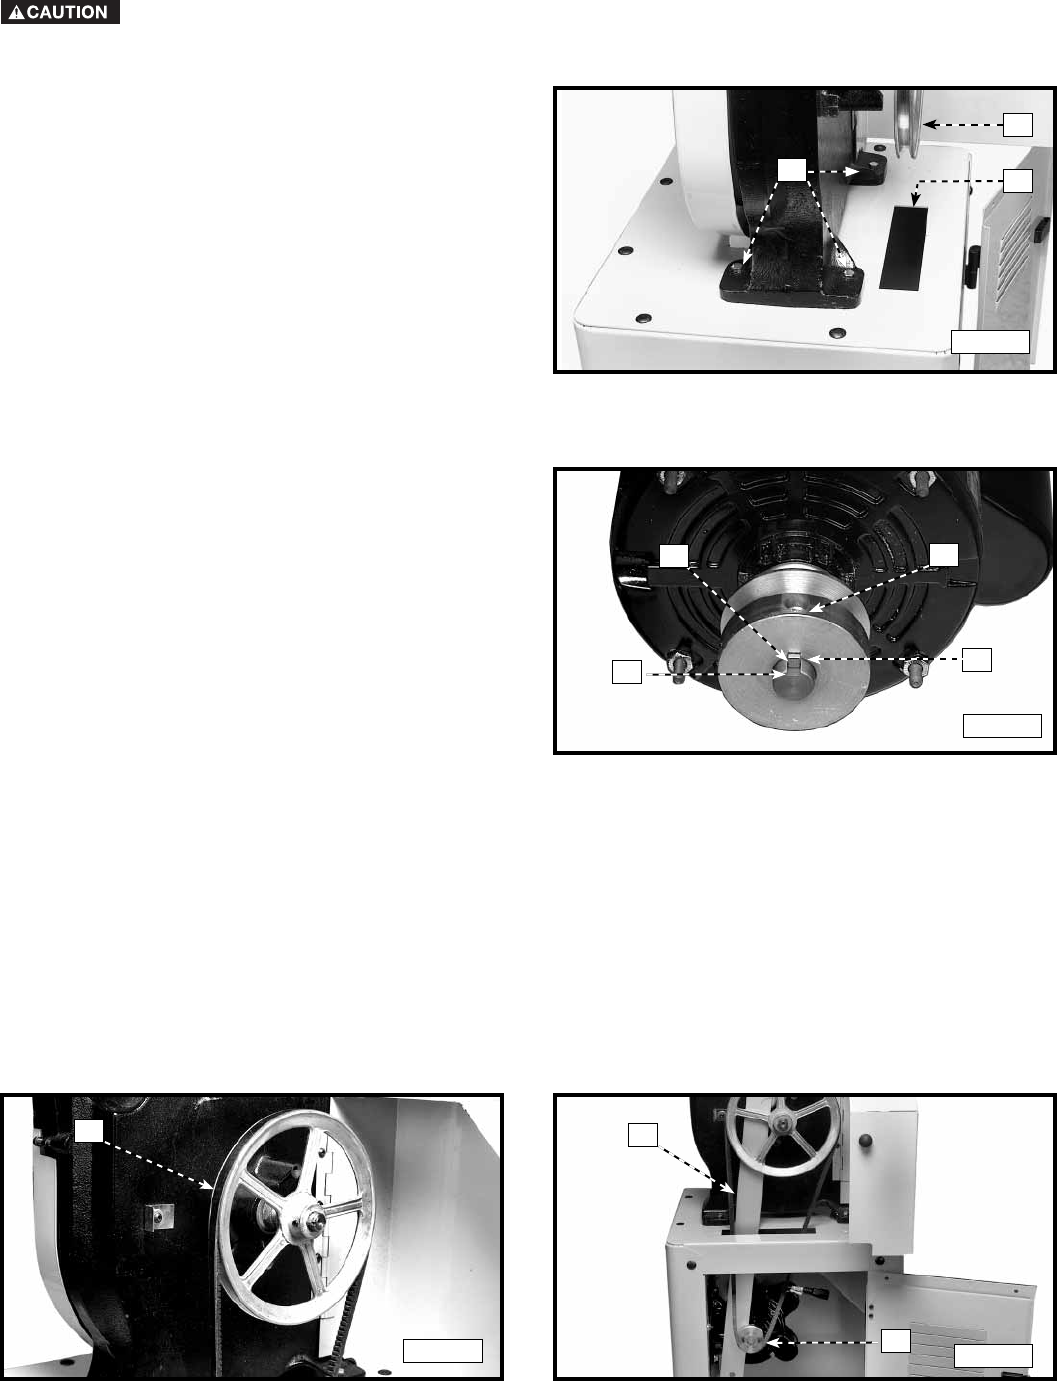
1. Position the band saw on top of the stand (Fig. 20).
NOTE: Position the pulley (A) Fig. 20 over the belt
opening (B).
2. Align the four holes in the saw with the four holes in
the top of the stand.
3. Place a 5/16" flat washer on a 5/16-18 x 1-1/2" hex
head screw. Insert the screw through one of the
holes (C) in the saw and the stand.
4. Thread a 5/16-18 hex nut on the screw inside the
stand.
5. Repeat this process for the three remaining holes.
6. Tighten the screws securely.
ATTACHING THE BELT TO THE SAW PULLEY AND THE MOTOR PULLEY
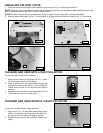
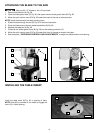
1. Install the belt over the saw pulley (A) Fig. 22.
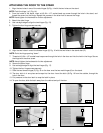
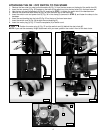
2. Raise the motor and install the belt over the motor pulley (B) Fig. 23.
3. Place a straight edge (C) Fig. 23 through the belt opening in the saw stand and against the upper and lower back
of the saw pulley. Check the in/out alignment of the motor pulley against the straight edge. If necessary, adjust
the position of the motor pulley by loosening the set screw (D) Fig. 21 and moving the motor pulley in or out. After
alignment, tighten the set screw.
4. Push down on the motor and push in on the center of the belt. The correct deflection is approximately 1/4".
5. When the deflection is correct, tighten the four bolts that hold the motor to the motor bracket.
ATTACHING THE MOTOR PULLEY
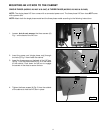
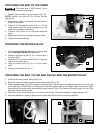
1. The pulley key (A) Fig. 21 is taped to the motor (see
#6 in “CARTON CONTENTS”). Remove it.
2. Position the pulley key (A) Fig. 21 in the slot (B) on
the motor shaft.
3. Align the slot in the motor pulley (C) Fig. 21 with the
key (A) on the motor shaft.
4. Slide the motor pulley (C) Fig. 21 on the motor
shaft.
5. Tighten the set screw (D) Fig. 21.
A
B
C
B
D
C
A
B
C
Fig. 20
Fig. 21
Fig. 22
Fig. 23
A


