16
ATTACHING THE BLADE TO THE SAW
Use only 93-1/2" blades on the 14" band saw.
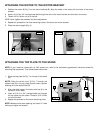
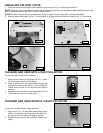
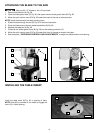
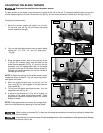
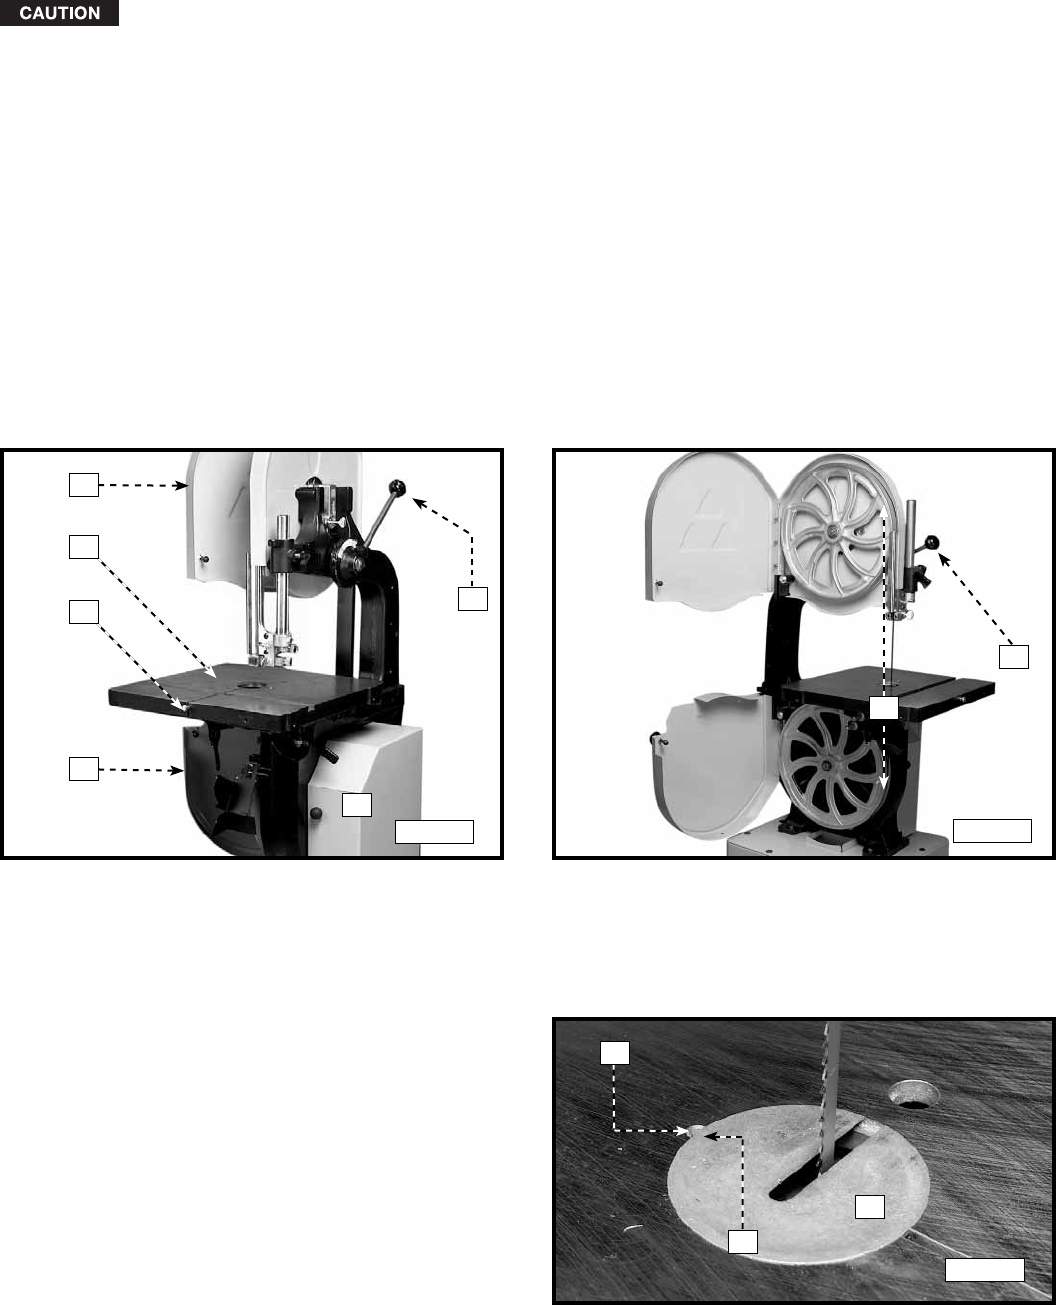
1. Remove the table pin (A) Fig. 28.
2. Open the blade guard door (C) Fig. 28, then open the two wheel-guard doors (B) Fig. 28.
3. Move the quick tension lever (D) Fig. 28 toward the back of the saw to relieve tension.
NOTE: Install the blade with the teeth pointing down.
4, Slide the blade through the slot (E) Fig. 28 in the band saw table.
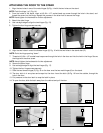
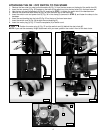
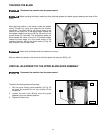
5. Place the blade around the two wheel assemblies (A) Fig. 29.
6. Replace the table pin (A) Fig. 28.
7. Close the two wheel-guard doors (B) Fig. 28 and the blade-guard door (C).
8. Move the quick tension lever (D) Fig. 29 toward the front of the saw to tension the blade.
9. See the section “OPERATING CONTROLS AND ADJUSTMENTS” to adjust the blade tension and tracking.
INSTALLING THE TABLE INSERT
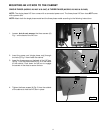
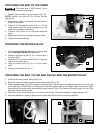
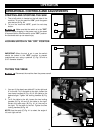
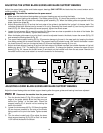
Install the table insert (A) Fig. 30 in opening of table.
NOTE: A tab (B) is provided on the insert to engage the
notch (C) in table opening.
D
B
E
A
B
C
D
A
C
B
A
Fig. 28
Fig. 29
Fig. 30


